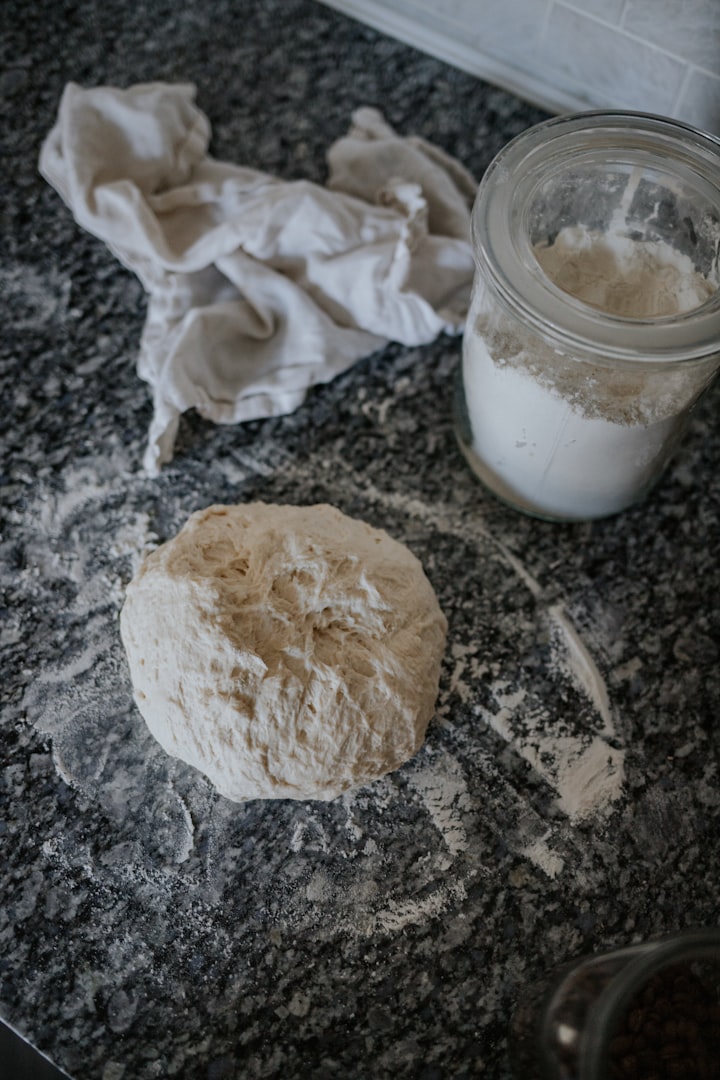
Welcome to my new blog post, where we will dive into the world of sourdough starters using smaller amounts. In this article, I’ll provide you with a concise recipe, step-by-step instructions, and address frequently asked questions about maintaining and improving your sourdough starter. Whether you're a beginner or an experienced baker, this guide will help you achieve consistent and delicious results. Let's get started!
Recipe For Smaller Sourdough Starter
Ingredients:
- 1 tablespoon all-purpose flour (or whole wheat flour)
- Filtered water
Instructions:
1. Day 1: Initial Feeding
- In a clean glass jar, mix 1 tablespoon of all-purpose flour with 1 tablespoon of filtered water.
- Stir well until the mixture is smooth and there are no dry flour clumps.
- Cover the jar with a breathable cloth or coffee filter secured with a rubber band.
- Let the jar sit at room temperature (around 70°F/21°C) for 24 hours.
2. Day 2: First Feeding
- After 24 hours, you may notice some small bubbles forming on the surface. This indicates fermentation has begun.
- Discard approximately half of the starter (or use it for another recipe).
- Add 1 tablespoon of all-purpose flour and 1 tablespoon of filtered water to the jar.
- Stir well to incorporate the new flour and water with the remaining starter.
- Cover the jar and let it sit at room temperature for another 24 hours.
3. Day 3 and Onward: Regular Feedings
- Repeat the feeding process from Day 2, discarding approximately half of the starter and adding 1 tablespoon each of flour and water.
- Continue this daily feeding schedule for at least 7 to 10 days, or until your starter becomes active, bubbly, and doubles in volume within 4-6 hours after feeding.
Frequently Asked Questions
1. Why is my starter not bubbling?
Ensure that your starter is in a warm environment (around 70°F/21°C), use filtered water, and stir the mixture thoroughly to incorporate air.
2. My starter smells unpleasant. What should I do?
Unpleasant odors can occur during the initial stages. Continue regular feedings, and the smell should improve as the starter matures.
3. Can I use whole wheat flour instead of all-purpose flour?
Absolutely! Whole wheat flour can be used instead of all-purpose flour or in combination. Just note that whole wheat flour may affect the fermentation process and may require adjustments to feeding amounts.
4. How often should I feed my starter?
Daily feedings are recommended in the beginning stages, but once your starter is established and active, you can switch to a maintenance schedule of feeding every 12-24 hours.
5. Can I use tap water for feeding my starter?
It is advisable to use filtered or bottled water to avoid chlorine or other chemicals that might hinder the fermentation process.
6. My starter has separated into layers. Is this normal?
Separation can occur, especially if the starter hasn't been fed in a while. Stir the separated layers back together during each feeding.
7. My starter is not rising. What am I doing wrong?
Ensure that your starter is in a warm environment, feed it consistently, and maintain a balanced ratio of flour to water during feedings.
8. Can I use a different type of flour, such as rye or spelt?
Experimenting with different flours can be fun, but keep in mind that different flours may require adjustments in hydration levels and feeding ratios.
9. How do I know if my starter is ready to use in a recipe?
A mature and active starter should exhibit vigorous bubbling, a pleasant aroma, and consistently double in volume within 4-6 hours after feeding.
10. Can I refrigerate my starter?
Once your starter is mature and active, you can store it in the refrigerator between feedings to slow down the fermentation process. Feed it once a week to keep it healthy.
Conclusion:
With this comprehensive guide, you now have the tools to cultivate and maintain a successful sourdough starter using smaller amounts. Remember, patience and consistency are key to achieving a thriving starter. Experiment, adapt, and enjoy the journey as you create mouthwatering sourdough bread and other delicious baked goods. Happy baking!
If you have any questions please drop in the comments box, I’ll answer them in a separate article. Will try to cover any details left or requested.


Comments
There are no comments for this story
Be the first to respond and start the conversation.