
Content warning
This story may contain sensitive material or discuss topics that some readers may find distressing. Reader discretion is advised. The views and opinions expressed in this story are those of the author and do not necessarily reflect the official policy or position of Vocal.
Kneeling Yoga Poses for Mind and Body Wellness
Introduction to Kneeling Yoga Poses
Kneeling Yoga Poses for Mind and Body Wellness
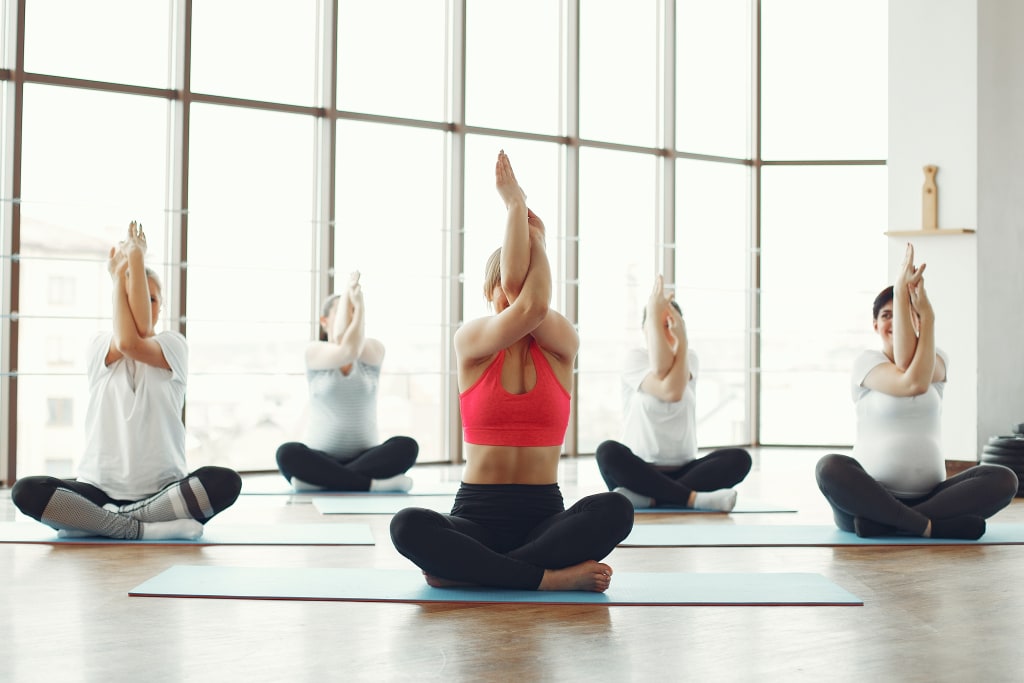
Yoga has been practiced for centuries as a means to promote physical and mental well-being. Among the various yoga poses, kneeling poses offer numerous benefits for the body and mind. In this article, we will explore four kneeling yoga poses that can help calm the mind, relieve stress, improve digestion, and provide therapeutic benefits for high blood pressure, asthma, flat feet, and sciatica. So, let's get started and discover the wonders of these poses.
Table of Contents
1. Introduction to Kneeling Yoga Poses
2. Pose 1: Kneel and Rise
3. Pose 2: Bhujangasana
4. Pose 3: Prasarita Padottanasana
5. Pose 4: Salamba Sirasana
6. Pose 5: Balasana
7. Conclusion
8. FAQs (Frequently Asked Questions)
Introduction to Kneeling Yoga Poses
Kneeling yoga poses involve sitting on the floor with your knees bent and your weight supported by your legs. These poses provide a grounding effect and promote stability and balance. By practicing kneeling poses regularly, you can experience a range of benefits, including stress reduction, improved flexibility, and increased body awareness.
Pose 1: Kneel and Rise
Step 1:
Start by kneeling on the floor with your hands on the floor and knees straight. Bend at the waist and gently lower your hands to the floor.
Step 2:
Next, bend your legs forward at the knee, one at a time. This movement should be gentle and fluid.
Benefits:
• Calms the brain, relieving stress and mild depression.
• Improves digestion.
• Therapeutic for high blood pressure, asthma, flat feet, and sciatica.
Pose 2: Bhujangasana
Step 1:
Lie on the floor with your face down. Place both palms on the floor beside your chest.
Step 2:
Gently raise your body up, resting your palms on the floor, resembling a cobra rising up.
Step 3:
Stay in this position for a while and then slowly lower your body back down to the starting position.
Benefits:
• Helps relieve stress and fatigue.
• Therapeutic for asthma.
Pose 3: Prasarita Padottanasana
Step 1:
Stand up with your legs wide apart on the sides. Place your hands on your hips.
Step 2:
Slowly bend forward until your head touches the floor. Rest your hands on the floor beside your head.
Step 3:
Stay in this position for a while and then slowly return to the upright position.
Step 4:
Repeat this sequence three times.
Benefits:
• Stretches the groins, hips, and hamstrings.
• Decompresses the spine.
• Calms the mind.
Pose 4: Salamba Sirasana
Step 1:
Sit in vajrasana, kneeling down and sitting on the inner side of your legs.
Step 2:
Place your elbows in front of you, leaning forward. Rest your head between your hands on the floor.
Step 3:
Slowly raise your abdomen to form a mountain pose, balancing on your toes alone.
Step 4:
Now, lift your right leg bending at the knee, followed by lifting your left leg the same way.
Step 5:
Balance with your head and lift both legs one
Pose 4: Salamba Sirasana (continued)
Step 5 (continued):
By one, raise the legs straight up in the air.
Step 6:
Stay in this position for a while, enjoying the balance and strength.
Step 7:
Very gently, lower each leg back down to the starting position.
Benefits:
• Stimulates the pituitary glands and pineal glands.
• Strengthens the lungs and tones the abdominals.
• Therapeutic for insomnia and mild depression.
Pose 5: Balasana
Step 1:
Sit in vajrasana, kneeling down and sitting on the inner side of your legs.
Step 2:
Extend your hands in front of you, leaning forward. Rest your head on the floor, facedown.
Step 3:
Relax and stay in this position for a while, focusing on your breath.
Benefits:
• Gently stretches the hips, thighs, and ankles.
• Relaxes the neck and shoulders.
• Increases blood circulation to the head, relieving headaches.
Conclusion
Kneeling yoga poses offer a myriad of benefits for both the mind and body. From relieving stress and calming the mind to improving digestion and promoting physical well-being, these poses are a valuable addition to any yoga practice. Incorporating poses like Kneel and Rise, Bhujangasana, Prasarita Padottanasana, Salamba Sirasana, and Balasana can enhance your overall wellness and help you achieve a greater sense of balance and harmony.
So, why wait? Embrace the power of these kneeling yoga poses and unlock a world of tranquility and vitality.
FAQs (Frequently Asked Questions)
1. Is it necessary to practice all the poses in one session?
• No, you can choose to practice each pose individually or incorporate them into your regular yoga routine.
2. Can beginners perform kneeling yoga poses?
• Yes, beginners can start with modified versions of the poses and gradually work their way up to the full expressions.
3. How long should I hold each pose?
• Aim to hold each pose for at least 30 seconds to 1 minute, gradually increasing the duration as you progress.
4. Can I practice these poses if I have certain health conditions?
• It's always advisable to consult with a healthcare professional or a qualified yoga instructor if you have any specific health concerns or conditions.
5. Can children practice kneeling yoga poses?
• Yes, children can safely practice these poses under proper guidance and supervision.
Get Access Now: https://bit.ly/J_Umma
Incorporating kneeling yoga poses into your regular practice can bring about profound positive changes in your physical and mental well-being. So, roll out your yoga mat, find your center, and embark on a journey of self-discovery and rejuvenation through the practice of these transformative poses. Namaste.
About the Creator
Enjoyed the story? Support the Creator.
Subscribe for free to receive all their stories in your feed. You could also pledge your support or give them a one-off tip, letting them know you appreciate their work.
Keep reading
More stories from asikuzzaman and writers in Motivation and other communities.
The Importance of Diet for Fat Loss
The Importance of Diet for Fat Loss When it comes to fat loss, there's no doubt that your diet is the most important factor that you have to get right. Even if your training is on point and consistent, you're simply not going to see the results you want without a proper nutrition strategy. But this is where most people fail, and I honestly don't blame them. We're constantly overwhelmed with new diets that are supposedly the new best way to lose fat, making it extremely difficult to know which approach to take.
By asikuzzamanabout a year ago in Motivation
6 Lessons Learned from Temporary People
In the intricate tapestry of our lives, there are individuals who pass through our existence like shooting stars, leaving behind profound lessons that linger forever. These temporary people, with their fleeting presence, have the uncanny ability to impart wisdom that becomes permanently etched in our hearts and minds. Inspired by the quote "Temporary people give permanent lessons," this blog explores five invaluable lessons we can learn from these transient connections and how they shape our journey of self-discovery and growth.
By Jassila 4 days ago in Motivation


Comments
There are no comments for this story
Be the first to respond and start the conversation.