

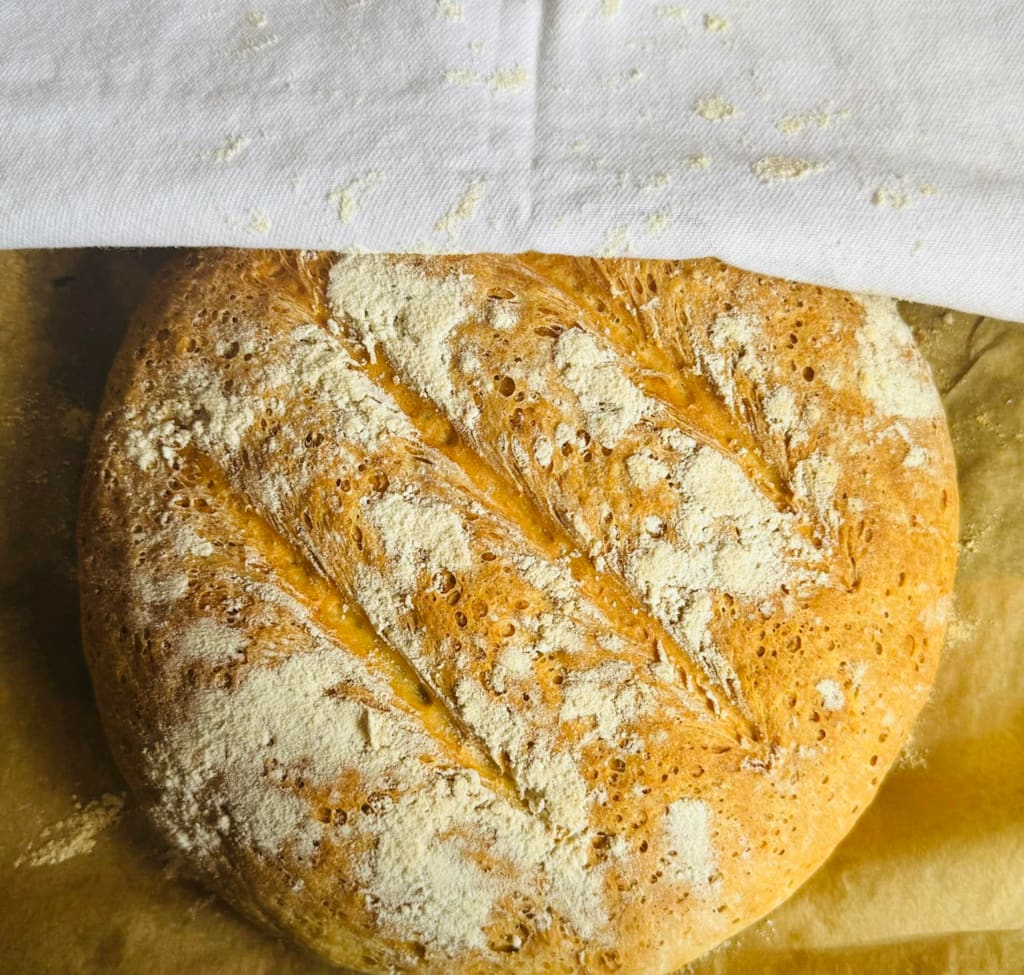
As you've probably seen from my Facebook, I've been baking bread at home lately despite not actually eating bread. What is this all about then? Well, it's therapeutic. Yes, it takes a long time but there are some fun things involved with making bread. I always think that someone who likes to bake should have three things: a good cake recipe, a good cookie recipe and finally, a good bread recipe. These are best memorised so that you can whip something up if people are coming over or if you need something for a gathering. Bread though is not something you can whip up quickly. I'm going to split this up into two days so that you can see how we make our bread. Yes, it takes two days. Take your time, this is meant to be calming.
My Homemade Bread
Day 1
Ingredients:
- 1/2 cup strong bread flour
- 1/2 cup warm water
- 7g fast action yeast
- 1/2 x tsp salt
How To:
- In a big bowl, use a fork to mix together the flour, salt and yeast so that everything is fully combined (the big bowl is because this thing is going to rise a lot so you don't want it to escape the bowl)
- Add the water slowly and continue to mix with the fork
- Once this mixture has turned horrifyingly sticky, cover it with cling film and put it in a cupboard
- Leave it alone for 12-24 hours
Day 2
Ingredients:
- Your mixture from day 1
- 500g strong bread flour
- 3 x tbsp olive oil
- 7g fast action yeast
- 1/2 x tsp salt
- 130ml warm water
How To:
- Grab your mixture from day 1 and put it in a mixing bowl
- Add your flour, yeast and salt
- Create a little well in the middle of the mix
- Add the oil and then the water
- Mix together to make a wet dough
- Tip the dough out on to a well-floured surface
- Knead your dough well for ten to fifteen minutes (the more you stretch the dough, the more the gluten stretches, the better rise you will get)
- Form a giant dough ball
- Oil up the mixing bowl and set the dough in it
- Cover the bowl with cling film and set it in a cupboard to prove for approximately 3 hours or so
- After three hours, come back to the dough and take it from the cupboard
- Grab a baking tray and line it with greaseproof paper
- Pour the dough out on to the baking tray (it should have now at least doubled in size)
- Form it into a round loaf shape
- Cover the dough with cling film and let it prove for a further hour or so
- About half an hour in, preheat your oven to about 180/C
- Make some cuts in the top of your dough to allow air to escape
- Once the proving is done, put the bread in the oven for around 35-45 minutes
- When you take it from the oven, set it aside for about 1-2 hours to cool before you cut it
- After the time is up, enjoy your bread!
***
Yes, it's a long process but it is meant to be a nice and calm process. When kneading the dough, remember to stretch it. But another thing you have to do it push it around, punch it up a bit and so, you can definitely take a lot of your anger out here. I suspect that's why so many people like making bread.
Another thing you can do is you can add flavours to your loaf, grating in a lemon is a cool idea, but also adding seeds and stuff to the top of the loaf seems quite popular.
You can also, before setting the bread in to bake, cut the loaf into six different pieces and therefore, you will have smaller bread rolls for burgers if you wish.
***
I hope you like my strange bread recipe, but this turns out really nice and soft from the inside, with a great crust. If you store your bread properly, it should last about a week. I would not say to put it in the fridge because 1) it's quite big and will take up a lot of room and 2) it will go rock hard from the outside and thus be far more diffficult to cut with a normal knife.
About the Creator
Annie Kapur
"Et in Arcadia Ego"
***
I am:
🙋🏽♀️ Annie
📚 Avid Reader
📝 Reviewer and Commentator
🎓 Post-Grad Millennial (M.A)
***
I have:
📖 300K+ reads on Vocal
🫶🏼 Love for reading & research
🦋/X @AnnieWithBooks
🔗 PrancingPonyBakery.com
***
🏡 UK
Enjoyed the story? Support the Creator.
Subscribe for free to receive all their stories in your feed. You could also become a paid subscriber, letting them know you appreciate their work.
Comments
There are no comments for this story
Be the first to respond and start the conversation.