
The Ultimate Guide to Printing Photographs
Printing is as easy as hitting a button—but printing high quality photographs takes a lot more thought. Here's a comprehensive beginner's guide to printing photographs that are ready to be framed, hung, and even sold.


When you print an essay for class, all you generally have to do is hit a couple of buttons. Maybe you adjust the formatting, or want to print something double-sided, but that's about as wild as document printing gets. Photographs, on the other hand, are a lot more finicky. For the beginning photographer, this can be a major deterrent and hurdle, and it can be extremely frustrating to take a beautiful shot that just doesn't seem to translate onto paper. But ultimately, with the right knowledge, settings, and equipment, any digital photograph can be turned into a beautiful print. Furthermore, many believe that printing your photos can make you a better photographer. Here's a beginner's guide to printing photographs that you'll be happy to show off.
Choosing the Right Photo Paper

Photo by Brandi Redd on Unsplash
A lot of people think that all photo paper is basically the same—or at least that it doesn't make much difference which you use, as long as it's 'that glossy stuff'. But this isn't the case. In fact, being able to choose between the different paper types and use the right photo paper for your images is crucial for capturing that ideal image.
There are a lot of factors to consider when talking about photo paper, like thickness, brightness, and shine. But perhaps the most important aspect to consider is the 'surface finish'. Photo paper comes in a pretty comprehensive range of finishes, from glossy to matte to canvas. A very glossy photo paper is great for producing bright, vibrant colors. However, due to its highly reflective properties, it's not ideal for being framed behind glass. For framing, you might want to consider either a semi-glossy or less glossy paper, or a different kind altogether. One of the most popular paper types for framing is canvas. Canvas paper is a popular alternative to simple matte paper for a lot of photographers, because it eliminates the issues of reflection, smudging, and fingerprints without dulling the colors quite as much. You probably won't get the same rich vibrancy on anything but glossy paper, but canvas will probably come close.
In addition to glossy, matte, and canvas paper types, you might consider metallic paper, which is somewhat like glossy paper, but more metallic (duh). Other options include art paper, pearl paper, and more, which all have different trade-offs in terms of color, contrast, consistency, etc, or there are a variety of creative mediums to print your photos on if you're not fond of the paper idea in general.
Choosing the Right Size for Your Resolution
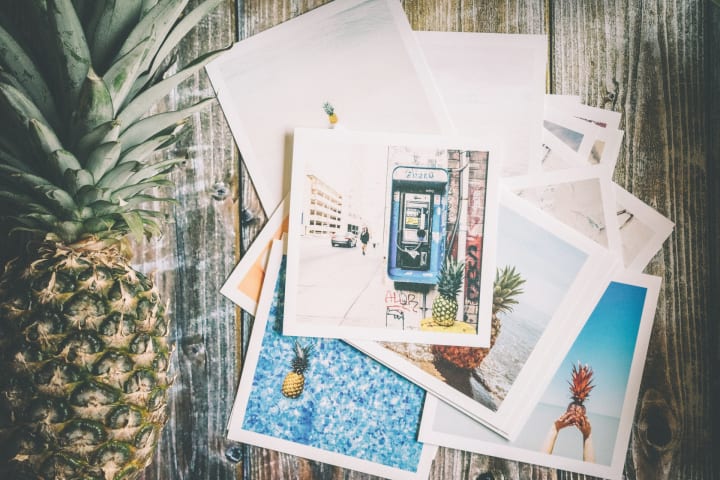
Photo by Pineapple Supply Co. from Pexels
Another mistake that beginning photographers make is trying to print in a size that their photograph is not formatted for. Formatting, and understanding the parameters of your photograph in terms of formatting, is one of the biggest parts of any guide to printing photographs. One of the most important components of this is pixelation. A photograph taken with a high resolution camera will likely have more megapixels in height and width, lending itself to a sharper picture at larger sizes. But fewer megapixels, whether because of lower resolution or cropping, will generally mean that too large a print will lose the clarity and sharpness you want. This is another area where paper type makes a difference—some papers will lend themselves better to different resolutions at different sizes, enabling you to print larger photos without losing clarity. However, this is often because the paper type itself loses some of that clarity, so the trade-off remains.
Of course, it isn't just pixelation that's important when choosing a size. Different cameras and shooting styles may result in more or less noise, motion blur, and other factors that might look good or be unnoticeable in small prints, but become unsightly if too large.
Cropping Your Images
In addition to concerns about pixelation and resolution, you need to be careful about cropping your images. No guide to printing photographs would be complete without mentioning ratios: when you choose to crop a photo, you want to make sure you consider the measurements and ratios, rather than just adjusting the height and width willy-nilly, irrespective of each other. By keeping the ratio intact, you ensure that your print maintains the proportions of the photo and the relative sizing to match.
Be careful in Photoshop.

Photo by Caio Resende from Pexels
For most photographers, there's an intermediate step between snapping a picture and printing it out: Photoshop. This is where you can crop, sharpen, and adjust the color and contrast of your picture, among other things. But you have to be careful during this process. First of all, you should always keep an unedited version of your photographs saved, in case you need to go back. Second, you should make sure that you calibrate your monitor so that what you see on your screen accurately reflects what will print. On many computers, you can automatically calibrate for color using the computer settings. There are a variety of easy Photoshop hacks all photographers should know, so read up on the program before you get started. However, there are also programs you can buy for even more effective calibration.
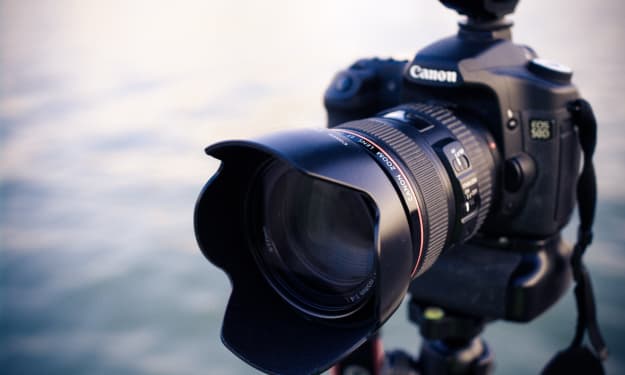
Choosing a Printer

Photo by Fernando Arcos from Pexels
If you're serious about getting the best quality photo prints, not all printers are created equal. So, part of this guide to printing photographs must include a brief guide to photograph printers.
Many printers are designed specifically for photo printing, and are capable of handling the higher ink requirements and other details. Many of these are specialty printers that you might want to look into if you want a printer exclusively for your particular kinds of photographs. However, if you're looking for a more versatile option, many inkjet printers can support all the features and functions you might need for printing in vibrant color or sharp black and white. Look for printers that boast a range of size options and different modes for printing color versus black and white. This is so you can be sure that your printer can handle the settings required to maximize the look of your prints.
Testing the Print

Photo by Christopher Flynn on Unsplash
Between the specialty paper, the high end printers, and the ink costs, printing photographs can be expensive. So of course, you want to be able to test your prints, without committing to a full print in case you need to make adjustments. You can do this with test strips. This is a simple process of cropping a small part of your image and adjusting the pixelation and DPI to give you a sense of what the full image would look like. This way, you only have to print a small section of the full print, but you can easily get a sense of how sharp, vibrant, and clear the image will be. It's generally best to do this with a section that is either the most representative of the print as a whole, or a section that might be a problem, so you can see what adjustments you might need to make before you print the entire thing.
About the Creator
Nicola P. Young
Lover of Books, Saxophone, Blogs, and Dogs. Not necessarily in that order. Book blogger at heartofinkandpaper.com.
Keep reading
More stories from Nicola P. Young and writers in Photography and other communities.
Best Cameras for Landscape and Street Photography
Landscape and street photography are about immortalizing the beauty of a moment or scene, whether it be capturing the perfect beach sunset or right in the center of an urban city. While these moments and images can be captured, superficially, by just about any camera, truly encapsulating the beauty of a single moment or scene takes special equipment. These moments are why photographers want to make sure they are using the best cameras for landscape and street photography, so they can be sure to capture all the right details. While there are many good options for photographers though, the best cameras are going to have certain, specific features that lend themselves to these specific kinds of photography.
By Nicola P. Young6 years ago in Photography
Capturing Magic
In the world of photography, timing is the key to everything. While skilled compositions and technical proficiency are undoubtedly crucial, the perfect lighting can create the perfect photo. Nowadays, we can determine any light ourselves and are no longer dependent on any natural light source, thanks to the developed technology. We can turn every day into a night by using the right filters. And we can illuminate every night to be seen as a day. A typical process, especially in the film industry.
By Krishan Mubashar9 days ago in Photography
Photo Tool: AI Photo Editor
The AI photo editor streamlines complex image editing tasks, empowering users to achieve professional-looking results effortlessly. With a wide range of AI editing tools, including automatic enhancement, object detection and removal, background manipulation, portrait retouching, and stylization. This editor simplifies the editing process while delivering captivating outcomes.
By xia sophia2 days ago in Photography


Comments
There are no comments for this story
Be the first to respond and start the conversation.