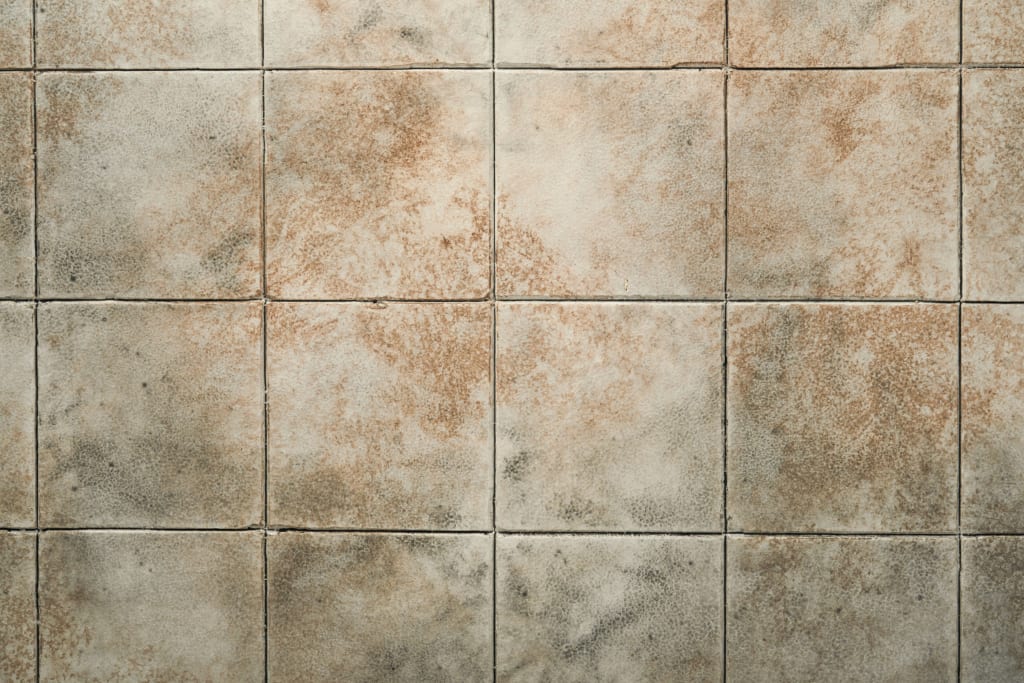
Tired of Dirty Grout?
Here's How to Make Your Tiles Look New Again

If your tiles could talk, they would probably be singing the blues with that grungy grout. But fear not, there's a way to bring harmony back to your floors.
By using a few simple techniques and a bit of elbow grease, you can transform your tired tiles into a scene-stealing showstopper.
So, why not give your grout a little TLC and discover the secrets to rejuvenating your tiles?
Assess the Condition of Your Grout
To determine the condition of your grout, simply run your finger along the grout lines to check for any cracks or areas that may need attention. If you notice crumbling, discoloration, or mold growth, it might be time for a professional tile grout cleaning.
Over time, dirt and grime can build up, making it challenging to clean with regular household products. A professional tile grout cleaner can help restore your grout to its original state, leaving your tiles looking fresh and clean.
Professional tile grout cleaning services often use specialized tools and solutions to deep clean and sanitize your grout lines effectively. By hiring experts in this field, you can ensure that even the toughest stains and mold are eradicated, giving your tiles a new lease on life.
Gather Necessary Cleaning Supplies
Make sure you have all the essential cleaning supplies ready before you begin rejuvenating your tiles. Gathering the necessary items beforehand will make the cleaning process smoother and more efficient.
Start by getting a good quality tile and grout cleaner. Look for products specifically designed to target grime and mold on tiles and grout lines. You'll also need a scrub brush or an old toothbrush to help with scrubbing away tough stains.
A bucket, mop, and clean microfiber cloths are essential for wiping and drying the tiles after cleaning. If you prefer a DIY approach, ingredients like baking soda, vinegar, and hydrogen peroxide can be effective natural cleaners. Additionally, gloves and safety goggles are recommended to protect your hands and eyes from harsh chemicals.
Once you have all these supplies gathered, you'll be well-equipped to tackle the task of restoring your tiles to their former glory.
Choose the Appropriate Cleaning Method
After gathering the necessary cleaning supplies, the next step is to assess and choose the appropriate cleaning method for your tiles. The choice of method will largely depend on the type of tiles you have and the level of grime or stains present. For ceramic or porcelain tiles, a mixture of warm water and mild detergent can often do the trick. This solution is gentle yet effective for regular maintenance.
For tougher stains or dirt buildup on natural stone tiles, it's essential to avoid acidic cleaners that can damage the stone. Instead, opt for a pH-neutral cleaner specifically designed for natural stone. Always be sure to read the manufacturer's recommendations before using any cleaning product on your tiles.
In cases where grout lines are heavily stained, a paste of baking soda and water applied with a toothbrush can work wonders. This method is abrasive enough to lift stubborn stains without damaging the grout. Remember to test any new cleaning method in a small, inconspicuous area before applying it to the entire surface. Choose wisely to ensure your tiles regain their original shine and cleanliness.
Scrub and Clean the Grout Lines
For efficiently cleaning the grout lines, start by applying a mixture of baking soda and water to the areas in need of attention. Create a paste-like consistency with the baking soda and water, then use a small brush or an old toothbrush to scrub the grout lines. Ensure you scrub in a circular motion to effectively lift dirt and grime from the grout.
For tougher stains, you can add some white vinegar to the baking soda paste for extra cleaning power. After scrubbing the grout lines thoroughly, let the baking soda mixture sit for about 10-15 minutes to allow it to penetrate and break down the dirt.
Once the time has elapsed, rinse the grout lines with warm water and use a clean cloth to wipe away any residue. You may need to repeat the process for stubborn stains. This method is a natural and effective way to clean grout lines without the need for harsh chemicals.
Finish With a Protective Sealant
To ensure the longevity and pristine appearance of your freshly cleaned grout lines, consider applying a protective sealant as the final step in rejuvenating your tiles. A sealant acts as a barrier against dirt, grime, and spills, making it easier to maintain your grout lines clean in the long run.
Before applying the sealant, ensure that your grout lines are completely dry to allow for proper adhesion. Choose a high-quality sealant that's compatible with your tile material and grout type for the best results. Using a small brush or applicator, carefully apply the sealant along the grout lines, ensuring full coverage.
Wipe off any excess sealant from the tiles promptly to prevent a hazy residue once it dries. Allow the sealant to cure for the recommended time before exposing the tiles to moisture.
Conclusion
In conclusion, with a little elbow grease and the right cleaning supplies, you can easily restore your grout to its former glory. Don't let dirty grout ruin the look of your tiles any longer - follow these simple steps and enjoy the fresh, clean appearance of your tiled surfaces. Remember to regularly clean and seal your grout to maintain its cleanliness and prevent future buildup. Your tiles will thank you!
About the Creator
Enjoyed the story? Support the Creator.
Subscribe for free to receive all their stories in your feed. You could also pledge your support or give them a one-off tip, letting them know you appreciate their work.


Comments
There are no comments for this story
Be the first to respond and start the conversation.