
Marshmallow Roasting 101
Your guide to the perfect s'more


It annoys me when people burn their marshmallows because of poor roasting technique. We all have our "nails on a chalkboard."
Mine? It's that one kid at the campfire (or the group of kids) that is overly eager to start making s'mores. He retrieves his stick, decking the end with the sugary treat. He holds this stick directly over the open flames of the newly constructed fire. The inevitable happens: the marshmallow is either burnt to a crisp or is engulfed in flames.
But this is the part that gets me. The kid then acts upset or shocked that this happened. I am using the term "kid" loosely and am not referring to the innocent seven-year-old who doesn't know any better. No, the annoyance is directed towards the people I think should know better. And it saddens me that this skill seems to have been forgotten by the world.
I get it. There are people who liked charred marshmallows and have perfected the "over open flame" technique to achieve this end. But this guide is for the people who actually want a golden-brown, roasted marshmallow to create the best possible s'more.
Step 1: Gather supplies

- The s'more itself is open to creative interpretation. The three main ingredients are cookies, chocolate, and marshmallows. The traditional s'more uses graham crackers, milk chocolate, and one or two marshmallows.
- But this is only the beginning. Have you thought about dark chocolate? White chocolate? Using Oreos or chocolate-covered graham crackers? Chocolate chip cookies? There are even flavored marshmallows available. My personal favorite are lemon-flavored marshmallows when I want to mix things up.
- Gather your chocolate and cookies of choice and have them readily accessible. Trust me, the last thing you want is a marshmallow about to fall off a roasting stick and no waiting graham cracker ready to embrace it.
- Next, select your roasting stick. I haven't experienced stark differences between using a wood vs. a metal stick. If you enjoy campfires on a regular basis, investing in a few metal roasting sticks is a capital idea. Going major old school, you can collect sticks in the woods and whittle one end to a point. Make the point fine enough that you aren't removing large amounts of your marshmallow.
Note: It's okay to cook more than one marshmallow at a time. But consider what you want. Do you want the focus of your s'more to be the marshmallow? Roast two. Or do you want the marshmallow to have an emphasis equal to the other parts? Roast one. Also consider your experience level. If this is your first time doing this activity, consider starting with roasting one marshmallow at a time and working your way up to more.
Step 2: Roast

- Timing is everything. To roast a golden-brown marshmallow, you have to have coals. The fire has to have been going long enough for coals to have developed. And the flames need to be low enough that you can put your marshmallow directly over the coals. If the fire was recently started, wait. You may need to discourage that one overly eager family member from adding more logs to the fire for a bit.
- Select an area of exposed coals and get low so your stick is parallel to the coals. This involves squatting or kneeling, but who said this was easy? This parallel position will ensure that the sides of the marshmallow roast and not just the end.
Note: Sometimes coal exposure does not allow for the parallel position. Bummer! If you have to take a downward angle, take your marshmallow off the stick halfway through roasting and flip it so the other end is facing the coals. This can help create a more even roast.
Step 3: Assemble and enjoy!

- Once your marshmallow is done roasting, you can assemble your s'more. With the marshmallow still on the stick, rest the marshmallow directly on one of your graham crackers. (This can be the one that already has the chocolate on top of it.) Angle the top graham cracker to stabilize the marshmallow as you pull out the stick. Mush your cookies together to create a sandwich of gooey deliciousness.
- Sit back and enjoy. Great job. It's okay to burn a few marshmallows along the way. Ultimately, marshmallow roasting is a skill that is developed over time. Keep practicing. Offer to make a s'more for someone else or make another one for yourself.
There you have it. I hope I haven't turned you into someone who gets annoyed when people burn their marshmallows. Try not to judge them too harshly. They have you to teach them now.
About the Creator
Jessica Freeborn
Passionate writer that is enthusiastic about writing engaging, compelling content. Excels in breaking down complex concepts into simple terms and connecting with readers through sharing stories and personal experience.
Keep reading
More stories from Jessica Freeborn and writers in Feast and other communities.
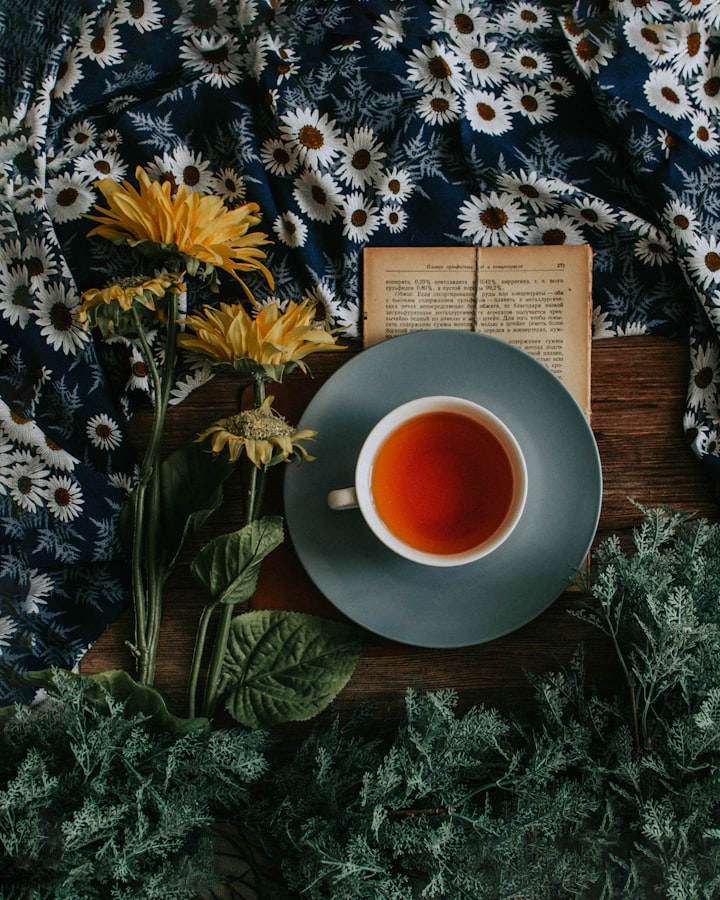
A Cup of Tea
"Care for a cup of tea?" I asked. "Sure," my dad replied. I poured my dad a cup and one for myself. The day was wet and cold, the perfect sort of day for a cup of tea. I took a sip and added more sugar. I paused for a second, experiencing the moment. I was transported back to the trip I had taken to England.
By Jessica Freeborn3 years ago in Feast
The Essence of Elegance: Exploring the Legacy of Vera Wang Perfumes
The Essence of Elegance: Exploring the Legacy of Vera Wang Perfumes In the realm of luxury perfumery, few names evoke the essence of timeless elegance and sophistication quite like Vera Wang. Renowned for her exquisite bridal gowns and haute couture creations, Vera Wang has extended her vision of beauty beyond the realm of fashion, enchanting the senses with a captivating array of fragrances. Among her illustrious collection stand two iconic offerings: the enchanting "Vera Wang Princess Eau de Toilette Spray for Women, Vanilla, 3.4 Fl Ounce" and the delicate allure of "Vera Wang Eau de Parfum for Women - Delicate, Floral Scent - Notes of Iris, Lilies, & Sandalwood - Feminine & Subtle - 3.4 Fl Oz."
By Ngân Trươnga day ago in Feast
On Winning and Losing
Recently, the pleasant surprise of placement on the Vocal Bonus Leaderboard sent me down a rabbit hole. Now, rabbit holes are a pretty common place for me to spend time, but I don't always feel the call to write about them. To be honest, the thought of sharing some of them mortifies me.
By Dana Crandell6 days ago in Writers


Comments
There are no comments for this story
Be the first to respond and start the conversation.