
Everything You Need to Know About Canning Cooked Apples
From a gardener with a passion for canning and preserving food.

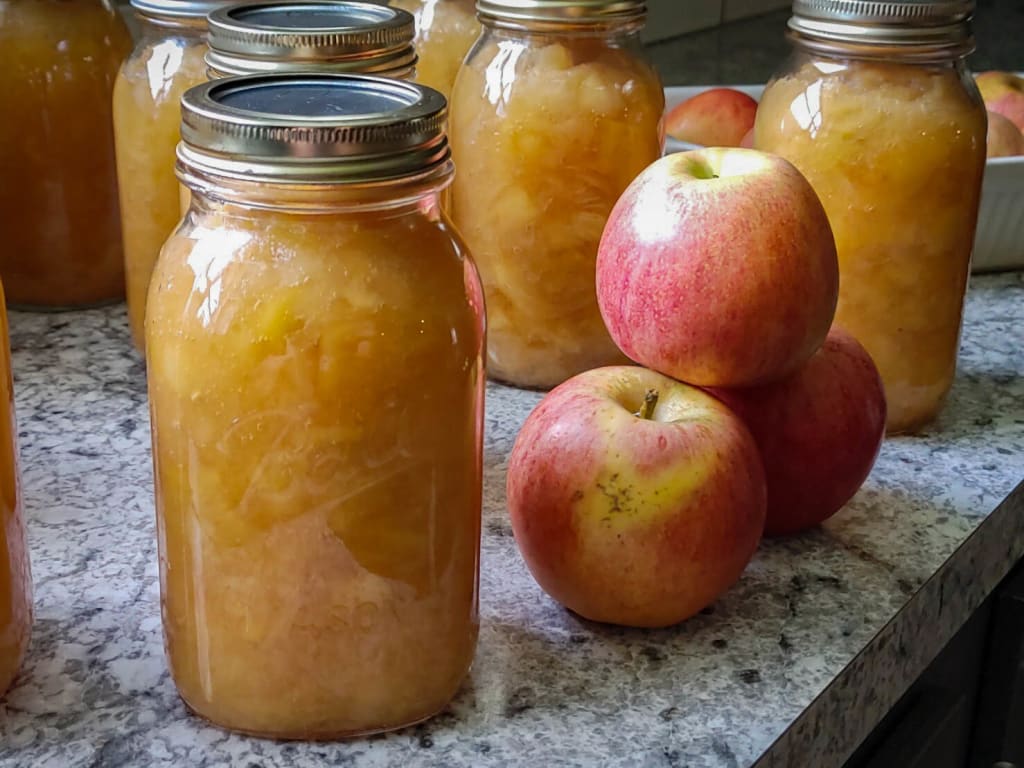
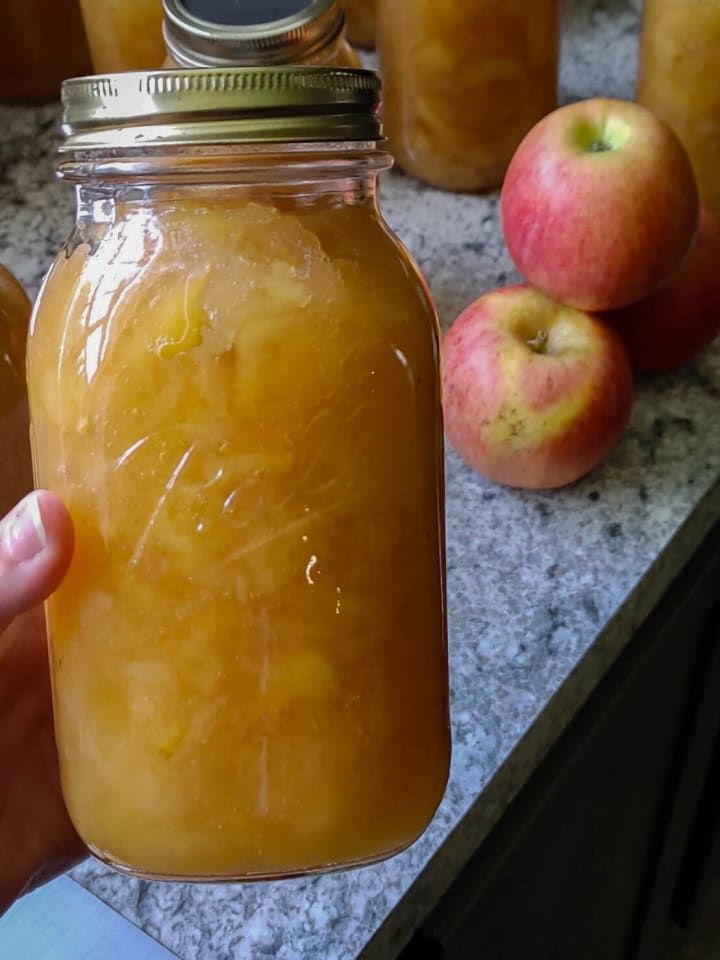
Canning Cooked Apples
Canning cooked apples is a good way to preserve this fruit. There are many ways to use them. They are great straight out of the jar, but you can also use them to make apple pie, apple cobbler, or put a dollop on top of pancakes or inside a biscuit. They are great baked in bread or cakes or served with vanilla ice cream.
What Kind of Apples Are Best for Canning?
I used Gala apples for this batch. I have used several different types of apples and, at times, have even mixed them. It just depends on what I have available.
Certain types of apples get done quicker than others. You might have to adjust the cooking time. Also, some apples are not as sweet as others, and you will need to add more sugar. Some apples are naturally sweet, such as Gala, Fuji, Roma, Honeycrisp, Pink Lady, Golden, and Red Delicious.
Where to Get Apples:
- apple orchard
- farmers market
- roadside stand
- grocery store
- produce stand
- grow your own apple trees
Canning Equipment: A Complete Guide
Canning Equipment
- knife or apple peeler and corer
- cutting board
- disposable gloves
- large bowls
- large pots
- large spoons
- ladle
- water bath canner
- jar rack
- jar lifter
- canning funnel
- bubble popper
- magnetic canning lid and lifter
- canning jars
- canning lids and rings
- towels
- dishcloths

Ingredients
- 7 quarts / 18 pounds apples
- 3 3/4 cups sugar
- 8 1/4 cups water
Step 1: Prepare the Apples
- Make a lemon bath (to prevent the peeled apples from turning brown after being exposed to air). Mix 1 gallon of cold water and 1/2 cup of bottled or fresh lemon juice in a large bowl.
- Rinse the apples well with flowing water.
- Using disposable gloves, peel, remove blemishes, core, and cut into slices or chunks. Gloves protect your hands from becoming wrinkled and your nails from becoming stained from the apple juice.
- Add the apples to the lemon bath until you are ready to cook them.
Step 2: Prepare the Jars and Lids
- Wash the jars and lids with hot soapy water and rinse well.
- Inspect jars, lids, and bands for damages. Damaged jars will likely break in the canner. Lids and bands that are damaged or warped will not seal. It can be difficult to tighten rusted bands. Also, when you remove a rusty or bent ring the day after processing, they can unseal the canning lid.
- Place the jar rack into the water bath canner, set jars without lids and bands in the canner right side up. Fill the canner and jars with hot water, 1 inch above the top of jars, and boil for 10 minutes to sterilize.
- Warm the lids in a small pot over low heat.
- Keep jars and lids warm until they are ready to use.
Step 3: Cook the Apples
- In a large pot, add peeled, cored, and sliced apples. You will likely need more than one pot, depending on the sizes you have. If you use more than one pot, divide the sugar and water evenly.
- Cover and bring the pot to a low boil for 8 minutes or until tender but not mushy, stirring often. Decrease the heat to low or warm.
Notes
Spice options: You may also add cinnamon and nutmeg to your preference. I always add other ingredients to my apples when I open the jar to use them. What you add when they are canned limits how you are able to use them in the future.
Fried apple option: When I cook a pan of apples without the intention of canning them, I also include a few tablespoons of butter. Canning dairy is a no-no, so if you are planning to can them leave it out.
Step 4: Can the Apples
- Cover your kitchen counter with a towel. Remove jars from the canner with a jar lifter. Drain them and place them on the towel.
- Insert the canning funnel into a jar, fill the jars with apples and syrup, leaving 1/2 inch of headspace.
- Move the bubble popper through the apples in the jar to help expel air bubbles.
- Wipe the rim of the jar with a clean damp dishcloth to wipe away any spilled apples.
- Remove the canning lids and bands from the water using the magnetic wand or tongs and dry them.
- Put the canning lids on the jars, with the gasket side down, and twist the metal band to finger-tight. Repeat until the canner is full.
- Using the jar lifter, gently put the filled jars into the canner.
- The water level inside the canner should be one inch above the jar lids. Pour hot water between the jars if more water is needed. Remove any excess water with a ladle. Removing a jar of apples will make it easier.
- Cover the canner and bring it to boil over high heat. Once it starts to boil vigorously, lower the heat to maintain a gentle boil. Process for 20 minutes at an altitude of less than 1,000 ft. (adjust according to your altitude).
- When the processing is complete, turn the heat off and let the canner cool for 5 minutes. Do not try to remove the canner from the heat.
- Do not let the hot steam hit your face when removing the lid. Tilt it away from you when you raise it.
- Use the jar lifter to remove jars from the canner. Be very careful not to bang them against anything.
- Set jars apart on a towel on the counter, away from cold drafts. Do not tighten the bands, turn jars upside down, or cover them with anything after removing them from the canner.
- After the jars sit on the counter for a while, you will hear a pop. The popping indicates the sealing of jars.
- Let them cool for 24 hours, and then check to make sure they are still sealed by pressing or rubbing your finger across the center of the lid. If it flexes or makes a noise, it has not sealed. You need to refrigerate it and use it soon, or you can remove it from the jar and freeze it.
- Gently remove the bands, wipe the jars with a wet dishcloth if needed, and label the lids with the date.
- Store in a dark place away from heat.
How to Store Canned Apples
Store your canned apples in a cool, dry place. I keep most of mine in the pantry. Some are in other kitchen cabinets. Do not store canned foods near the oven, dishwasher, heater, or anything else that might put off heat or shake the jars.
Can I Freeze Cooked Apples?
If you would prefer not to can the apples, you can freeze them instead. After cooking them, let them completely cool and place them in a freezer-safe container. They will keep for up to six months. When ready to eat, thaw in the refrigerator and use as desired.
Expiration
Like other canned foods, apples have an expiration of one year. Writing the date on the lids with a marker will help you keep track. After a year, the quality starts to decline. It will not be as appealing, and the texture may change. However, it is edible after that first year as long as the lid remains sealed.
Home Food Canning and Expiration Dates...
Takeaway
Canning is a great way to preserve this delicious fall fruit. It is not difficult to do, and the end product will last all year, maybe longer. The hardest part of the process is peeling, coring, and slicing the apples. There are countless ways to enjoy them. I am getting hungry just thinking about it.
Canning Tips...
About the Creator
Amanda Payne
An avid beekeeper, crafter, foodie, photographer, and nature girl.
Keep reading
More stories from Amanda Payne and writers in Feast and other communities.
Super Simple Black Walnut Cake With Cream Cheese Icing
People have associated significant moments in life with cake for hundreds of years. Many families have desserts they serve traditionally during holidays. As for me, I love to bake cakes and maybe a pie or two and, of course, we have to have banana pudding.
By Amanda Payne2 years ago in Feast


Comments
There are no comments for this story
Be the first to respond and start the conversation.