
Guide to Set Up Your Xbox One Controller with Windows 10 PC
Set Up Your Xbox One

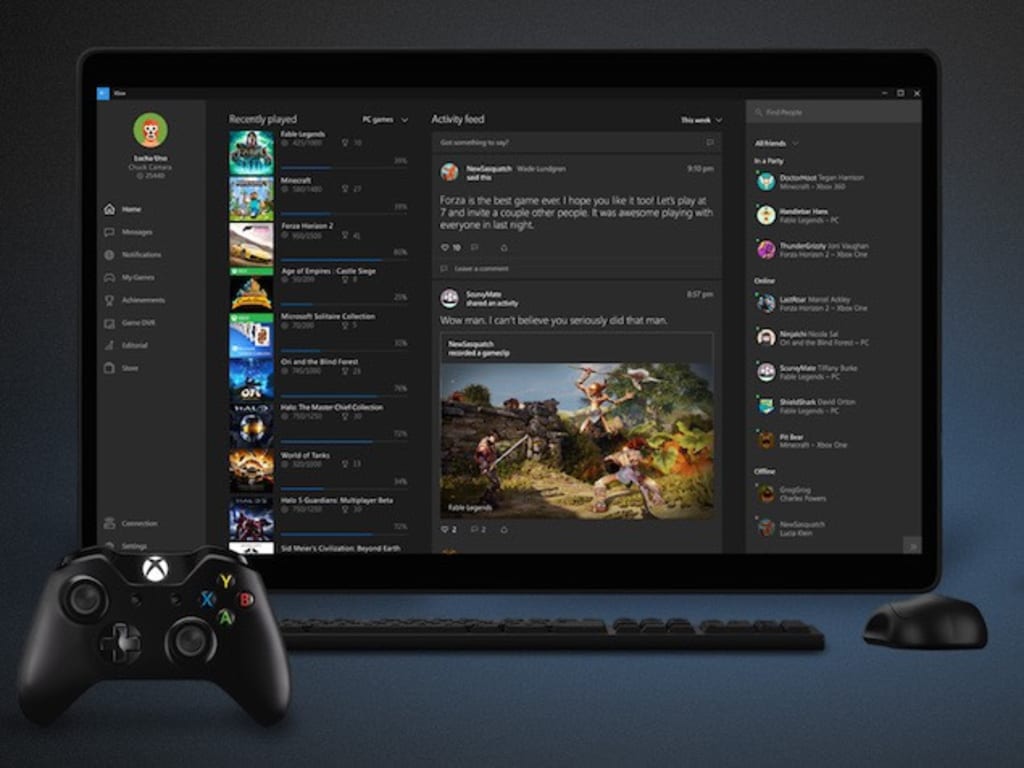
Microsoft’s Xbox One controller is one of their most sought-after products. It is an excellent controller that will enhance your gaming session experiences. It makes it easy to play and brings fantastic controls on your fingertips. You can connect the controller with cables or use it wirelessly on your Windows PC. These controllers have long-lasting batteries that are better than any other gaming console’s controller. It offers less latency during heavy fighting games. But connecting them can seem like a task, especially if you’re new into the gaming world. To help you out, we have mentioned all the different ways that you can use to connect your Xbox One controller to your PC and steps to configure it:
Ways to Connect the Controller
There are various ways you can use to connect the Xbox One controller with your PC, but it mainly depends if you want to use cable or go wireless. Following are the methods you can use:
Use a USB Cable
Your controller comes with a micro-USB cable so that you can create a wired connection. Start by plugging the USB cable into your computer and plug the other end into the front of your controller. The connection will be established, and charging will instantly begin. Remember that you’ll have to do this every time you need to charge your controller.
Use a Wireless Adapter
This method will help you connect the controller wirelessly, but before that, you’ll need an Xbox One Wireless Adapter for Windows 10. You might find this adapter in the package of your controller. If not, you can purchase it separately. Note that this is different from the adapter for the Xbox 360 controller.
After purchasing the Wireless Adapter, plug it into a USB port on your computer. You may need to use the USB extender (included in the package) depending on how far the port is at the back of your computer. Then, hold the Xbox button on your controller to turn it on, and press the button on the adapter. Now, press the bind button on your controller. The LED on your controller will start blinking. In the meantime, it will begin searching for a connection and will stop flashing once the connection gets established.
Use Bluetooth
This method is for those who have Bluetooth support on their Xbox One controller. To check if your controller has Bluetooth support, check the surrounding of the Xbox logo on the controller. If it is similar to the plastic as the controller, i.e., without seams, then it supports Bluetooth. If you find a separation between the face of the controller and the logo, then it doesn’t support Bluetooth. Here are the steps to pair your devices together:
Go to the Settings of your PC and click on Devices.
Select Bluetooth & other devices, and switch on the toggle for Bluetooth so that it can search for available devices.
Now, click on Add Bluetooth or Other Device and select Bluetooth.
Press the Xbox logo on your controller to turn it on, and press the bind button located at the top.
The Xbox Wireless Controller will appear on your device listing.
Click on Pair to establish a connection.
Xbox Controller Management and Configuration
Before going any further, you must download the Xbox Accessories app from the Microsoft Store to get the most out of your controller. Following are the list of things you can do on the app to manage and configure your controller:
Update Your Xbox Controller
By default, Windows 10 comes with the relevant drivers for the Xbox One controller. It helps to update your controller and get all the benefits from the latest firmware. If you experience any issue with your controller, then you should try updating it using the following steps:
Open the Xbox Accessories app and connect your controller with it.
Now, click on the three horizontal dots icon and select the Firmware version. Then click on Update now.
Test the Buttons on Your Controller
If you are doubtful of the buttons on your controller being registered or not, then try testing them with the Xbox Accessories app. Start by clicking on the Beaker icon. Now you can press the buttons, pull the triggers, and move the sticks on the controller. If the controller works fine, then you’ll see a corresponding icon appearing next to ‘Button Pressed.’ If not, then your controller might be faulty.
Steps to Successful Calibration
Your controller will come calibrated in the package, but you can use the Windows calibration tool to adjust or check its responsiveness. Use the following steps carefully:
Open the Start menu, search for ‘joy.cpl,’ and select the Control panel item result.
The Game Controller window will open. Now, select your controller from the list and click on Properties.
The Test tab will be open from where you can determine the location of your resting thumbstick on the axis.
If you’re not satisfied, switch to the Settings tab and click on Calibrate. Follow the instructions carefully to calibrate the controller.
You can reset everything to the original state by clicking on ‘Reset to Default’ from the Settings tab.
This guide will help you use your Xbox One controller without any issue. If these don’t help or your controller fails to respond, then get it checked from an expert.
Source:- Set Up Your Xbox with Windows 10 PC
About the Creator
Jack thomson
Greetings, I’m Jack. I’m a writer living in usa. I am a fan of technology, innovation, and writing. I’m also interested in web development and gaming.
shootk.com , candlek.com , howdus.com , mereread.com , mereblogger.com .
Enjoyed the story? Support the Creator.
Subscribe for free to receive all their stories in your feed. You could also pledge your support or give them a one-off tip, letting them know you appreciate their work.
Keep reading
More stories from Jack thomson and writers in Gamers and other communities.
Highly-Rated Online Multiplayer PvP Games for Android Users
These days online gaming is gaining attention and upsurge in the number of players every month. One can play single and multiplayer games online and go through an interactive battle with their friends or anyone playing online. The Player(s) versus Player(s) are also gaining popularity. It is shortly known as PvP games, and it refers to a type of multiplayer interactive conflict within a game between one versus one Player. With their rising popularity, the number of games available in this category has also increased. It might get difficult for you to find the best one that suits your interest. To eliminate your drill for finding the perfect game, we have listed some of the best online multiplayer games that will keep you seated on edge below:
By Jack thomson4 years ago in Gamers


Comments
There are no comments for this story
Be the first to respond and start the conversation.