
The Ginger Tea Reviews: Vanilla Matcha Macarons!
Matcha Provided by Steeped Tea!

Hello, everyone!
Long time, no blog post, right? I know, but I can happily say that the hiatus is finally, FINALLY, over! So, welcome back to the Ginger Tea Reviews! Tea is my passion, and I'm making it my goal to share my passion with the world!
For my first blog post back in the game, I decided a baking experiment with one of my closest friends was the best way to kick things off again. So, are you ready? Today, I'm going to tell you how to make vanilla matcha macarons!
Vanilla Matcha Macarons
Overshadowed Only by My Awkwardness
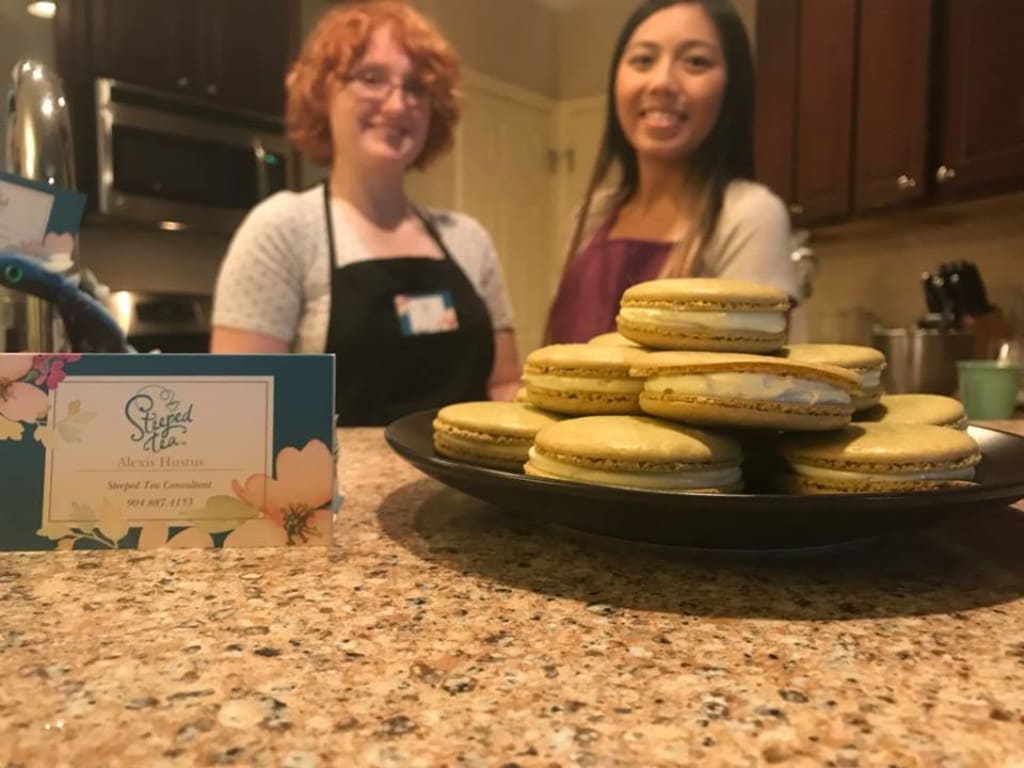
So, for this article, my very best friend Nikki used her macaron expertise to teach me how to make the best matcha macarons I've ever had in my life. The matcha we used came from Steeped Tea, and it is the amazing Vanilla Matcha. It works perfectly in these cookies, and makes for an absolutely amazing drink as well.
First, let's make the cookies!
So, these are the tools you're going to need:
- 2 baking sheets.
- 2 parchment papers or silicon mats
- 2 piping bag with piping tips
- a rubber spatula
- a stand or hand-held mixer and whisk attachment
- and an extra, large bowl.
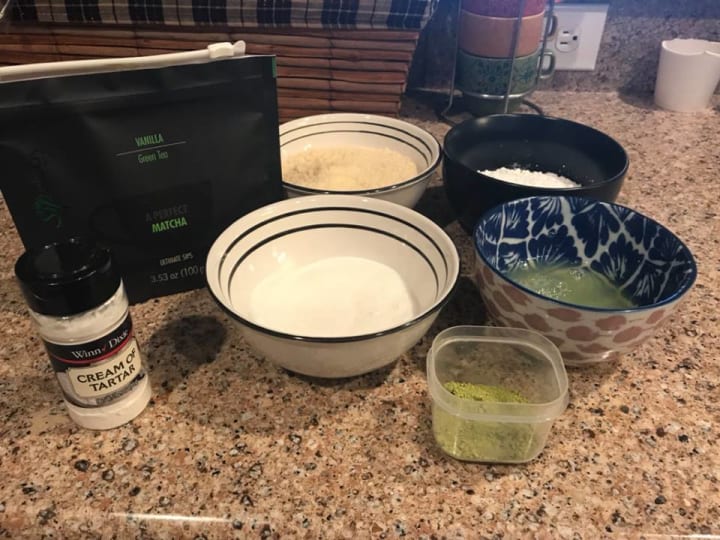
Your dry ingredients include:
- 1 Cup of Sifted almond meal
- 3/4 Cup of Powdered Sugar
- 1 TBSP of Steeped Tea's Vanilla Matcha
And lastly, your wet ingredients:
- 3 Egg Whites
- Cream of Tartar (add just enough to make soft peaks)
- 1/2 Cup of Sugar
Cookie Time!
So, to get started on the cookies, you first want to make soft peaks. I know there isn't an exact measurement for the cream of tartar, but that's really only because you don't need a lot to make it happen. So, first, pour the egg whites into the stand mixer and start whisking at medium speed. Add your cream of tartar until the egg whites (typically clear) turn a soft white color. Whisk until soft peaks begin to form. The mixture should look something close to frothed milk, and you should be able to see the indents from the mixer in the mixture. The soft peaks will look like small, soft little mounds.
Next on the to-do list would be to make those soft peaks hard (ha!). To do this, you're going to turn your mixer on medium to high speed again, and drizzle your sugar slowly into the mix as it's mixing. By the time all of your sugar is added, the mixture will look more like whipped cream instead of frothed milk, and it will form a firm little peak.
Time for the Dry ingredients!

All Mixed Together!
In the extra bowl, you can go ahead and mix together all of your dry ingredients and lightly whisk them until they are perfectly blended. The matcha will make it a lovely green color.
So, now that the dry ingredients are all mixed together, you can add them to your wet ingredients. BUT BE WARNED!
Macarons can be finicky, so you don't want to add all of your dry ingredients right away. So what you're going to do is add a third of it to your wet ingredients and use your rubber spatula to fold it all together. Then add your next third to the mix and fold it until it is all well combined. Then add your last third of the dry ingredients to the mix and fold it all together.
Now, here is where it gets finicky. You don't want to over mix or under mix. What you're looking for when you're mixing together the batter is a ribbon consistency. So keep folding all of the ingredients together.
To test your batter, scoop a little bit out with your spatula and let it fall back into the bowl. If it plops back into the bowl like a chunky mess, then it isn't ready, so keep mixing. If it drizzles into the bowl and kind of folds on top of itself, then you have succeeded in getting the ribbon consistency. It should look more like cake batter at this point.
Time to Pipe!
Work smart, not hard, y'all.
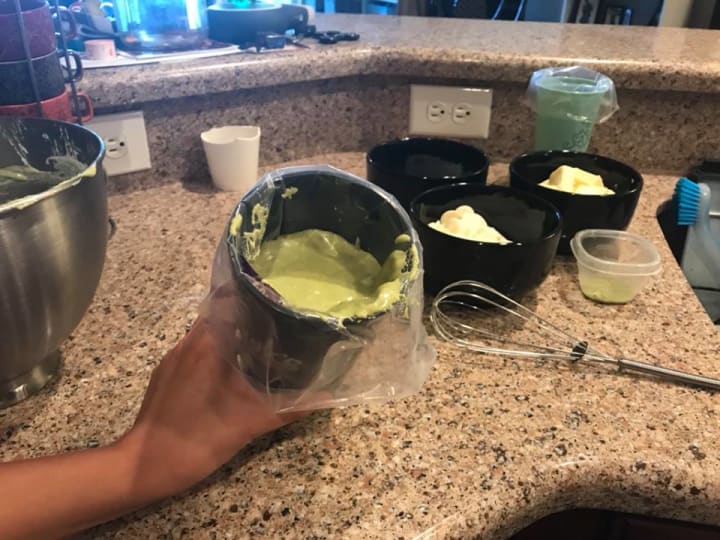
Now that our batter is ready, it's time to pipe! Nikki has a super cool way to prep her piping bag.
She uses a cup to hold the bag in place. She twists the bag shut at the nozzle, folds the nozzle back against the bag, and puts the whole thing into the cup, tucking the rest of the bag over the edge. This makes it easier to scoop your batter into the piping bag.
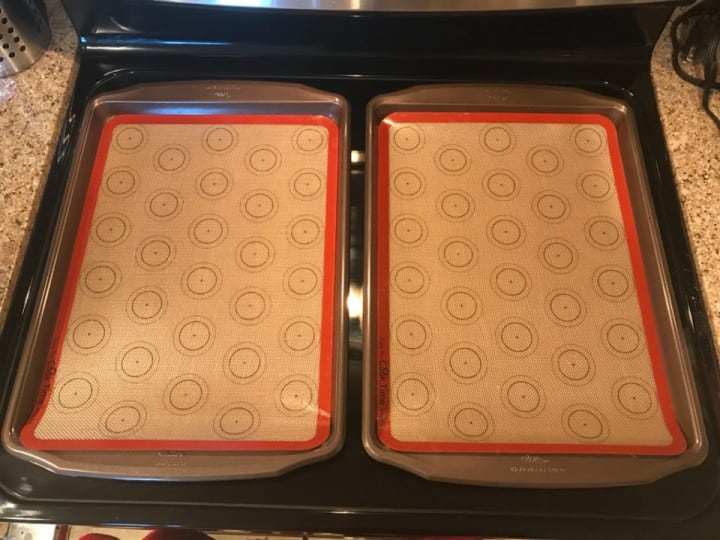
So, now that the bag is prepped, push the mixture down towards the nozzle and get ready to pipe! Beforehand, if you want, you could draw small circles on your parchment paper to act as a measurement for your cookies. If not, try to pipe out 1-1/2" circles on your parchment paper. Or you could be like Nikki and find an amazing silicone template on Amazon.
The Best Macaron Template Ever!
Now that your cookies are piped out, it's time to, as Nikki puts it, DISCIPLINE them.
Basically, what this means is that a bunch of air got trapped in the batter while you were prepping it. Those air bubbles can cause your cookies to break while they bake.
So, the best way to get the air out is to take your baking sheet with the cookies and bang it a few times on a hard surface, like a marble counter top. When you see small craters in the cookies, that means you got a good portion of the air out.
NOW LET THEM SIT.
This is another important step in making macarons. Now that all of the cookies are piped out and disciplined, let them sit for a minimum of 30 minutes to an hour. This will allow those egg whites to form something like a crust over the cookies that will prevent them from breaking while they bake. It also helps the cookies form their "feet," meaning the little ridges on a macaron.
While you're waiting for your cookies to set, go ahead and preheat your oven to 320° Fahrenheit, and prepare to get started on the filling. Nikki and I decided to make a white chocolate, matcha butter cream, and it is absolutely to die for!
Here's what you'll need:
Filling Time!

All You Need to Make the Tastiest Butter Cream!
- 2 sticks of unsalted room temperature butter, chopped
- 1/2 cup of powdered sugar
- 10 ounces of white chocolate melting wafers (NOT CHIPS)
- 1/2 tsp of Steeped Tea's Vanilla Matcha
So, while we wait on the cookies to settle, we're going to get the filling started. First, you're going to melt your chocolate melting wafers in the microwave in 30 second intervals until it's smooth. Wait a minute or so for the chocolate to cool, because if the chocolate is too hot, it will melt the butter and ruin the buttercream.
Now, pour your chopped up, room temperature unsalted butter into the mixer and start mixing at medium speed. As it's mixing, you'll notice the butter seems to kind of double in size. It's because you're whisking air into the butter, making it light and fluffy in appearance.
Once the butter is fluffy, you can add your powdered sugar. It's recommended not to add all of it at once, as powdered sugar WILL go flying everywhere. Save yourself a mess! Turn off the mixer and add half of the powdered sugar to the butter and start mixing on low. Once it's well mixed, turn off the mixer and add the second half of the powdered sugar and mix well. Once it's all mixed up, add your matcha and mix again on low.
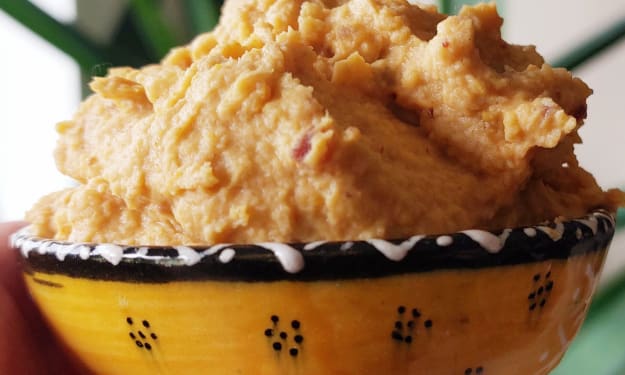
Now it's time to add your white chocolate. Put your mixer on medium speed and start drizzling your chocolate in as the mixer is going. Once all of the chocolate is in the bowl and the buttercream is well mixed and fluffy, you're ready to go!
This buttercream is lightly sweet, smooth, and beautiful. I was almost tempted to eat it all instead of waiting for the cookies to finish. So be sure to try a little for yourself; you won't regret it!
Now it's time to check the cookies! At this point, they should have been sitting for a while. You'll know your cookies are ready if you can lightly touch the top of one cookie and no batter gets on your finger. It should have a firm coating.
Baking the cookies is actually the easy part. We put them in our 320° oven for 8 minutes. After the 8 minutes, we rotated the pan and baked for an additional 8 minutes.
Viola!
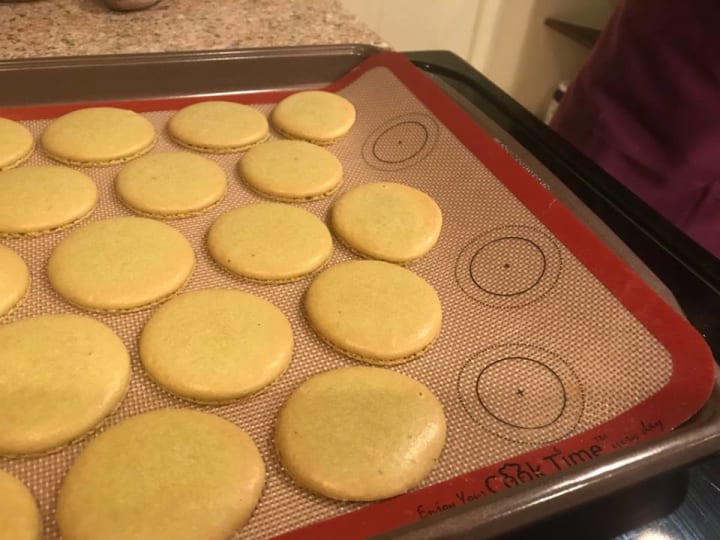
Deliciousness!
The result is a perfect little cookie, with perfect little feet. It's very important to give them a chance to cool, for AT LEAST 10 minutes. These cookies are delicate little things, so you don't want to try working with them right away—otherwise they might break.
Once they've cooled a bit, you can get ready to pipe the filling into your cookies. Firstly, you don't want to try and pick the cookies up. They will stick to the parchment paper and could break. The proper way to do it is to peel the cookie away from the parchment paper. Peel all of your cookies off the paper and flip them. Fill your second piping bag with your amazing buttercream and go to town!
Don't put buttercream on all of the cookies; remember, macarons are sandwich cookies. For each cookie you add buttercream to, you need another cookie to top it off.
In Conclusion!

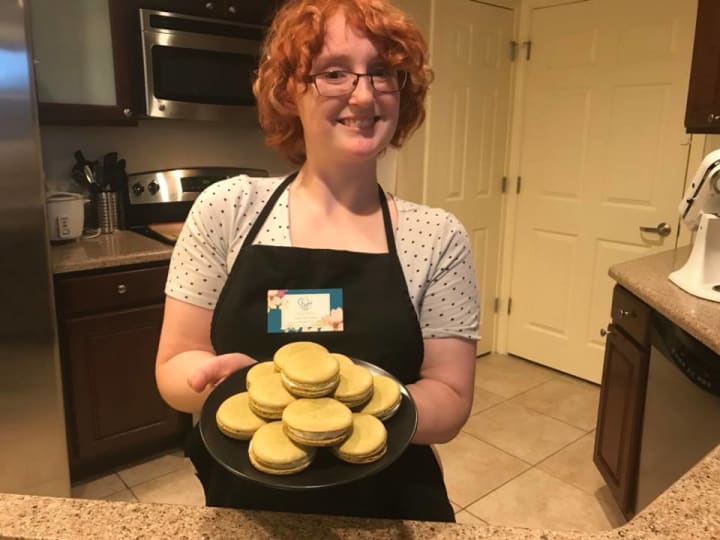
Perfect Matcha Macarons!
The end result should be perfect little macaron sandwich cookies. For the best flavor, put them in the fridge for AT LEAST a few hours. They are at their best if they are in the fridge for a full day.
However, if you're impatient like me, eating a fresh one isn't bad; just a bit messier.
These cookies are lightly sweet and very soothing! The buttercream is smooth, and the cookie itself is spongey and delicious!
For those of you who aren't a big fan of the flavor of matcha, FEAR NOT! These cookies do not have a strong matcha flavor. In fact, they might remind you of vanilla wafers, as it has a lovely, strong vanilla flavor that pairs perfectly with the white chocolate matcha buttercream.
As far as health benefits go, matcha is absolutely riddled with them! While I can't say that this is a low calorie treat, these cookies do have an abundance of antioxidants! The great flavor is just a perk!
I hope you guys enjoyed this tutorial! Stay tuned for more fun, and amazing recipes and stuff in the next Ginger Tea Reviews!
Remember, there is a great big world of tea out there, and together we can explore every last inch of it!
PS.
Like what you read? Support my blog by sharing with your friends and family! Share far and wide! Drop a gift down below if you're feeling particularly helpful.
Wanna try the amazing Vanilla Matcha? Check it out, here! It's smooth and relaxing, and it's an absolutely perfect addition to your tea collection!
Have a suggestion for a review, hit me up! I love to hear from you all! Follow me on my Facebook page, or on my Instagram, or on my Twitter page!
I appreciate your unending support! Thanks, guys!
About the Creator
Alexis Hustus
I am a writer, tea enthusiast, and a massive nerd. But at least I'm cute! Follow me for fun and educational posts!
Keep reading
More stories from Alexis Hustus and writers in Feast and other communities.
An Ode to the Flavours of Rhodes
I write this as the sun shines. The blades of grass that are ankle-high on my lawn shimmer as the wind ruffles through them in swirls. They look like they are watching an erratic tennis match. From here, in my kitchen, it is tempting to imagine sitting amongst them, perhaps with a bowl of strawberries and cream on my lap. But then, a big, dark, blooming cloud sashays across and blocks out the sun, stealing the shimmer of the grass and the golden light from my patio window. Cold drops down like the blade of a sword, and I remember that I can't sit on the grass because the earth beneath it is soaked with months of rain and that if I wanted to enjoy the warmth of the outside, I would need thermals to see the distance. The swing in temperatures going on today is verging on violence
By Caroline Jane3 days ago in Feast


Comments
There are no comments for this story
Be the first to respond and start the conversation.