
Making your first Pie
Pumpkin, Apple, Pecan, Sweet Potato, Rhubarb, Sugar-Free or not

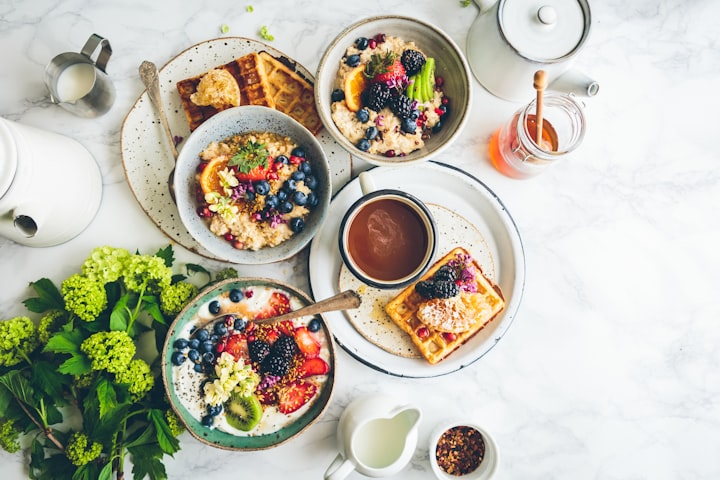
When it comes to dessert you can choose from just about anything. Cakes, brownies, ice-cream, cookies, lemon bars, tarts, and of course, pie. Traditional, American Thanksgiving often has more than one pie option to choose from, to satisfy taste, seasonal availability of making from scratch, and allergy restrictions.
If you're family didn't make pie, because you all were in charge of bringing the cranberry sauce, you would have, like me, been left with the desire to learn how Uncle Johnathan and Aunt Tina were able to make their pies from scratch.

You'll decide on pumpkin because to you, Thanksgiving meant pumpkins. The first year you follow two recipes you find on the internet from a site called Allrecipes.com and foodnetwork.com, you combine aspects you like from each so that you are still being creative. You'll leave out the corn syrup but otherwise follow the recipe. You'll watch YouTube videos on how to know when your pumpkin is cooked sufficiently, a crucial step to making the pie filling is making sure the pumpkin is baked through and the skin is easily removed. You'll still pull it from the oven too early because it's your first attempt and you've never worked with pumpkin before. Overall, you'll learn that even if every step doesn't go how it was supposed to, you still made something edible and half way decent.
The next year you'll make your second attempt. You'll reference the recipe you had found from the year prior but you'll make adjustments. You'll get your pie crust recipe from your mother's lemon bar recipe (surprising results) and use sweetened condensed milk instead of evaporated. You'll eyeball all the other ingredients adding half brown sugar and half white sugar. This time you'll cook the pumpkin all the way, till the skin comes off in one clean pull. You'll save the seeds this time too (something you neglected to do the year before) and make seasoned pumpkin seeds for snacking later. And you'll be left with not one but two pies this time.
You'll realize that even though you got called a fake baker and your oven was an easy-bake, that you were where you needed to be. You'll go on to make banana bread muffins from scratch by memory without referencing anything at all. A sense of accomplishment that needs no validation, just a humble brag to say "I did that, I am proud of me."
There is something magical or artful about being able to take the basics of what you have taught yourself and what you have learned from others, either by watching their tutorial or following their recipe, and creating something of your own.
Pumpkin Pie Recipe
- 1 small pumpkin
- 1 can sweetened condensed milk (standard size from the grocery store 8-12oz)
- 1/2 cup brown sugar
- 1/2 cup white sugar
- 1-2 tbsp cinnamon
- 1-2 tbsp nutmeg
- pinch of salt to taste
- 2 eggs or bob's red mill egg replacer
- 1-2 tbsp vegetable oil
1. Pre-heat your oven to 350-375 degrees Fahrenheit
2. Cut the stem off of your pumpkin. Then place your pumpkin cut side down, and cut pumpkin in half. Remove the seeds and insides of the pumpkins (you can save the seeds for later)
3. Add your vegetable oil to the insides of the pumpkin, just lightly coat each side.
4. Place your pumpkin halves cut side down on an aluminum foil lined baking sheet and place in your oven for 45-1 hour or until you can see the skin peeling up from the edges, light browning is okay.
5. Remove from the oven and let cool enough to touch and peel from itself. Cube pieces and place in a blender with your sweetened condensed milk, brown and white sugars, eggs or egg replacer, salt, cinnamon, and nutmeg. (if your blender is not big enough you can do this in batches)
6. Once your crust is ready and done with its blind bake, pour your mixture through a sifter (to remove any possible lumps or inconsistencies from your mixture), until about 2/3 or 3/4 of the way to the top of the crust (filling will rise while baking and fall when cooling)
7. Bake at 350 degrees Fahrenheit for 45 minutes to 1 hour or until set and it passes the clean knife test (just like your cupcakes, cakes, and brownies). Crust should be golden. You can brush with butter or egg if desired before or during baking.
8. Cool and Serve (whipped topping is optional, although highly recommended)
Pie Crust
- 2 cups flour
- 1 cup butter
- 1 tbsp water at a time
1. Make sure your butter stays as cold as possible, not frozen, just keep in the fridge until you're ready. Cut one 1 cup of butter into 1/2 inch cubes.
2. In a bowl add your 2 cups of flour and combine with your butter.
3. By hand press the butter and flour together until you get a course texture or fine crumbly pieces.
4. 1 tablespoon at a time add water until the mixture forms a together in a ball, if you add too much water and it becomes sticky you can add extra flour.
5. Kneed your pie dough on the counter until one solid mass, depending on size of your pie you will get one to two crusts from this. Wrap in seran wrap and place in refrigerator to chill.
6. Once pie crust is ready to be used, remove from the fridge and cut into 2 equal pieces (or keep as one depending on the size of your pie pan)
7. Roll your crust until 1/8-1/4 of an inch, add flour to your rolling pin and surface to avoid sticking, transfer your pie crust to your pan.
8. Blind bake your crust for 5-10 minutes (using dried rice as a weight to avoid the crust rising and leaving more room for filling) **you can use an egg wash on the bottom of the crust if you would like, optional NOT a requirement
Roasted Pumpkin Seeds
- pumpkin seeds
- olive or vegetable oil
- salt
- pepper
- garlic powder
1. Clean off excess pumpkin guts (as I call them) and dry
2. Preheat oven to 350 degrees Fahrenheit
3. Toss seeds in olive or vegetable oil, salt, garlic powder, pepper, or any combination of spices you choose
4. Bake until toasted and browning slightly on the edges about 15-25 minutes, flipping and tossing occasionally
5. Cool, serve, and enjoy (can be kept in a storage container or jar to preserve freshness)
About the Creator
Keep reading
More stories from Shasta Scott and writers in Feast and other communities.
How living on your own changes the food you eat
One of the most exciting parts of moving away from living at home was the idea that I could eat what I want, when I want. And to some extent this is true. I figure out what my budget is after each of my bills is paid and I curate my meals based on that.
By Shasta Scott3 years ago in Feast
El Coto - Great Tapas In Newcastle
Introduction Someone once said that Tapas was just Spanish Leftovers. If they are just leftovers I would love to try the full meal, but that was just a joke and leftovers are usually smaller portions of what they were leftover from.
By Mike Singleton - Mikeydred6 days ago in Feast
Pohela Boishakh
Bengalis worldwide commemorate Pohela Boishakh, the inaugural day of their new year, with the exclamation "Shubho Noboborsho!" This occasion serves as a tribute to their rich cultural heritage, age-old customs, and the melodious Bengali language (Bangla), which holds the distinction of being the second most widely spoken language in India. In a show of solidarity, Duolingo, the leading language learning platform globally, partakes in the festivities by curating a playlist featuring iconic Bengali tunes by renowned artists such as Rabindranath Tagore, Kishore Kumar, and Anupam Roy. Immerse yourself in the enchanting melodies of Bengal and embrace the essence of Pohela Boishakh! This year, Pohela Boishakh will be observed on Sunday, April 14.
By SIAM HOSSAIN TURZO6 days ago in Feast


Comments
There are no comments for this story
Be the first to respond and start the conversation.