
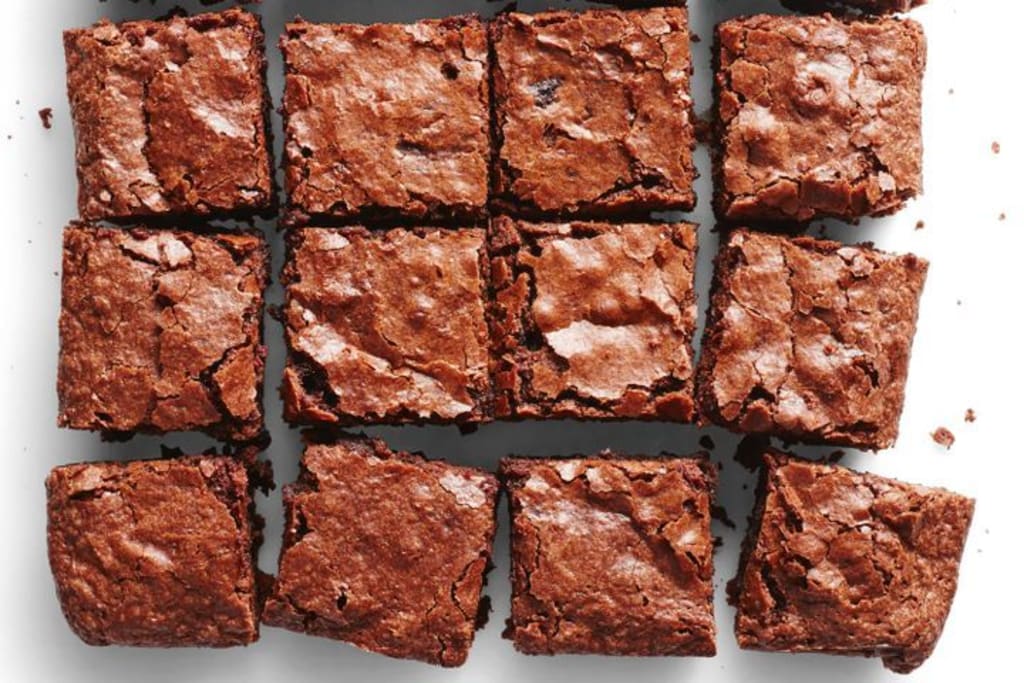
Gooey Fudge Brownies That Are To Die For!
A gluten-free and low-fodmap recipe that still tastes delicious!

I learnt this recipe at one of my very first jobs as a Pastry Chef. It was a small family business and I was confident that the recipes would be simple and the product flow slow, but steady. As it turns out, I was only half right. It took only a few weeks to master their from-scratch recipes but I think that was in part because I was run off my feet with the amount of products they sold in just one day! This brownie was by far one of the most popular slices, so it was no surprise that I ended up making it at least once or twice a day. Onto the recipe!
Ingredients and Equipment List:
340 grams Salted Butter
One Tablespoon Vanilla Essence
400 grams Caster Sugar
180 grams Brown Sugar
Six Large Eggs
140 grams Gluten-free Flour
80 grams Cocoa Powder
150 grams Chocolate Chips
One 25cm square baking pan at least 5cm deep. If you don't have this size pan you can substitue for two smaller pans; such as two 10cm pans that are at least 6cm deep (this will affect baking time so be careful).
Step One:
Pre-heat your oven to 170 degrees Celsius with no fan. Brush your tin with melted butter or us cooking spray. Line both the base and sides of the tin with silicon paper. Do Not use Baking paper as it will stick to the base of the brownie (I learnt that the hard way...).
Step Two:
Melt your butter in a microwave-safe bowl until liquid.
Step Three:
Whisk together your caster and brown sugar in a large bowl. Try to unclump as many lumps in the brown sugar as possible.
Step Four:
Add your butter and vanilla into the sugar and whisk until combined.
Step Five:
Add your eggs one at a time, whisking gently only until clear (ie: until you are unable to see the egg in the mixture).
Step Six:
In a separate bowl, sieve your flour and cocoa together; removing any lumps.
Step Seven:
Slowly fold in your dry ingredients with the whisk. Stop once the mixture in combined.
Step Eight:
Add your chocolate chips. If like me, you buy a 200 gram bag, you can either use the whole 200 grams or eat the last 50 grams as a reward for all the hard work you've done so far!
Step nine:
Scrape your batter into the tin(s) you prepared earlier. Be sure to level out the batter so it bakes evenly. Place the tin on the bottom shelf of your oven and set your timer for 45 minutes.
After the first timer (and the washing-up fairy!) has finished check your brownies. Gently tap the surface with one finger, if the surface is firm and crunchy but feels almost liquidy underneath, then it will need another 15-25 minutes depending on your oven. If you like your brownies super-gooey then it is totally fine to take them out now.
Step ten:
Cut your Brownies! I usually cut mine into 16 squares but you can cut them smaller or larger if you want, or you could not cut it and eat it all yourself as you binge-watch Netflix - No shame here!
If you somehow have any brownies left over, they can keep in the fridge for up to a week in an air-tight container. Eat them cold or microwave for 10-20 seconds and enjoy with some vanilla ice-cream.
Thanks for reading and enjoy your Baking!
About the Creator
Sweet Treats
Pastry Chef with a sweet tooth. Ready to share my all time favourite recipes with everyone!
Keep reading
More stories from writers in Feast and other communities.
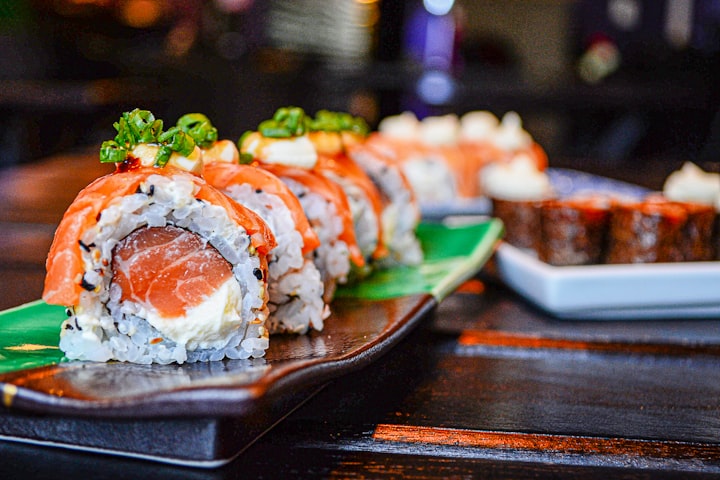
Unveiling the Epicurean Journey of Sushi
In the vibrant annals of culinary history, few dishes possess the storied legacy and global resonance as sushi. Originating amidst the bustling streets of ancient Edo, now modern-day Tokyo, sushi has transcended its humble beginnings to attain the status of a revered gastronomic art form. Join us on an odyssey through time and taste as we unravel the intricate tapestry of sushi's evolution, craftsmanship, and cultural significance.
By Betsy Goeh4 days ago in Feast
Hidden Happiness
The world in which we live, is constantly changing, and this applies even more so in these days in which we live. With the implementation of AI into the workplace, people are beginning to fear for their jobs. With the rumors of wars circulating across the globe people are falling into fearful states, that are spurred on by changes, the likes of which we have never in human history, experienced before.
By Kaylon Forsyth6 days ago in Humans


Comments
There are no comments for this story
Be the first to respond and start the conversation.