
Gingerbread house
The yearly tradition to be
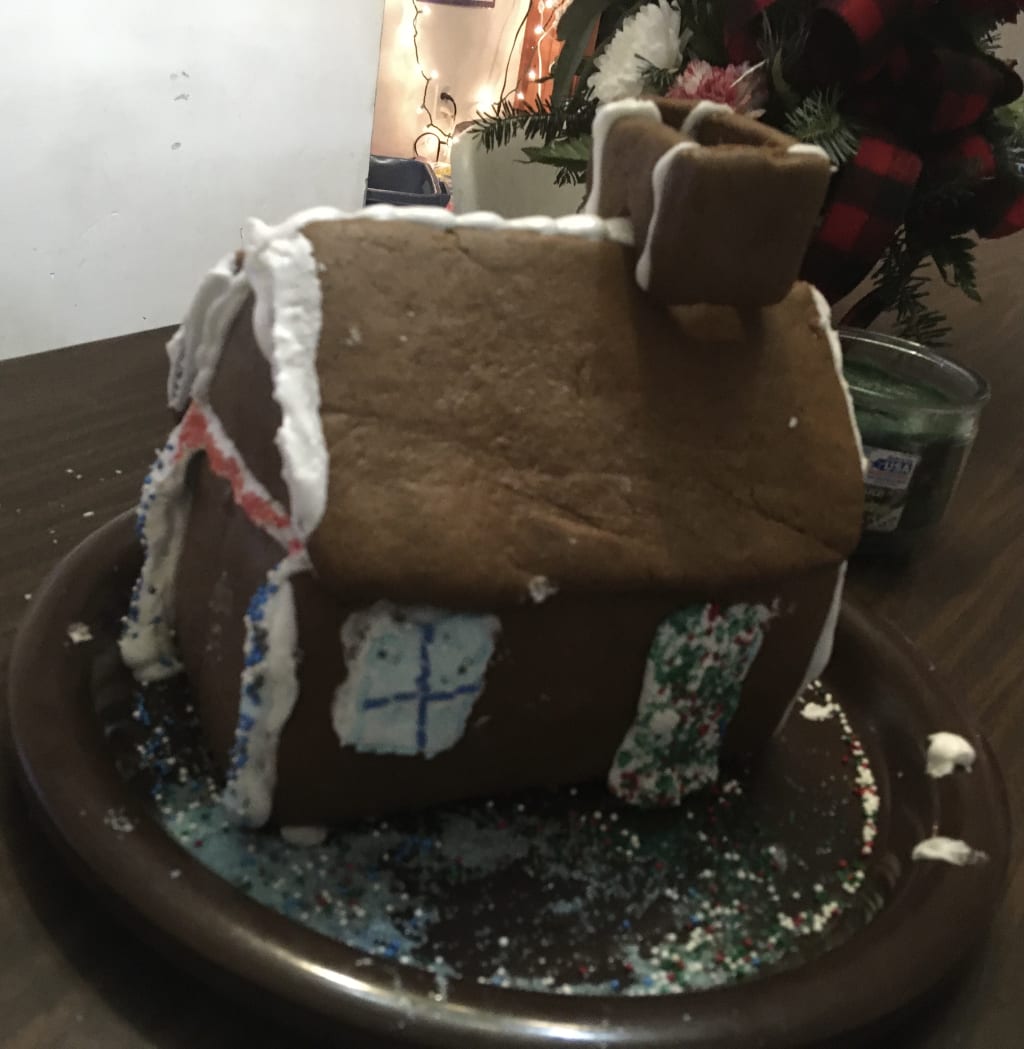
Above: My first ever gingerbread house (From Scratch!!!!).
My family has never had a gingerbread house for Christmas before. But after I read yet another Christmas book which had a gingerbread house in it, I decided I would (hopefully) make one every year from now on.
This recipe was the first good recipe I saw and I think it turned out well.
Recipe from Sally’s baking addiction.com
Ingredients
3 cups (375g) all-purpose flour (spoon & leveled)
1/4 teaspoon teaspoon baking soda
2 teaspoons ground ginger
2 teaspoons ground cinnamon
1/2 teaspoon ground allspice
1/4 teaspoon salt
6 Tablespoons (85g) unsalted butter, softened to room temperature
3/4 cup (150g) packed light or dark brown sugar
1 large egg, at room temperature
1/2 cup (120ml) unsulphured or dark molasses
2 Tablespoons water
royal icing (the “glue”)
assorted candies (see post for suggestions)
Crusting Buttercream
1/2 cup (95g) shortening, at room temperature
1/2 cup (115g) unsalted butter, softened to room temperature
4 cups (480g) confectioners’ sugar
2 Tablespoons (30ml) milk
1/4 teaspoon pure vanilla extract
1/8 teaspoon salt
Instructions
Step 1: Make the cookie dough: Whisk the flour, baking soda, ginger, cinnamon, allspice, and salt together in a large bowl. Set aside.
Step 2: In a large bowl using a hand-held mixer or stand mixer fitted with a paddle attachment, beat the butter and brown sugar together on medium speed until completely smooth and creamy, about 2 minutes. Beat in the egg, molasses, and water on high speed. Scrape down the sides and up the bottom of the bowl and beat again as needed to combine. On low speed, slowly mix the dry ingredients into the wet ingredients until combined. Cookie dough will be very thick.
Step 3: Divide cookie dough in half, flatten into discs (about 4-5 inches in diameter), and wrap each tightly in plastic wrap. Chill in the refrigerator for 2 hours or up to 3 days.
Step 4: Preheat oven to 350°F (177°C). Line 2-3 large baking sheets with parchment paper or silicone baking mats.
Step 5: Cut into shapes: Remove each disc from the refrigerator and roll each out in between two pieces of parchment paper. Gingerbread cookie dough will stick to your counter no matter how much you flour it. Parchment is best. Roll out to about 1/4 inch thick. You want thick pieces for your gingerbread house. Lightly flour the underside of gingerbread house template shapes. (The dough is sticky and the paper may stick to it otherwise.) Using a pizza cutter or small knife, carefully cut the dough into the gingerbread house template shapes. You will need TWO of each shape. Re-roll dough scraps so you have enough dough for the whole house. Use any extra dough to create fun shapes using cookie cutters.
Step 5: Carefully arrange gingerbread house shapes onto prepared baking sheets, about 3 inches apart. If they lost some of their shape transferring to the baking sheet, straighten out the edges.
Step 6: Bake house pieces for about 18-20 minutes or until edges are lightly browned. Bake chimney pieces for about 12-13 minutes or until edges are lightly browned. Remove from the oven and allow shapes to cool completely on the baking sheets or on the counter. A flat surface is KEY for cooling– the gingerbread house edges very slightly curl up otherwise. Cooled gingerbread house pieces can be made up to 1 week in advance, cover tightly and store at room temperature or in the refrigerator. They can also be frozen for up to 3 months, thaw at room temperature before using.
Step 7: Construct the base of the house: Select a base for your gingerbread house. Start with two pieces: the front of the house and 1 side. Using a squeeze bottle, run a thick line of royal icing on one long edge and one short edge of the side of the house piece. Stick it to your base. Use whatever you have around the house to help it stand up. You can see in my video that I use snack bag clips. You can also prop it up with soda cans, a tall cup, water bottle, etc. Run a line of royal icing along the bottom of the front of the house piece. Stick it to your base, adhering it to the side of the house piece. Hold the two in place for a few minutes until the icing is partially set, propping them up as necessary. Repeat with the 2nd side of the house piece and back of the house piece. Pipe royal icing inside any seams, inside and outside of the house, to fill any voids. Don’t be afraid to go heavy on the royal icing “glue” — when it dries, it looks like snow! Allow it to set at room temperature for at least 1 hour before adding the roof pieces.
Step 8: Add the roof: The roof pieces will be placed on top of the house base. Run a thick line of royal icing on the inside edges of one of the roof pieces and adhere it to the base. Hold in place for a few minutes. Repeat with 2nd roof piece. Run a thick line of royal icing where the two roof pieces meet at the top of the house. Hold in place for a few minutes.
Step 9: Optional Chimney: The chimney is optional, but it’s a lot of fun. I recommend putting together the chimney separately, then adhering to the roof. It’s easiest to glue the chimney pieces together upside-down. Use thick lines of royal icing to assemble the chimney in the same way you put together the base of the house. (Except you’re not adhering it to a base because it’s going on the roof!) Allow icing to set by propping it up as necessary. Once set, adhere onto the roof. The chimney may not fit to the exact angle of the roof because both puffed up or lost some shape during baking and cooling, so use as much royal icing as necessary and you can cover any bare spots with buttercream during decoration.
Step 10: House must set: Before decorating, the icing on the entire house must completely set. Allow the entire house to set at room temperature for at least 3 hours, preferably 4-6 hours or even overnight before decorating. Cover and store leftover royal icing at room temperature or in the refrigerator during this time. It will be the glue for adhering candies to the house.
Step 10: Prepare the buttercream: Buttercream can be prepared up to 1 day in advance– cover tightly and store in the refrigerator overnight. Bring to room temperature before piping/decorating. With a handheld or stand mixer fitted with a paddle attachment, beat the shortening and butter together on medium speed until creamy, about 2 minutes. Add confectioners’ sugar, milk, and vanilla extract. Beat on low speed for 30 seconds, then increase to high speed and beat for 3 full minutes. Frosting will be very thick, which is what you want. If much too thick, add another splash of milk. Add a pinch of salt if frosting is too sweet. (I add 1/8 teaspoon salt.)
Step 11: Use buttercream, leftover royal icing, and candies for decorating.
Step 12: Don’t forget to chow down on your beautiful creation if you’re in the mood for eating it. Use your best judgment here, obviously the food will taste old after a few days!
About the Creator
Keep reading
More stories from Sapphira Waymire and writers in Feast and other communities.
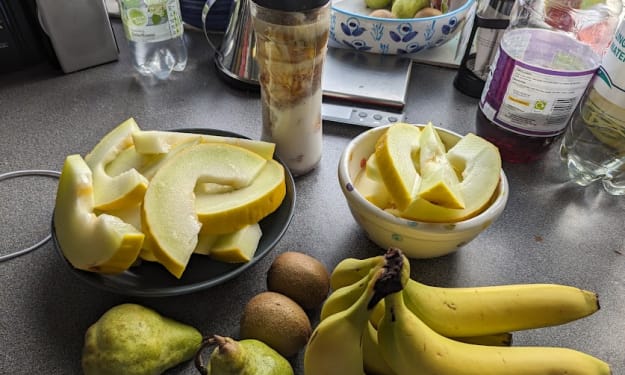
Fruit Based Smoothies And Kiwi Fruit
Introduction Many years ago, because I am diabetic, a nurse told me I should not eat any fruit because it contains fructose and my diet should essentially consist of celery, carrots and turnips. When I mentioned this to the consultant they laughed and said we need some pleasure in life and that should include food, just eat them in moderation.
By Mike Singleton - Mikeydred5 days ago in Feast
Gossamer
"Murray! Wake up!" He loved that period between waking and dreaming. To him, it was like entering another dimension; more of a dreamscape than dreaming itself. There was an otherness to it that he wanted to grasp and yet deeply respected the fact that it could never be his totally. This is what gossamer was; flighty and light, a wisp of smokiness, an idea suggested but not fully revealed, a slit in cloth, a copse in the wood.
By Rachel Deeming6 days ago in Fiction


Comments
There are no comments for this story
Be the first to respond and start the conversation.