
Biscuit Perfection
Threading the Needle Challenge


In my professional cooking career, I've worked in fast food, fine dining, casual dining, and even a small sandwich and ice cream shop. I cooked cuisine from all over the world (or at least bastardized American versions of it). Probably my favorite things to cook, are the staples from my child hood. One of those foods, and probably the most requested by my family and friends is fresh biscuits (savory scones to any of our friends from the UK). Every culture on earth has some sort of traditional bread that they make, some are very time consuming or difficult to make, but biscuits are among the simplest and easiest to do. The basic recipe comes to about $.25 per biscuit (depending on the size of the cutter you can make more small biscuits to make them cheaper per unit), and take only about thirty minutes including cooking time. I was recently, discussing love language with family and friends. Love language is the non-verbal ways that you show love to those you care about, and also it is what makes you feel loved when you receive it from loved ones. Most people have cues from their childhood that take them back to their earliest days of comfort and well-being. For me this is making food. I love to cook for family and friends. There is something about the smell of biscuits cooking that takes me to a special place, and bringing that joy to those I love makes me just as happy.
Biscuits are a type of quick bread. Unlike yeast raised breads, you are not required to knead, or wait for them to rise, rather baking soda and baking powder provide all of the leavening. This means that soon after you prepare your bread, it can go straight to the oven, and is ready very quickly. I lived for a time in Denver, and discovered that the biscuit recipe I had used for many years did not work. There are two main reasons for this. First, Denver is at a mile of altitude (1600 meters above sea level), leavening does not work as normal down at sea level. Second, Denver is a desert, and humidity is much lower than normal. At the very end of this story, I have included a high-altitude recipe. It took me several years to perfect biscuits in the mountains, but many people enjoyed them, and that is all the reward I needed. All of my ingredients are measured in grams, as I have found that being precise and consistent makes for perfect biscuits every time. I believe that scaling your ingredients is the only way to bake, though after more than thirty years making this recipe, in a hurry I have “winged it” a time or two. Feel free to adjust my recipe and convert it to what ever unit of volume or weight you prefer. I will be including a full recipe and a quarter recipe in my directions below. The quarter recipe makes four or five three-inch (seven and a half centimeter) biscuits, with the full recipe making about twenty. As said above, smaller cutters make more biscuits. Also, if you do not have a pan large enough for all of your biscuits, feel free to bake in two or more batches.
Most good cook books talk about the different methods of baking, such as sponge method or two stage method. Biscuit method is a third cooking method. The Biscuits Method has the following steps: Measure and combine dry ingredients; measure and combine wet ingredients; cut or pinch fat into dry ingredients; add wet into dry and combine; roll (or drop if making drop biscuits) into uniform layer; cut into preferred shape and size; pan and bake. Biscuits are fairly forgiving (if you make every mistake possible, the worst case is that they will become crumbly and uneven), and in my experience, even the ugliest biscuit still takes wonderful.

Step 1 – Measure and Combine Dry Ingredients – You will frequently hear this as “Mis en place”, a French term for “Everything in it’s place”. I normally throw everything into a large bowl, and mix together, the first few times you make biscuits you might want to measure out each ingredient one at a time. In this case: All Purpose flour (or gluten free flour mixture) 1200 grams (300 grams for quarter recipe), Salt 25g (6g), Sugar 60g (15g), Baking Powder 48g (12g), Baking Soda 12g (3g). This recipe will be using buttermilk, which has acid in it. If you choose not to use buttermilk, combine all the leavening, and use Baking Powder 60g (15g). Combine all ingredients and sift together (this can be done with a mixer, sifter, or even a wire whip.
Step 2 – Measure and Combine Wet Ingredients – There is only one wet ingredient, Buttermilk 800 grams (200 grams at 25%), if you do not have buttermilk, you can use 2% milk and add lemon juice or distilled vinegar. In that case combine 780 grams milk with 20 grams lemon or vinegar (195g milk, 5g acid). If you do not want to use buttermilk at all, it will slightly change the texture and taste of the biscuits, but I am all in favor of experimenting to see what you like. Soy milk as an example makes good biscuits for those who prefer vegan options. These are your biscuits now, let your freak flag fly.

Step 3 – Cut fat into Dry Ingredients – Traditionally, southern style biscuits were made with lard. Those have fallen out of favor, with many religions and health-conscious people eschewing pork products, for this reason, I use butter instead of lard. Those who are vegan can use hydrogenated shortening, or margarine as a substitute, although I do not prefer the taste and mouth feel of shortening. Fat should be as cold as you can make it and still have it workable (frozen butter will not combine at all), and some people have their milk nearly ice cold when they add it. Fat should be cut into pieces about the size of a pea, perhaps a quarter of an inch (half a centimeter) wide. This can be done using a dough cutter if you have one, otherwise you will need to pinch the pieces to combine them with the dry ingredients, be careful not to over handle the fat, as it will warm up in your hands, and liquid fat will change the texture of biscuits from flaky to crumbly very quickly.
Step 4 – Combine Wet Into Dry – Pour the milk into your butter and dry ingredients, mix gently so as not to cause fat to warm up, and being careful not to over mix (the protein that makes breads rise is called gluten, if you over mix, the gluten will over develop, and make lopsided biscuits). Pour dough out onto lightly floured bench or countertop (if your hands are covered in dough, putting a small amount of flour on your hands will allow you to easily remove it).

Step 5 – Roll Into Uniform Layer – I like my biscuits do be about two or three inches tall (five to eight centimeters), and since they double or triple in height when they rise, you should roll them out to about one inch (two and a half centimeters) on your bench. There are many things that might affect how much they rise, some of them are: Over mixing, melted fat, high altitude, old baking powder, and high or low humidity. As you bake more, you will get a feel for how much each of these things affects your biscuits. As part of the rolling process, I fold the dough over itself to add layers to the dough, I feel that my biscuits are flakier. Make a tri-fold as shown, rotate ninety degrees, roll back to one inch, and repeat, lightly dusting with flour as needed to prevent sticking. Do this up to four times, but be careful to handle the dough as little as you can, and try to keep it as cool as possible.


Step 6 – Cut Into Desired Shape and Size – I like larger biscuits, so I use a three inch round biscuit cutter, if you want smaller biscuits, or use some other shaped cutter, cooking time may need to be adjusted. Cut biscuits so that you waste as little dough as possible. You may recombine the waste dough and repeat if necessary. I do not like the texture of recombined dough, so I normally create a raft out of all the scraps. Basically, combine all of the waste dough, and roll in to tubular shapes that fill the empty space when biscuits do not fully fill their pan. Use the raft, when your edge biscuits are rising unevenly.

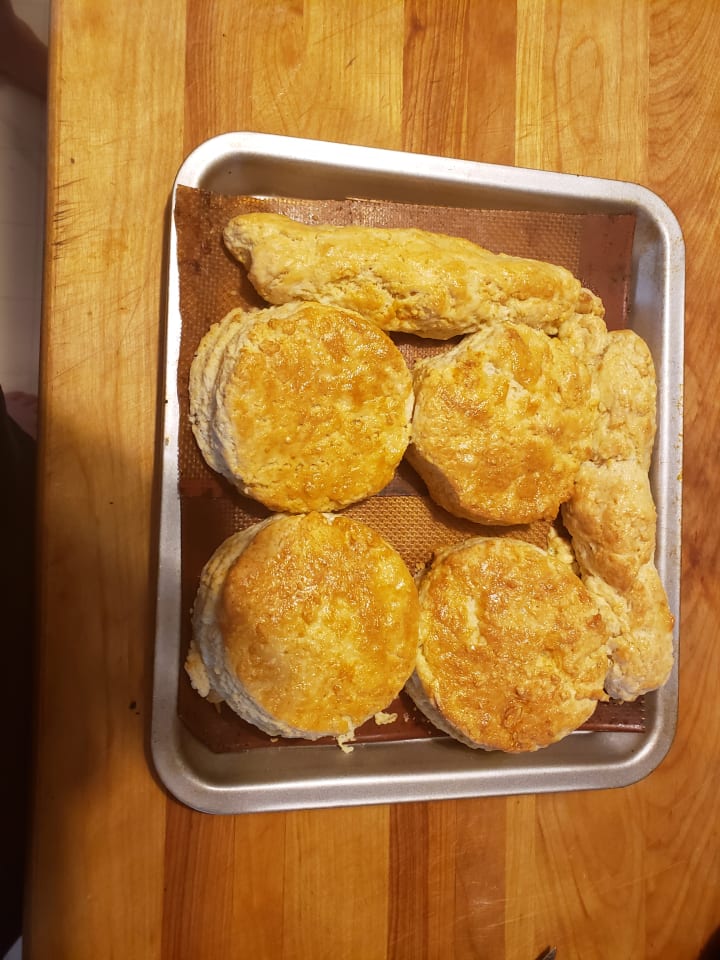
Step 7 – Pan and Bake – If you use an eighteen inch by thirteen-inch half sheet pan (45cm by 32cm), then eighteen biscuits fit evenly, with some empty space on the outside. Each biscuit should either lightly touch another biscuit or the side of the pan. Again, if the outside biscuits are not even, you might use the raft to fill in that space on your next batch. If you want your biscuits to get that nice shiny brown top, a light coating of beaten egg can be brushed over the top. Place the pan(s) of biscuits into a 400-degree Fahrenheit (205 c) oven and bake for fifteen to twenty minutes. If biscuits are smaller, or if the pan is smaller, reduce cooking time. If there are more than one pan, time might need to be increased. Also, since the quality and type of oven may vary from home to home, watch carefully the first time you make a batch of biscuits.

I like to enjoy the biscuits hot from the oven, but they can be stored covered with a towel for a few hours, or once cooled, can be placed into a sealed bag or container. It’s important to not stress any mistakes you might make. If your biscuits do not look like those of an experienced professional, give yourself time, once you have made them several times, you will find that they get better and better. Also, your failures probably taste just as good.
This recipe is for those who live 1000 (around 3200 feet) meters or more above sea level
High Altitude Biscuit Recipe
Ingredient 100%wt
AP Flour 1248g
Salt 24g
Sugar 60g
Baking Powder 29g
Baking Soda 7g
Butter 420g
Buttermilk 920g
total weight 2708g
Prepare with Biscuit Method. Bake at 400 degrees for 15-20 minutes
Add all the dry ingredients and sift together, cut or pinch in the butter, and then mix in the buttermilk. Mix as little as possible to bring it together, and then work the dough in three folds (fold both sides toward the middle)rotating 90 degrees between three folds (this produces layers of butter rather than stretching one long butter strand). Do at least 4 foldings, roll out dough about an inch thick and cut with biscuit cutters. Place all biscuits on pan touching each other, use any dough scraps as a raft (fill in any large empty space on the pan) to help them rise evenly in the oven. Coat with egg wash or oil spray to help even browning, and bake at 400 degrees for 15 to 20 minutes. Larger biscuits will require longer cooking time.
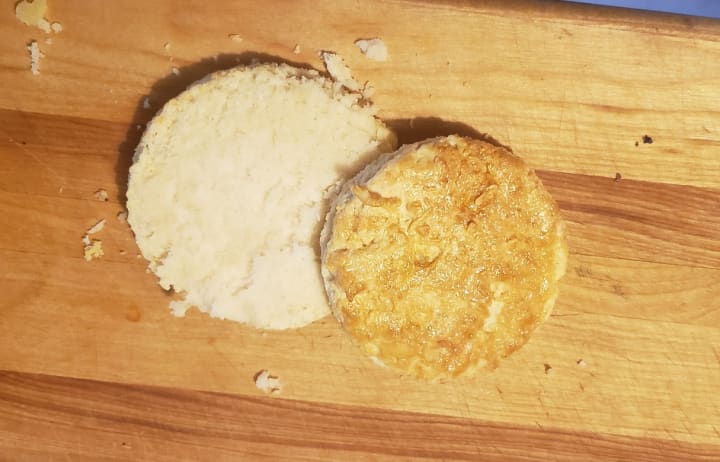
The finished product ready to become a breakfast sandwich, flaky and still warm
About the Creator
Brian Amonette
From chef to network engineer to shut in writer wanabee. Seems to be a natural progression.
Husband, father, grandfather; the support chain is long and varied with years of diverse experience and gaming knowledge.
Keep reading
More stories from Brian Amonette and writers in Feast and other communities.
Zen of Painting
I love painting miniatures. I have been playing various games that use miniatures for many years. There is a satisfaction that comes from having other people admire your handiwork. At root though, there is something even more satisfying, when you see yourself improving in a skill that is simple to begin, but increasingly more difficult as your skill improves. In the beginning, having a miniature that is partially painted is a big leap from using unpainted minis. A solid leap from there is when you start to become neat and skilled, and people start to admire your work. The next stage, is competition. I started entering my work in painting contests at some of the gaming conventions. Gencon, is one of the largest gaming conventions in the world. Over 100,000 people descend upon Indianapolis for four days of gaming and socializing. Some of the best painters in the world also attend, as there are numerous painting contests. As an example, speed painting, is an event where several artists are given miniatures, and are graded on the quality of their work, with only limited time, one hour in this case, to complete it. Here is video of this event, one of my favorites.
By Brian Amonette3 years ago in Gamers
What Happens To Your Body During Child Birth
The June 2004 date that should have filled the 33-year-old man and his wife with happiness, epitomized as they were ecstatic about the arrival of their newborn, was the gloomy period that will never come to an end. Hardly that they had had received this day as the one where they would say goodbye to their husband. Seeing that his wife suffered so intensely in the labour, the man's mind was emptied to the last fiber. It, eventually, took his life. The family saw their new born healthy and the mother safe from any complication. However, the loss of the father was not expected.
By Amine Oubih2 days ago in Feast
What Does a 1,200-Calorie Diet Look Like?
How to Calculate Your Daily Calorie Goal On a daily diet of 1,200 calories, most everyone will lose weight. By calculating your daily calorie goal, you can get a more precise look at what your calorie level should be to set yourself up for successful weight loss. This simple calculation will give you a daily calorie goal that can help you lose a healthy 1 to 2 pounds per week.
By Kaly Johnes7 days ago in Feast
We'z Walking on a Path Ruled By Numbers
This road has felt endless, yet limited; every step tracked. Inching away along this path, I feel trapped. Confined. Left to this narrow passage that may one day amount to something greater. Time is not a concept. Only distance. From start to finish, I laugh and cry and attempt to convince myself that this is worth it. I cannot stray. I must keep going. Every step etched, is a step taken, is measured as more than before. I cannot even recall how I got here. Maybe I don’t even really exist. Just another tick marking off a perceived presence. Of what though? I am just another line drawn. Nothing more, nothing less.
By Oneg In The Arctic5 days ago in Fiction


Comments
There are no comments for this story
Be the first to respond and start the conversation.