

For the Brownie:
- 175g dark chocolate
- 175g butter 3 eggs
- 200g caster sugar
- 100g plain flour
For the ganache
- 200g dark chocolate
- 200g double cream
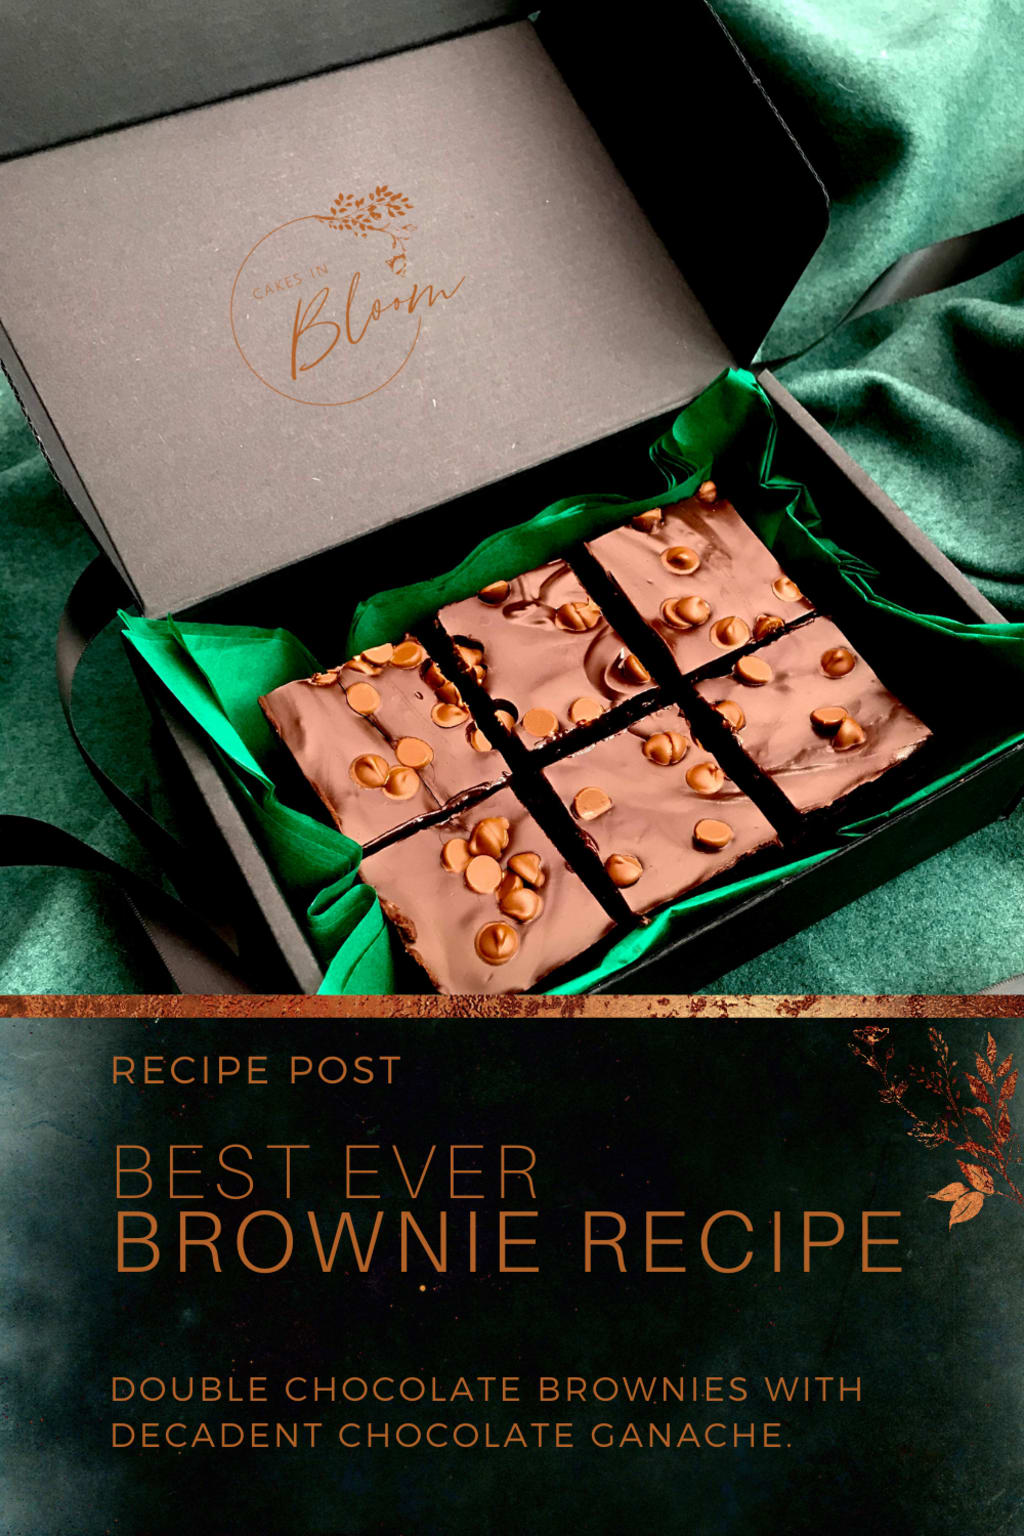
These brownies are a favourite in my house. I make them for special occasions, treat boxes, and recently I have been posting them to friends who I haven't been able to see due to... everything.
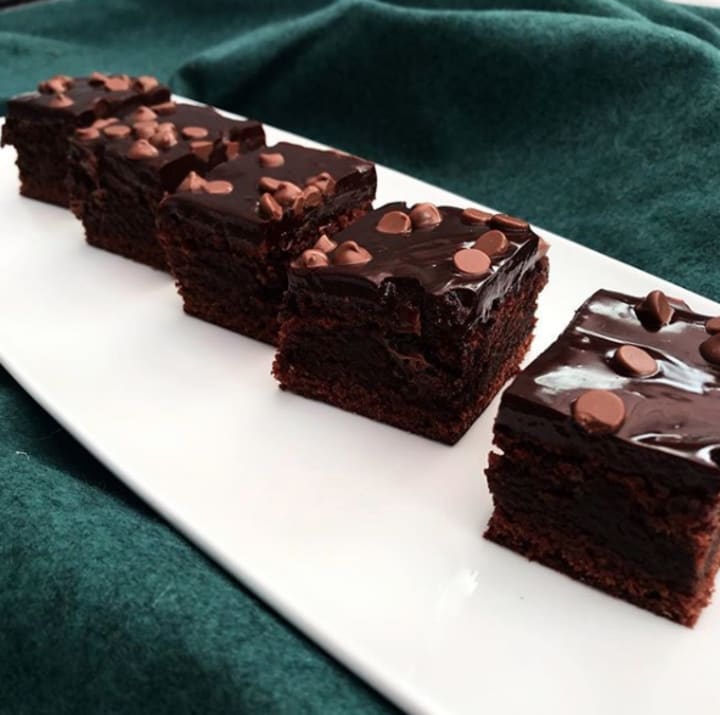
They're decadent, really chocolatey, fudgy and squishy and moorish. They're then topped with chocolate ganache, and chocolate chips, for that triple chocolate goodness. If you want to go over the top, feel free to replace the chocolate chips with nuts, sprinkles, marshmallows, or really anything that makes you go "yum".
This recipe makes an 8" square pan of brownies, which then portions nicely into 16 brownies. If you don't have an 8" square, any approximation would do, so a 9"x7" rectangle, for example, would be perfect. They are also relatively foolproof - it doesn't rely on super specific measurements, and easily tolerates changes to the ingredients. I've made these with both milk and dark chocolate without any problems, and have used all types of butter and eggs to pretty delicious results. So without further ado, here are your steps:
- Preheat your oven to 180°C. Yes you must preheat your oven. No, you do not (for this recipe) need to adjust the recipe to a fan. Again, this recipe is very forgiving, so whether you heat your oven to 160°C or 190°C you should still get brownies, provided you check your baking time.
- Line your tin. Be that a square, rectangle, round, or whatever. Line your tin with baking paper. If you want to be super diligent also grease your tin, but again: forgiving recipe. I'm sure you see a theme emerging.
- Melt your butter and chocolate. I do this in the microwave. You can do this over a double boiler, in a pan, or any other way. I find it's easier to melt the two together, as I run less risk of burning my chocolate, but you do you.
- Whip your eggs and sugar. This step is optional and will really define the end result of your brownies. I know, talk about an oxymoron. Basically, the longer you whip your eggs for, the fudgier your brownies will be. When I make these for wedding dessert tables, I whip my eggs and sugar in my stand mixer until theyre pale and fluffy. When I make these at home, I whisk up my eggs and sugar for a minute until they're uniform, and then get on with it.
- Add your chocolate mixture to your egg mixture. Chocolate to egg. The chemical reaction that happens when eggs and chocolate mix means that your chocolate will start to seize if you add the eggs to it. You want to do this in at least 2 stages: first, add a third of your chocolate mixture to your egg mixture and mix vigorously. This will temper your eggs, so that they reach a temperature closer to your warm chocolate mixture. Then add the rest of your chocolate mixture and mix vigorously again. I do not recommend doing this with a whisk, but instead with a maryse or scraper, as your mixture will thicken and a whisk will not be your friend.
- Add in your flour and gently fold it through your chocolate batter. At this point, you want to harass your cake mixture as little as possible. The mixture should be shiny, slightly elastic, and uniform.
- Pour your batter into the tin, pop in the oven and bake for 20-25 minutes. The general rule is that if your batter goes into the oven shiny, the brownies will have that delicious crackly top. Not that it matters with these brownies, as we'll be pouring ganache over the top of them. But this step is why you want to make sure you line your tin and preheat your oven: the longer your cake mix sits around before going in the oven, the more dense and stodgy your brownies will be.
To check whether your brownies are done:
- the top should be shiny, cracked, and firm to touch
- the brownie should spring back to the touch (not like a cake, but your finger shouldn't sink into it)
- a knife inserted should come out almost clean.
You can absolutely just stop here. Let the brownies cool in the tin, slice and serve with a cup of tea.
But if you want to make them extra boujie, here's the ganache recipe:
- Bring your double cream to a simmer. Do not boil your cream! Trust me, it'll mess with your chocolate. Whipping cream is also an appropriate substitute.
- Add your chocolate (melted or chunks) to your hot cream
- Stir to combine, until uniform and shiny
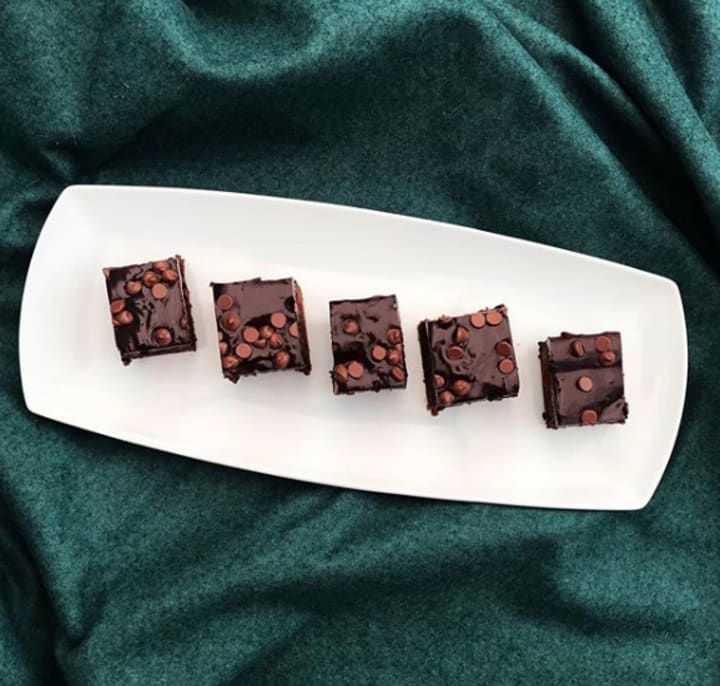
You then pour the ganache over the brownies, top with any manner of sprinkles and toppings, and leave to cool. Preferably, leave these to cool overnight. I know it's hard. They just hold up so much better when they've rested and cooled properly. You don't want all the hard work of making these to go to waste when your brownies fall apart!
Enjoy your chocolate treats! Leave me a comment to let me know what you topped yours with, and if you liked them.
If you want to watch me make these brownies, the link is here.
About the Creator
Giulia DL
Pastry chef but not only, I write a bunch of unrelated things from recipes to product reviews to day-in-the-life whenever the mood strikes.
instagram @cosedolcissime
Free Cone Day!
Call the roller of big cigars, The muscular one, and bid him whip In kitchen cups concupiscent curds. Let the wenches dawdle in such dress As they are used to wear, and let the boys Bring flowers in last month's newspapers. Let be be finale of seem. The only emperor is the emperor of ice-cream.
By Kendall Defoe 7 days ago in Feast


Comments
There are no comments for this story
Be the first to respond and start the conversation.