
Makeup for Photoshoots: The Definitive Guide
Makeuptips for Photoshoots
You will be a better photographer if your makeup skills are good enough to do photoshoots with models, families, and weddings. You are the final judge of the overall appearance of your images. Even if you have a makeup artist on staff, it is your job to know how to apply makeup to your subjects. A good understanding of makeup for photoshoots is key to getting the look you want for your images. This will help you keep your client or subject happy, and allow you to spend less time editing in Photoshop.
Lighting during Makeup Application for Photography
Remember that makeup for photoshoots doesn't capture color and makeup in the same vibrancy as it does in real life. It is important to apply more makeup for photoshoots that you would when you go out looking good in real life. You don't want your makeup to look too strong in photos. The way makeup looks changes due to light bouncing off it.
Make sure you apply the makeup to the subject or model under the same light source that you intend to use for the photos. Otherwise, it may appear darker or lighter than the makeup did when it was applied. Natural light is the best lighting for makeup application. If it looks good in natural light it will also look great in any other light. The color temperature of most electronic flash/strobe lights is very close to that of natural daylight. If you are shooting with an electronic flash, whether in a studio or outdoors, it is best to use natural lighting to apply makeup.
If you have to apply makeup under artificial lighting, the following information should be kept in mind.
Fluorescent lighting can make skin appear very pale and washed-out. Fluorescent lighting can cause skin to look very pale and washed out. Depending on the bulb type, fluorescent light bulbs may have different colors. Even one bulb can produce different levels of intensity or color depending on its surroundings. These conditions make it difficult to assess the true makeup of a subject. Therefore, fluorescent lighting should not be used.
Incandescent lighting, a traditional household light bulb, emits a lower color temperature than electronic flash lights. It will emit a warm yellow light. Because it doesn't permit for any detail of flaws, this is very flattering for most skin types. You will want to be able to see all flaws in the application process.
The color temperature of halogen bulbs is more like daylight than that of fluorescent or incandescent bulbs. This makes them the ideal artificial light choice if natural light is not available. Many constant photography studio lights use halogen bulbs. If you are using these lights for makeup, make sure to use the same lighting to illuminate your models during their application.
LED makeup lights are now available with adjustable color temperatures. This could be a great investment if you are certain that you will be using makeup on photoshoots regularly and won't have natural light to apply it.
Photoshoot Makeup Tips
To make sure that your makeup looks flawless, you should always start with a primer and a moisturizer. This will ensure that the rest of your makeup is smoother. There are many moisturizers out there, including Nerium, which I've heard is a good choice.
To counteract redness and save time, you can use a green tinted primer/concealer if the subject has sensitive skin.
To avoid any shine on the skin, all products should be matte. Lip color is an exception, as a little bit of shine can make your lips appear fuller and more attractive in photos. Avoid using SPF products for photoshoots as they can make your face appear shinier.
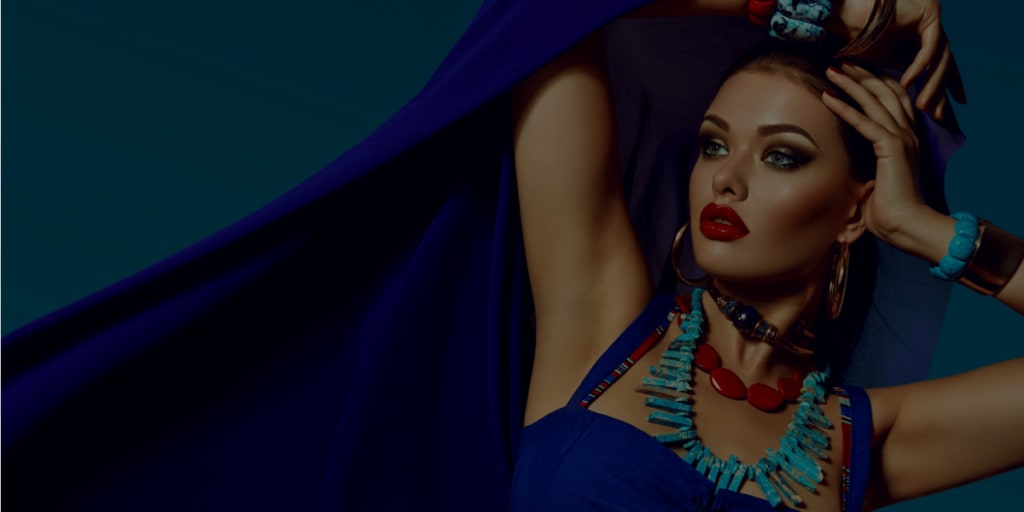
It's all in the eyes!
You should make sure that the eyes stand out in portraits. The more bold the color, the better the eyes will look. Bold black looks better than brown mascara or eyeliner. To ensure that your eye lashes are visible in a photograph, you should apply two to three coats of mascara. To fill in your eyebrows, you can use an eyebrow pencil. A photo with fuller eyebrows will look better than one with very thin. The eyebrow pencil is a great tool to define the eyebrows, especially for those with light-colored hair.
Use three colors for eye shadows, even if your subject prefers a neutral color. Apply the middle shade to the lid, lower brow bone and inner corners of the eyes. Then apply the darker color in the crease between your lid and the brow bone. This creates depth, and makes the eyes stand out in your photos.
A great photograph will look amazing when blended. You may have seen those little foam brushes that come with the eye shadow case? You should throw them away! Apply each color with a brush and blend it with another brush. This will ensure that there are no sharp lines. You can also buy a specific eye shadow primer. It is highly recommended that you use it. You would apply it lightly on the lid and brow bone, before applying eye shadow. This primer not only prolongs the wear time of eyeshadow, but also makes the shadow look more intense and vibrant, which is exactly what we want for photos. Primer can make eye shadow colors look up to three times brighter if applied on the eyelid. To avoid allergic reactions to your skin, do not use regular primer on your eyelids.
Touchups during the Shoot
Make sure to have your concealer, powder and lip color handy for any touch-ups during the photo shoot. You will need to apply makeup more frequently if you work with studio lighting or flash. The warm lights can cause makeup to melt or slip. To ensure that the subject's skin is not shiny, you will need to apply powder again. This is a great job for an assistant.
Looking for the best makeup set? Do consider visiting LakmeIndia
About the Creator
Keep reading
More stories from aaliyapatel and writers in Blush and other communities.
HOW TO CHOOSE THE RIGHT DIWALI MAKEUP FOR DIFFERENT SKIN TONES
You know how flawless your friend's skin is when she uses concealer, but your skin looks patchy. Worse, that lipstick you bought at the store was gorgeous on your friend but not for you. We say that makeup is all about skin colors. Some makeup colours or hues are not suitable for all skin types. This is why your job as a beauty lover should be to find the right foundation, concealer and blush depending on your skin tone. Continue reading to learn how to make Diwali makeup that suits your skin tone.
By aaliyapatel3 years ago in Blush
The Legend Lives On: Amitabh Bachchan's Journey Through Bollywood
In the kaleidoscopic world of Indian cinema, one name shines brighter than the rest—a name synonymous with charisma, talent, and unparalleled stardom. Amitabh Bachchan, the towering figure of Bollywood, has left an indelible mark on the hearts and minds of millions, his cinematic legacy spanning generations and transcending borders. Join me as we embark on a journey through the life and career of this iconic actor, whose meteoric rise to fame continues to inspire and captivate audiences worldwide.
By WILLIAM DIAGO RODRIGUESa day ago in Blush


Comments
There are no comments for this story
Be the first to respond and start the conversation.