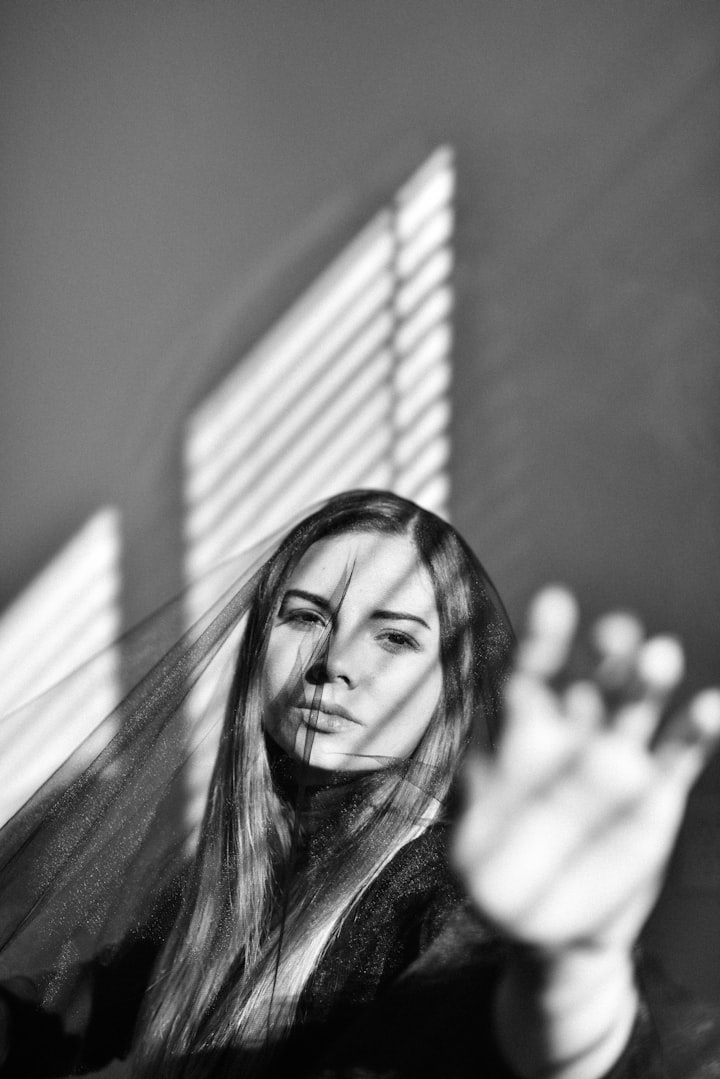
Transform Your Bedroom Into a Photography Studio
How to turn a corner of your home into a basic photo studio in 3 simple steps, no equipment or experience needed!

I've written again and again about how to stay creative as a photographer during lockdown.
Today I am going to share yet another way to practice your photography skills without setting foot outside... by setting up your own at-home studio!
At this make-shift studio you can take self-portraits, still lives, and more, all from inside your own four walls.
Before I dive into the tips, let me take a moment to lower your expectations, just a little! This is not a tutorial on how to create a professional studio from scratch. You're not going to get a crisp white background for perfect product photos or be able to take corporate headshots in this home studio.
It's a make-shift studio that you can create with no industry equipment, so the end result will be a little rough around the edges. But don't let that stop you! I promise that you can still create beautiful images using this kind of set up. They might not be super slick, but they can be interesting, creative shots.
With that little disclaimer out of the way, let's dive into it...
1. Find a space with natural light
Light is the most important aspect of photography. So, when setting up a make-shift studio with no profession lighting equipment, you're going to want to find a space with a lot of luscious natural light.
I recommend finding a spot near big windows. Also, note when the light is best. What time does the sun shine directly through these windows? When is the light best?
If you're not lucky enough to have a lot of natural light reaching your room, don't be disheartened. It will be more difficult to get well-lit, pretty shots, but it's certainly not impossible. You can instead experiment with using lamps for lighting, or even just the ambient light from your room lights.
Of course, you will also need enough space to move around and get your shots, plus room to set up the backdrop, and perhaps a tripod.
2. Make your own backdrop stand
The easiest way to make your own backdrop stand is simply using a clothing rail. Set it up in your studio space, and you're good to go!
If you don't have a clothing rail, you're going to need to be a bit more resourceful. You could use chairs for this purpose, or anything with a bit of height that you can drape fabric over.
Are you unable to find anything remotely like a backdrop stand in your house? In this case, you'll have to skip this step and find a way to securely pin or tape the backdrop to your wall, while not damaging it!
Or, if you have time to get crafty, there are a lot of great tutorials on DIY-ing your own backdrop stand using PVC pipes, like this one.
3. Find a backdrop
Absolutely any large fabric that you have in the house can be used as a backdrop. White bedsheets, duvet covers, huge scarves, whatever!
You can also use paper for this. For instance, for the still life shot in the image below, we used brown wrapping paper.
Once you have your backdrop, simply hang it over your backdrop stand, and volià, you're ready to start snapping! Well, almost. Sometimes the fabric or paper won't stay in place when you drape it. To deal with this issue, simply tape it in place. Now you're ready to start laying out your still life, posing for your self portrait, or inviting a housemate to model!
_____
There you go, three simple steps to transform a space in your home into a photography studio. Are you going to give this a try? If so, be sure to share the results and tag me on Instagram, @shotbyclairep or @byclairep, so I can check it out!
For more creative photography tips, check out the classes on Skillshare with a 14-day free trial! Also, check out my class How to Take Beautiful Self Portraits!
About the Creator
Claire Petersen
Berlin-based fashion photographer from Ireland


Comments
There are no comments for this story
Be the first to respond and start the conversation.