
Mastering Mobile Photography with Android Devices
Tips and Tricks for Capturing Stunning Images on the Go

Mobile photography has exploded in popularity in recent years, thanks in part to the incredible camera technology that is now available on smartphones. If you own an Android device, you have access to a wide range of features and tools that can help you take stunning photos, no matter where you are.
Here are some tips and tricks for mastering mobile photography using your Android device:
1.Use manual mode:
Many Android phones now offer a manual mode, which allows you to adjust settings such as ISO, white balance, and focus. This can be especially helpful in low light situations, or when you want to achieve a specific look for your photos.
2.Experiment with different shooting modes:
Your Android device likely offers a variety of shooting modes, such as panorama, time-lapse, and slow-motion. Experiment with these different modes to see which ones work best for different types of photos.
3.Edit your photos:
There are numerous photo editing apps available for Android devices that can help you enhance your photos and add creative touches. Some popular options include Lightroom, Snapseed, and VSCO.
4.Use a tripod:
A tripod can be a valuable tool for mobile photography, especially if you want to take long exposures or keep your phone steady for video. There are many portable, lightweight tripods available that are perfect for use with your Android device.
5.Take advantage of natural light:
Natural light can be a photographer's best friend, and it's especially useful for mobile photography. Try to take your photos in well-lit areas, or use the "golden hour" (the hour just after sunrise or just before sunset) for particularly beautiful light.
6.Use the gridlines:
Most Android devices come with a gridline feature that can be helpful for composing your shots. The gridlines divide the frame into nine equal sections, which can help you balance your composition and follow the "rule of thirds."
7.Shoot in RAW:
Some Android devices allow you to capture photos in RAW format, which provides more information and greater editing flexibility compared to JPEG. If your device has this feature, try shooting in RAW and see how it enhances your editing process.
8.Utilize the volume buttons:
If your Android device has volume buttons, you can use them as a makeshift shutter button when taking photos. This can be especially helpful when using a tripod or when you want to take a self-portrait.
9.Use the flash sparingly:
The flash on most Android devices can be harsh and artificial-looking. If you do need to use the flash, try bouncing it off a nearby wall or ceiling to create a more natural-looking light.
10.Practice, practice, practice:
The best way to improve your mobile photography skills is to simply take as many photos as possible. Experiment with different compositions, lighting conditions, and editing techniques to see what works best for you.
11.Use apps to add creative touches:
In addition to editing apps, there are also many apps available that can help you add creative effects to your photos. Some popular options include Prisma, which allows you to apply art filters to your images, and Afterlight, which has a wide range of filters and overlays.
12.Pay attention to the background:
The background of your photos can have a big impact on the overall composition and aesthetic. Try to choose backgrounds that are interesting and add context to your shots, rather than distracting from the main subject.
13.Get close to your subject:
Mobile photography often requires you to get up close and personal with your subject, as smartphones have smaller sensors than traditional cameras. This can be a great opportunity to capture intimate, detailed shots that might not be possible with a larger camera.
14.Use the self-timer:
If you're taking a self-portrait or group photo and don't have anyone to press the shutter button, you can use the self-timer feature on your Android device. This will allow you to set a delay before the photo is taken, giving you time to get in position.
15.Try shooting from different angles:
Changing your perspective can have a big impact on the look and feel of your photos. Try shooting from high angles, low angles, and even from the ground for a unique perspective.
By following these tips and continuing to experiment with your Android device, you can capture stunning photos that showcase your creativity and artistic vision. Happy shooting!
About the Creator
Keep reading
More stories from Muthukumar Baskaran and writers in Photography and other communities.
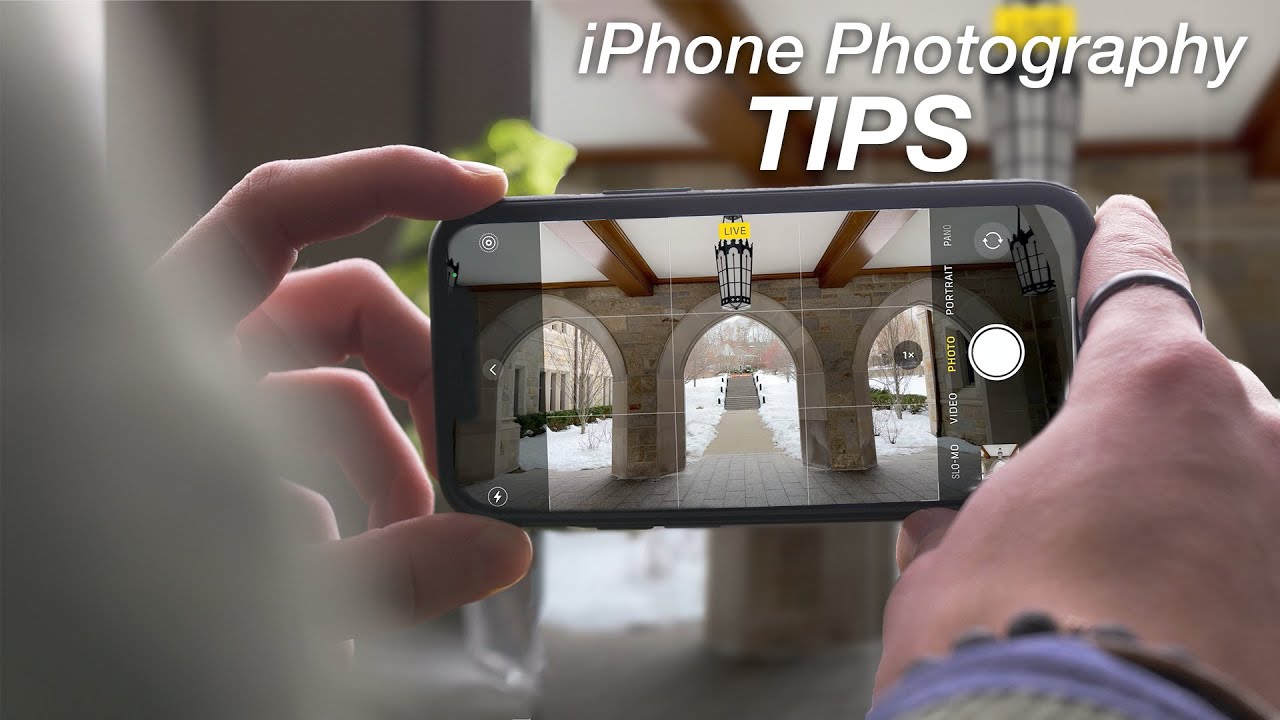
Maximizing Your iPhone's Photography Potential
The camera technology found on modern iPhones is truly impressive, and with the right techniques, you can capture stunning photos that rival those taken with a traditional camera. Here are some tips and tricks for maximizing your iPhone's photography potential:
By Muthukumar Baskaranabout a year ago in Photography
Capturing Magic
In the world of photography, timing is the key to everything. While skilled compositions and technical proficiency are undoubtedly crucial, the perfect lighting can create the perfect photo. Nowadays, we can determine any light ourselves and are no longer dependent on any natural light source, thanks to the developed technology. We can turn every day into a night by using the right filters. And we can illuminate every night to be seen as a day. A typical process, especially in the film industry.
By C.B. Visions30 days ago in Photography
The Profound Impact of Top Wedding Photographers in Charlotte on Your Special Day!
What exactly is your wedding day? It's a fountain of emotions, laughter, and feelings that are felt in bouts and moments across the venue! Your wedding photographs and videos are the proven ways to capture these process moments and have them with you even after your wedding!
By Shane Mathew7 days ago in Photography


Comments
There are no comments for this story
Be the first to respond and start the conversation.