
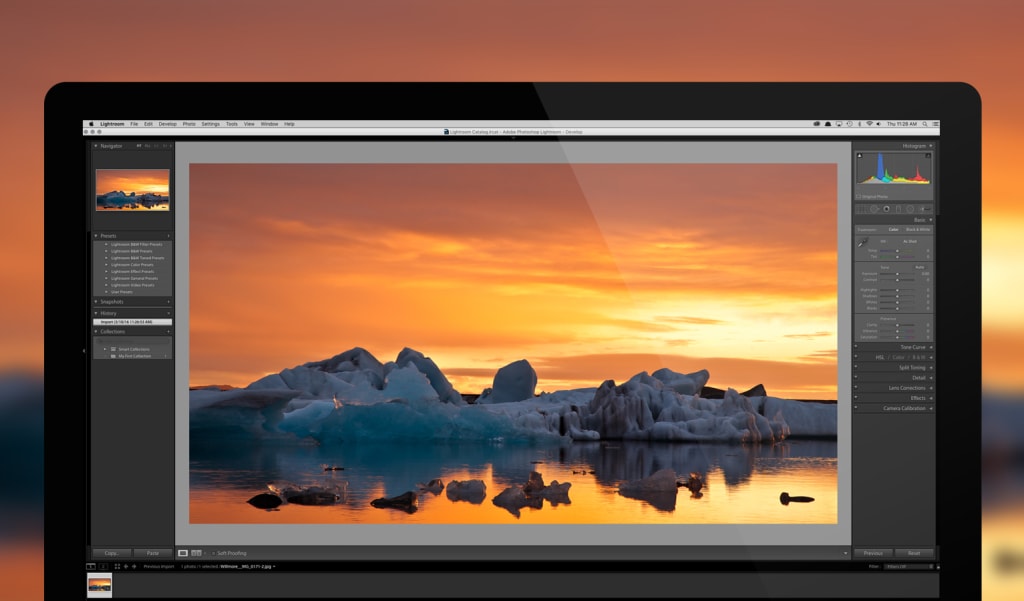
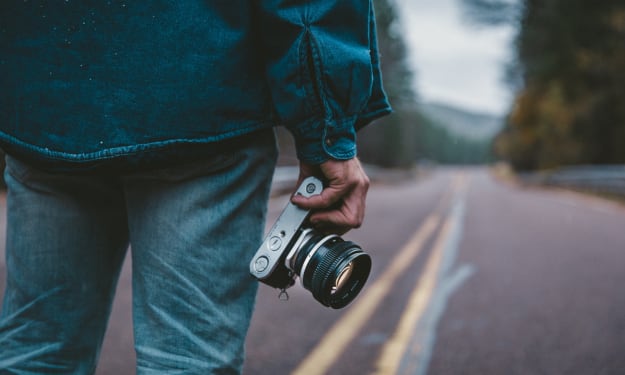
Hidden Lightroom Shortcuts
When using the powerful processing and photo editing capabilities on Lightroom, you want the best out of what you make, so ensure you're utilizing your time wisely with these hidden Lightroom shortcuts.

For anyone who has used either Photoshop, Lightroom itself, or even any other type of platform, not just from Adobe, they'll know that photo editing itself isn't simple, since there's literally thousands upon thousands of various concepts one can uphold and the various degrees of modes and panels for these concepts take up space, plus loads of time. Fortunately, after our previous 10 Lightroom hacks, we've found some more for you aspiring editors (and photographers) out there.
Follow these next couple of hidden Lightroom shortcuts for a more fluid, swifter, and sophisticated run in your photo editing platform. Adobe Lightroom is used by some of the best in the business, but you can't be among the best in the business if you don't know how to use the platform and its interface correctly. There's a vast array of shortcuts and hacks to better your Lightroom usability, but even some of them make the performance of the interface that much better (like Solo Mode). In the Photoshop Lightroom, you want to make the best out of the platform's already amazing features, so make them easier to use (and more powerful) with these hacks and shortcuts.
Toggling Zoom
This is probably the easiest and yet most necessary of hidden Lightroom shortcuts, since zooming in and out of photographs can get cumbersome, annoying, and be of a sort screwy if improperly completed.
To avoid mistakes while zooming and to make toggling the zoom feature that much easier, use Cmd + (Mac) and Ctrl + (Windows), or zoom back out by pressing Cmd - (Mac) or Ctrl - (Windows). It's that simple when using Lightroom, just make sure you check the sharpness and contrast correctly.
Convert to Grayscale
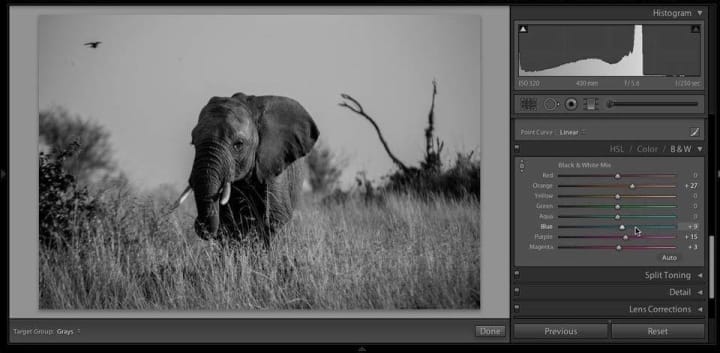
You may not be the kind of person who likes black and white imaging, but for those who to theres some hidden Lightroom shortcuts you should know in making your work swifter and far more advanced.
If you want to preview in image in black and white you think will look exceptional, but you don't want to make it that way immediately, simply press V on the keyboard and in the Lightroom develop module. Your particular image will switch to grayscale and pop right before your eyes (if, of course, it looks as exceptional as you thought). Pressing V again will revert the image back to color.
HDR Merging and Panoramas
This is one of my favorite hidden Lightroom shortcuts and a gem of an advancement in your Lightroom keyboard shortcuts, for both High Dynamic Range (HDR) Merging and Panoramas make for some the sickest photos.
To utilize this awesome feature, which had necessitated the use of Photoshop back before the feature was added to Lightroom, simply press Shift + Ctrl + H on your Mac and Shift + Alt + H on your Windows computer. It's that simple, and panoramas are as simple, just add an M key to the end of the specific sequence. Select the image in particular you want to merge, skip the dialogue box if you prefer by using these shortcut keys.
Copy/Pasting Hacks
This is actually one of the most extensive and most difficult hidden Lightroom shortcuts to grasp fully, since there are loads of different ways both copy and paste can be utilized to your benefit. If you're working on 5 different (yet still somewhat similar) pieces at the same time, but don't want to adjust all 5 individually, you can literally paste your adjustments by pressing Shift + Cmd + C (Mac) or Shift + Ctrl + C (Windows). This will bring up a window asking which settings you want copied, then choose the photo you want to be edited and press Shift + Cmd + V (Mac) or Shift + Ctrl + V (Windows).
You can reset these adjustments just as easily if you press Shift + Cmd + R (Mac) or Shift + Ctrl + R (Windows). There are a variety of methods one can use in the copy and paste on Lightroom, such as even creating Presets by clicking + in the Presets panel and shortcutting with Cmd + Shift + B (Mac) or Ctrl + Shift + B (Windows).
Solo Mode
Despite the fact that this has nothing to do with Han Solo as we initially believed, Lightroom's amazing Solo Mode makes the all-too cumbersome tasks of collapsing and expanding the myriad of side panels as simply as ever. This is what makes the Lightroom program not only an advanced piece of technology, but a powerful tool in photographic spheres.
To utilize this amazing feature among hidden Lightroom shortcuts, simply hold down Options (Mac) or Alt (Windows) then click on the panel header, or you can just double click and flick it on as simply as that! Using Solo Mode makes interaction with all side panels ten times easier by closing the last one in use, plus navigation is made that much easier.
Hiding Panels
The thing with panels is they can get extremely annoying, even when utilizing Solo Mode or even other more useful hidden Lightroom Shortcuts. It may not be a factor of speed per say, but if you're scrolling through images or using Survey Mode for image selection, chances are all those panels will get in the way and be a distraction.
Instead, you can hide all those annoying panels by pressing Tab and hissing Shift + Tab to then hide them all. This will leave only your images on the screen, making it that much more useful and fluid when selection images.
Slider Resetting
Much like panels, sliders can also become a hassle. If you open up any tools from the Develop Module, like the Gradient Filter or Adjustment Brush, the sliders remain in the position the tool was used at. Thankfully there's hidden Lightroom shortcuts for that!
To simplify tools and reset sliders, double-click Effect in the upper left hand corner of the toolbox. It's also highly useful when using individual adjustment sliders, but you can click the slider's title to reset it back to zero if need be.
Survey Mode
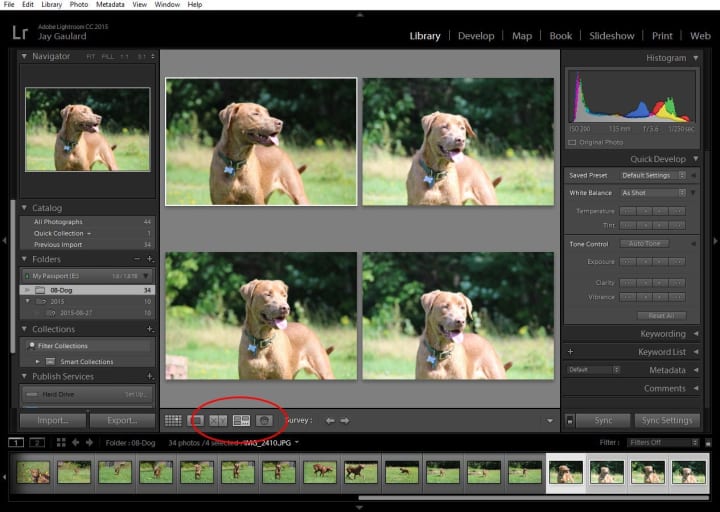
Somewhat similar to the library module, Survey Mode is a simplifying method in the hidden Lightroom shortcuts no one knows about. Some people like using flags, stars, or color ratings, but there's hidden Lightroom shortcuts for that instead!
To ensure you're not editing photos that only look similar, or choosing the wrong one to begin with, you can press N on the keyboard to bring up what's called Survey Mode. This will let you compare photos as easily as ever, by displaying all selected images at once. Simply click on the "X" shown to rid your screen of any particular image still present and you're good to go.
Paint Overlay
As in most side panels, there's always some shortcut in making them see-able and invisible. This goes for a myriad of features on Lightroom, many of which people have no idea there's some hidden Lightroom shortcuts to be used in easing one's use of the program. While in use, try not to make any portrait retouching mistakes all amateurs make, since it's easy when utilizing this system.
Paint overlay is nothing but gradient filters and adjustment brushes (both of which are actually relatively important in photo editing and Lightroom CC). By pressing the O button on your keyboard, you can toggle the paint overlay system, lighting it up in red. You'll be able to tune up adjustments and make fixes without worrying about your previous additions. Press O again and overlay will be shut off.
Showing and Hiding Pins
Much like both panels and the paint overlay, pins can also be utilized in way that is filled with hidden Lightroom shortcuts. Pins are simply a somewhat subset of what your history is on a certain project; the use of an Adjustment Brush or gradient tools will drop a pin on the image, this way you know what's been edited and fixed up as you are working.
There's also a sweet way to utilize this function in a more profound concept, like pressing the H key. This ensures that all the pins showcasing your work can be hidden at the press of a key, same goes for depressing it another time. Using H to both show and hide pins is among tips for creating the best long exposure photos, since otherwise you won't be able to see the picture with all those damn pins in the way.
Collections Additions
Collections in Lightroom CC is probably one of the most advanced features, for it gives you a plethora of accessibility in the form of folders and hard drives. This is not among hidden Lightroom shortcuts that move your photos, it makes a reference to them for easier discovery.
You can find Collections in the Develop or Library modules, but when choosing the images, the process can become slowed and annoying, especially if you have many pictures or a large variety of shoots. Instead, click on "Set as Target Collection" when choosing the collection folder you prefer. Then press B on the keyboard to select the particular images you want added. Remember, though, you will have to change the Target Collection for your next shoot, so photos don't get mixed up together.
About the Creator
Johnson Bernard
Father of four, married for twenty years, and yet I still have the energy to type this up at 1 am as little Timmy begins to wail from upstairs. I'm a fixer-upper and a family man.
Keep reading
More stories from Johnson Bernard and writers in Photography and other communities.
Best Professional Online Photography Courses to Up Your Game
There's a vast array of wonders in connotation with photography and the intricacies of Adobe Photoshop (which is of utmost importance for editors and photographers alike). It's not easy cracking into this extremely difficult route of expertise, but once you do, it's a world of wonder that's packed with such a variety of secrets and lessons to be had when elevating your photographic skills. The only real problem with this is finding the time and the place for these educational forays into the magic of photography.
By Johnson Bernard6 years ago in Photography
Capturing Magic
In the world of photography, timing is the key to everything. While skilled compositions and technical proficiency are undoubtedly crucial, the perfect lighting can create the perfect photo. Nowadays, we can determine any light ourselves and are no longer dependent on any natural light source, thanks to the developed technology. We can turn every day into a night by using the right filters. And we can illuminate every night to be seen as a day. A typical process, especially in the film industry.
By Krishan Mubashar8 days ago in Photography
Offbeat Places in Malaysia: Travel Secrets
Malaysia is most popular for stunning urban areas like Kuala Lumpur and George Town. In any case, there are such countless odd spots in Malaysia anticipating nature sweethearts and travelers. We've assembled a rundown of 10 mystery objections that make us need to book a pass to Malaysia this exact instant!
By prashant soni5 days ago in Photography


Comments
There are no comments for this story
Be the first to respond and start the conversation.