
Five Things To Know For Polaroid Photography
Shedding some light on how can play with light with your Polaroid camera.

With Polaroid photography it is an amazing experience for those that want to do photography to create amazing images. If Photoshop isn't your forte, nor do you have a specific camera with the accommodating settings for the scenery you want to shoot, or have the funds to have a camera like that.
This has been a rewarding experience to do photography in a simple way to have something creative in a flash (literally).
When I got my new pack of Polaroid film in the mail, I decided to take the ten picture pack and go on a little walk throughout my neighborhood. I want to show some examples for those who want to create interesting photos to see how the contrast of the colors can saturate in a different setting as well as what posture to be placed in for taking the photos.
Before you take your fujifilm camera and take some photos to see how interesting they'll be processed, there are some pieces of advice and insight I'd like to share to help with your process in this part of photography.
Cloudy Days Are Your Best Days For Light
Usually if the sun's shining that means you'll have bright photos? Yes and no.
I have taken photos on a bright sunny day, sometimes I've gotten lucky on some occasions and I've gotten just the minor shine of the light that could highlight the area. I still had some shade from the trees or a building to help me capture the colors of what I was photographing.
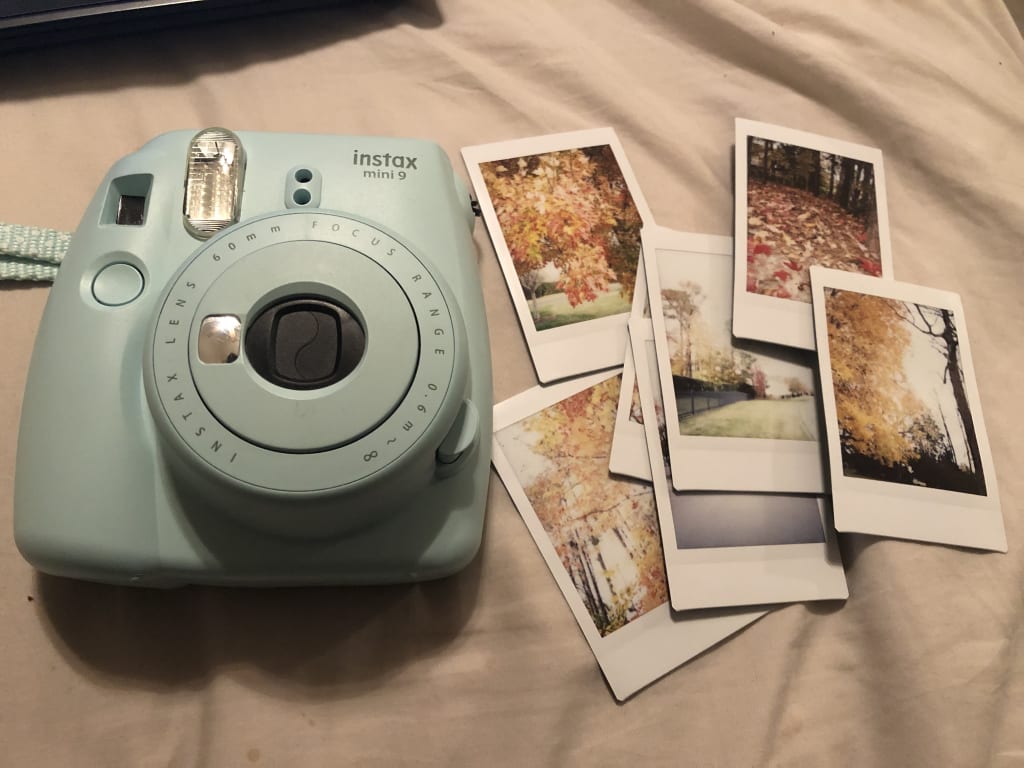
When I've taken photos outside, the brightness of the sun has effected my photos that there would be a black spot on the photo because it was so bright, the transfer was altered because it was too bright.
On a day that wasn't as bright, I did fare better to get the colors to be focused on without the blaring light of the sun, however if I'm not placed correctly or I have too much of the sky exposed in my photo, this happens-
When you take pictures on cloudy days, the bright white of the clouds will make the black spots in your photos. Make sure that you are strategically placed in a way that the trees block the sky or a building blocks the sky. Angle your camera as much as you can away from the sky to be able to get the contrast in your photos to show up.
The Contrast
The contrast of the photos is without a doubt the best effect from a Polaroid camera. It's like having an automatic filter that can enhance your photo like it's instant Photoshop. When your photo is processing the shot to be shown on the photo, the colors of the photo will be turning out differently.
It's still interesting to see how the contrast of the photo will turn out. I'm still surprised at the photos I've taken to see how the light fared so I know I'll be getting a new photo every time.
As mentioned in the previous point, the brightness of the day could help or hinder your contrast just as the cloudy days might be too bright and blur your photos.
Having photos outside or inside, you need to remember that what you see will automatically be changed to be slightly darker or slightly lighter depending on the angle and the light. You'll be seeing the contrast color example in the photos that I will be having with various sections I'll be elaborating on.
So keep in mind, the colors will be enhanced and you might just have to play around with it with how and where you take your photos.
Up-close Photos
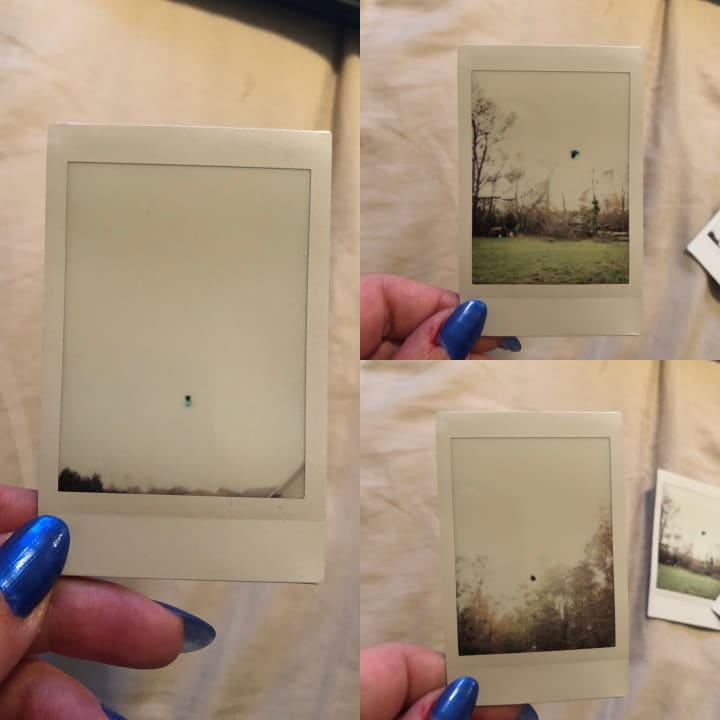
You can get as close as you think, however, you might have to back up to get a close up. Realistically this Polaroid camera isn't a portrait camera, the only close up photos you can do is the selfie portion that you can do with the mirror on the lens to take a photo of yourself. But if you were to take a photo of an item, it would look blurred because this isn't a camera that was built for up close subjects. These items I took pictures of were blurred and out of focus no matter how I tried to get it to work. I tried different angles to see if the item would be captured on a picture the way I saw it in my eyes. It just wasn't going to happen.
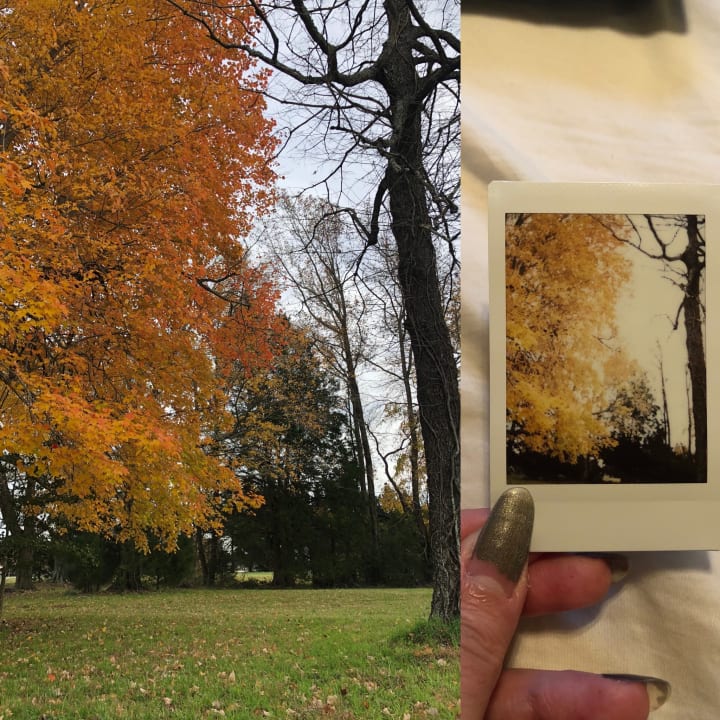
I’m going to use this tree as an example.
I took this photo of the tree and the Polaroid in the same place I stood. The Polaroid photo of the tree is cropped. The viewfinder can show you what your going to capture a picture of, but as you can see in the Polaroid photo, it's going to be cropped to what you thought would be the certain part you had in mind.
When you take a photo, keep in mind that what you see will most likely be cropped in the final photo. You might think it's the same photo, but look at the tree in the background of the iPhone picture. See how it has plenty of space in the background yet on the Polaroid one it barely made the shot?
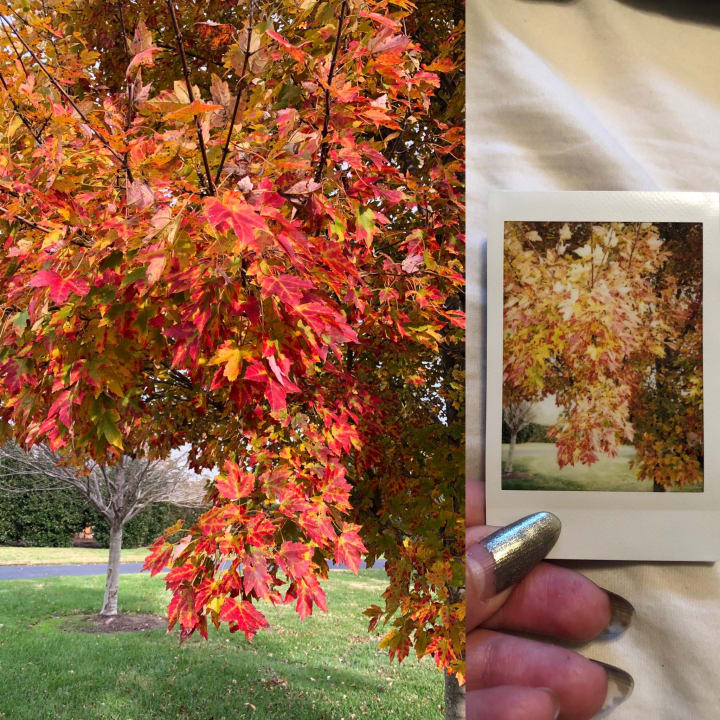
Keep in mind that if you want this specific part you see to be photographed, you might want to step back to be sure that the specific subject will be photographed in it's entirety.
Polaroids aren't going to be the kind of photography where you can do a close up because of the fact that it's a camera that has to focus on a large scenery then a small scenery.
In width of the shot of these tree branches, that's about as much of a close up as you can get without the photo getting blurred out of focus.
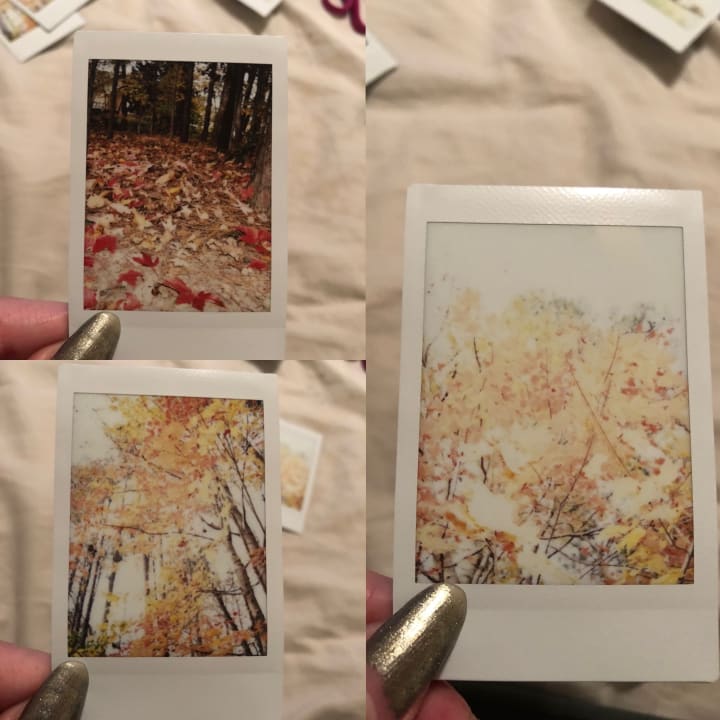
Large Scenery Photos
The part of Polaroid photography that truly makes this an artistic experience is getting these large scenery photographs. One tiny little camera can capture the area you are photographing and makes it truly mesmerizing and encapsulating. To see one large area and know that the contrast will be uniquely darker in the setting upon the transfer.
When I went to take this photo of the huge tree, I opted to get as much as I could. So I turned the side and shot the two trees to see how much could fit from a faraway distance. Like I said, a tiny camera can capture the most of the scenery, get as much as you can in the photo, don't be afraid to take more steps back to get as much as you can. Because as I mentioned, there will be a cropping of what you see in the viewfinder.
Angles
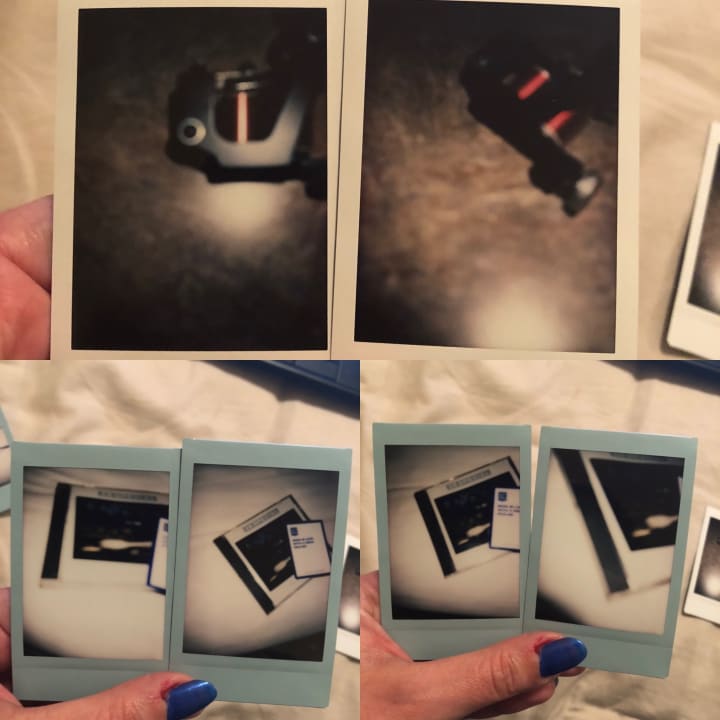
In photography, an angle is everything. When I took a photography class in high school I remember the posture terms for looking through your viewfinder was: a bird's eye view and a worm's eye view. These two photos are an example of that. I took these photos when I was crouched on the ground.
The photo in the top left corner was captured when I was crouched to the ground and shot this photo at the level I was at. I kept my posture straight and just clicked to capture. I knew that I would get a spot of the ground that was just within the level I was at to get the leaves on the ground but not be too close to have the angle so you could see exactly where I was looking.
Then I maintained the same posture and bent my back up to get the trees. Honestly, these are the best tree photos I've taken in a while because I was able to photograph these at an angle by lowering myself while angling as far back as I could to get a different shot of a tree that would make it ethereal and dimensional.
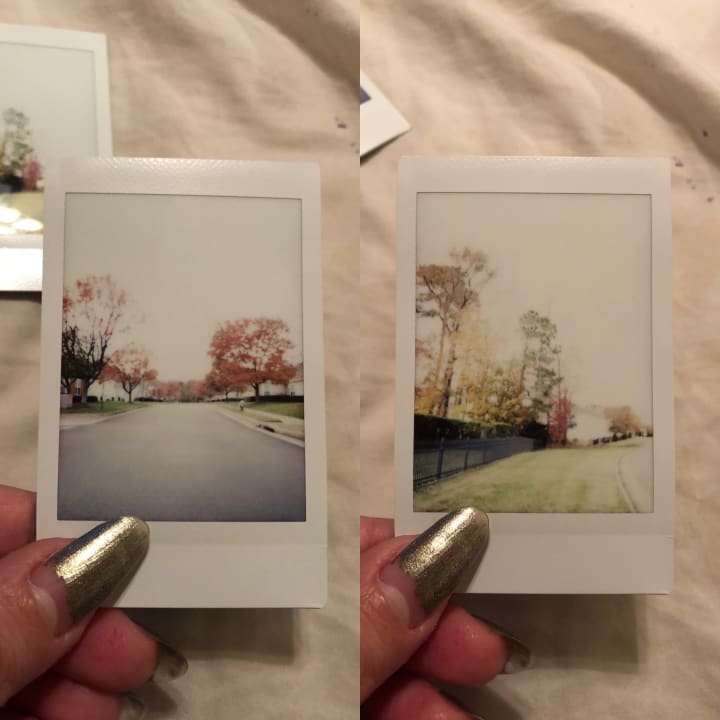
Same thing for the photo on the left, I crouched down in the middle of the street and snapped a shot of the road that can encapsulate the entirety of the road.
If your planning on making the plunge into this area of photography, I hope I've given some insight to bring out the best in the photos you'll be taking a picture of. The world is your canvas, you can capture the world in a one-of-a-kind picture with every shutter click and transfer print.
If you would like to learn more about Polaroid photography, I've covered more tips about it as well as shared my other photos on another article titled, My Venture Into Polaroid Photography.
Thank you for reading and stay creative.
About the Creator
Samantha Parrish
What's something interesting you always wanted to know?
Instagram: parrishpassages
tiktok: themysticalspacewitch
My book Inglorious Ink is now available on Amazon!
Keep reading
More stories from Samantha Parrish and writers in Photography and other communities.
My Venture Into Polaroid Photography
I originally got a photography camera in order to have a good quality camera for cosplay photos, but I also wanted to go beyond using photography for cosplay and see what unique photos I could do. In 2011, I started testing out my photos before cosplay conventions to test the settings. I was impressed with the outcome of the photos, it had a great quality, but I wasn't satisfied with it. I didn't like the way I captured this moment I saw with my eyes. I wanted to take a photography class to learn how I could improve myself.
By Samantha Parrish4 years ago in Photography
Capturing Magic
In the world of photography, timing is the key to everything. While skilled compositions and technical proficiency are undoubtedly crucial, the perfect lighting can create the perfect photo. Nowadays, we can determine any light ourselves and are no longer dependent on any natural light source, thanks to the developed technology. We can turn every day into a night by using the right filters. And we can illuminate every night to be seen as a day. A typical process, especially in the film industry.
By Krishan Mubashar8 days ago in Photography
Photo Tool: AI Photo Editor
The AI photo editor streamlines complex image editing tasks, empowering users to achieve professional-looking results effortlessly. With a wide range of AI editing tools, including automatic enhancement, object detection and removal, background manipulation, portrait retouching, and stylization. This editor simplifies the editing process while delivering captivating outcomes.
By xia sophiaa day ago in Photography


Comments
There are no comments for this story
Be the first to respond and start the conversation.