
10 Tips for Helping Models Pose
As a photographer, being ready with tips for helping models pose can show your own skill and expertise in the field, as well as ensure a successful photo shoot.


Standing in front of a camera is nerve-wracking. It's one thing to smile and "say cheese," but it's an entirely different story when you are standing in front of a camera in a studio.
I've been on both sides of the camera, so I also sympathize with photographers taking pictures of people who are not professional models. I would have saved a lot of time if someone had given me tips for helping a model pose.
As a photographer, you want the model to feel natural and act like themselves, but I know from experience that telling subjects to "act naturally" isn't particularly useful.
There are a lot of tips for helping models pose so that you can learn from my mistakes, come prepared for your photo shoot, and create excellent portrait photography.
Make your model feel comfortable.
Making sure the model is comfortable is probably one of the most important tips when it comes to photo shoots. Unless you work with professional models, your subjects probably feel a bit awkward in front of the camera.
And that awkwardness will be obvious to everyone who sees the photo, so it's imperative to pay attention and make them feel relaxed during the photo shoot.
If it's cold, keep them warm; if they need to take a break, let them. The more your model feels like they're in their own element, the better the photo shoot will be.
Ask your model questions, tell them some jokes, and throw some sincere compliments at them from time to time throughout the photo shoot. Don't just say, "You look great like that." Be specific and descriptive: "You look very elegant like that," for example.
For best results, meet up with your model a few times before you start the photo shoot.
Select their wardrobe, carefully.

There are a few things you need to keep in mind when helping your model pick a wardrobe for the photo shoot. But, for the most part, it all comes down to color and shape, harmony and balance.
First, put a bit of thought into your model's body shape, especially if you plan on shooting full-body portrait photography. It's essential to make sure your model's clothes fit. Pay attention to seam lines and make sure they balance out their body shape. Use bright colors to enhance your model's smaller features; use darker colors to balance their larger features. However be sure color schemes aren't clashing, as that's a surefire way to ensure your photo shoot won't look good.
Make sure you pay attention to your color palette when you're choosing your model's wardrobe. And try to keep reds and greens to a minimum since they will make it harder to edit your color balance when you process the images.
And don't forget to accessorize!
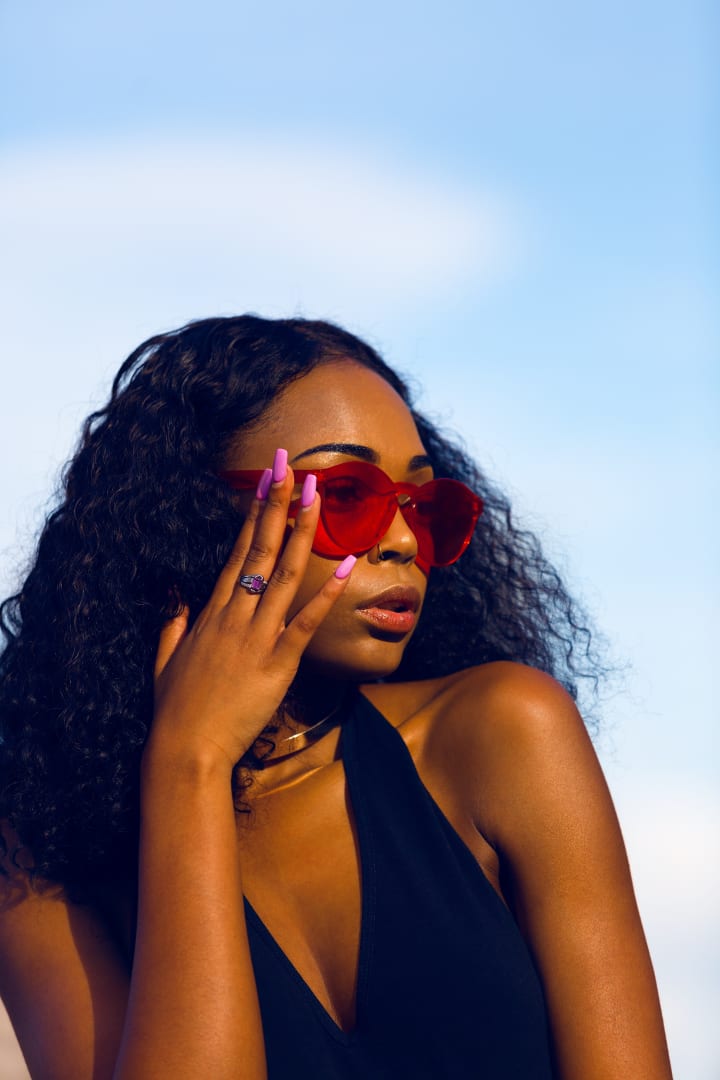
Give their hands a job to do.

Giving your model a prop to hold will help them feel less awkward during a photo shoot.
When someone who is not a professional model poses for the camera, they often have no idea what to do with their hands. This hand-awkwardness can result in the model clenching their fists, which doesn't look nice.
A tip for helping models pose is to give them something to do with their hands. If your model's nails are going to be visible in the picture, make sure they are clean for the photo shoot. You can even paint their nails a specific color that match or complement the prop.
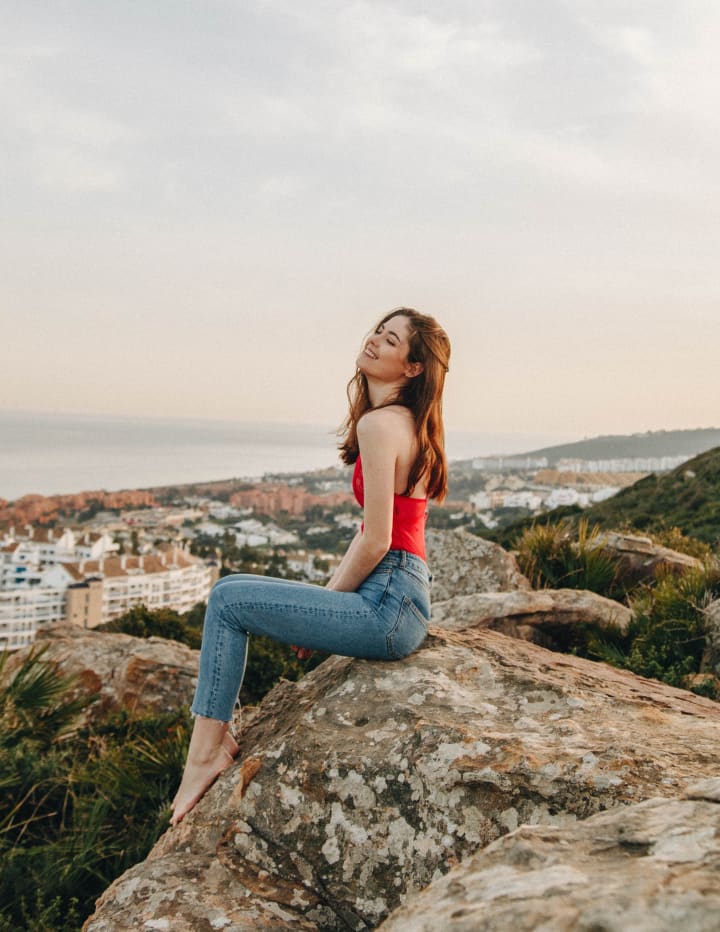
Alternatively, you can get them to put their hands on their hips. Doing so can make your model's waist and arms look smaller, which we'll get to in a bit.
Identify the better side of their face.

According to a 2012 Wake Forest University research duo Kelsey Blackburn and James Schirillo, your model's left cheek is probably the more pleasing side of their face.
In the study, which was published online in the Experimental Brain Research journal, participants perceived and rated images taken of the left side of the face as being more pleasing to the eye.
Blackburn and Schirillo say this could be because we show more emotion with the left side of our face. Participants viewed the left side of the face more pleasing even when the images were flipped horizontally so that they looked like the models were showing the right side of their face.
Start with one pose, and work from there.
Your model is probably feeling a bit nervous to begin with, and giving them long-winded instructions for how they should pose will be time-consuming and it could make your model feel even more self-conscious than they already do.
To help your model ease into the photo shoot, have them start out in a simple pose that can be built upon, also known as a 'base pose.'
For example, you could tell your model to start the photo shoot by sitting down with crossed arms. Once you shoot that pose from a few different angles, you can instruct your model to stand up and move one hand to their chin.
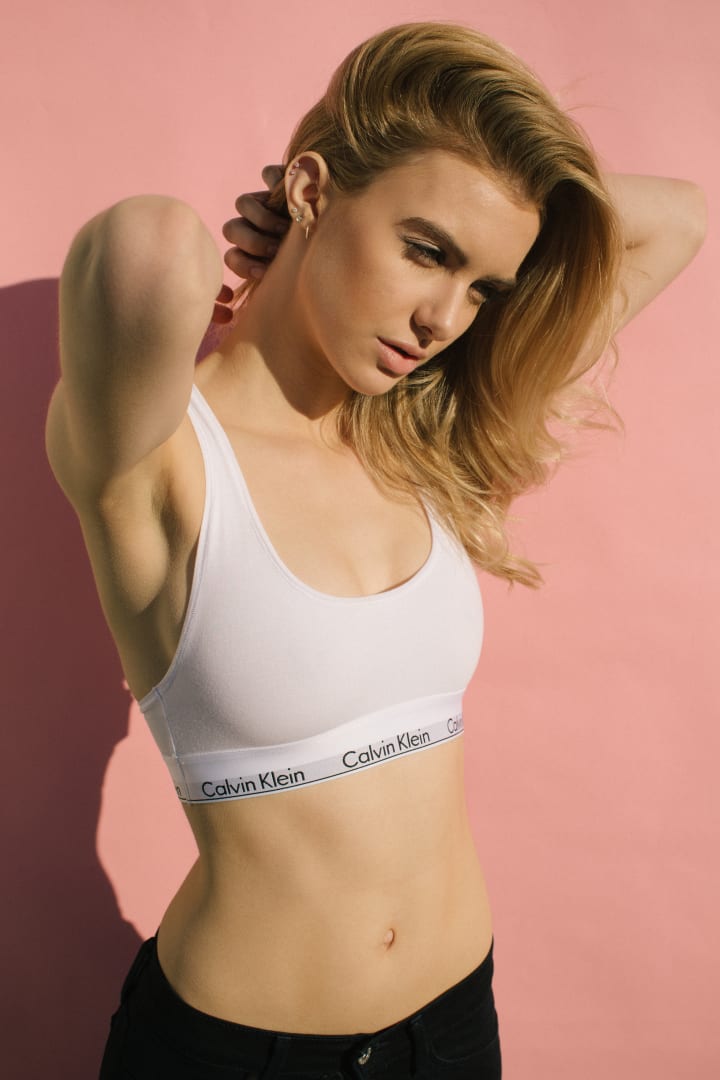
Balance your model's features.

As you direct your model in to different poses, pay attention to the angles, lines, and shapes created by their body. If you ignore these lines and shapes, you may end up with very unflattering pictures and an unhappy model.
One of the tips for helping models pose during a photo shoot is to make sure you don't position them so that their shoulders are in a straight, horizontal line in front of the camera. If you're taking a head-on portrait of your model, turn their shoulders slightly to the side to add depth to the portrait.
Instead, you should use your model's natural shapes, lines, and angles to create open space and leading lines.
Your goal is to make sure your model looks proportionately balanced. If you're taking a full-body shot, pay attention to your model's legs. If they are too close together, they'll add weight to your subject's torso.
Shoot from above.

You also need to pay attention to how you (the photographer) position yourself.
A general rule in portrait photography is to avoid shooting your model from below unless you want to surprise him or her with a few extra chins and a clear view up their nasal passage. An exception to this rule would be when you're shooting candid photography from far enough away from your subjects that these unflattering features aren't super obvious.
Taking photos from slightly above your subject, however, can make their eyes and cheekbones pop.
Free up space around their body.
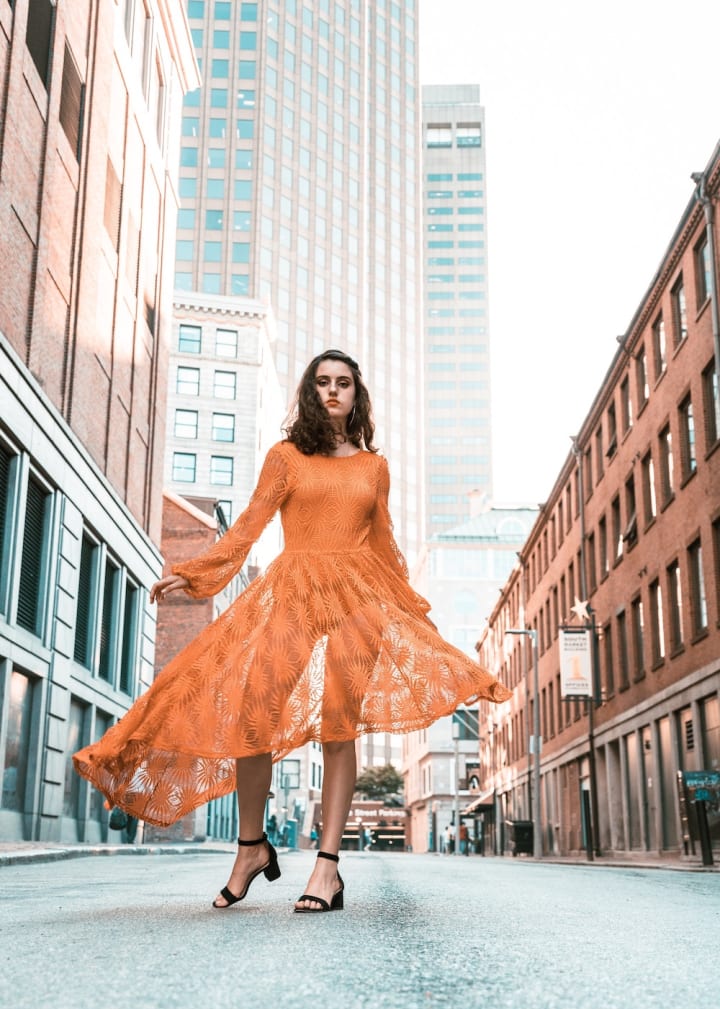
It's important to free up clutter from around your model's body. When I say clutter, I am referring to props and backdrop, but I'm also pointing at the way you pose your model. Make sure their body is positioned in a way that makes them look free and tidy.
Free up space around your model's torso and waist area, or anywhere with a shape you want to accent. Don't let their legs stand together as if they are one—separate them to create space.
Shoot with a good portrait lens.
Most portrait photographers recommend using either 50 mm or 35 mm lenses for portrait photography.
Despite having a difference in focal length of only 15 mm, these two lenses produce different results, so it's important to know how their results differ.
Shooting Portraits with a 50 mm Lens:
These lenses are classic for portrait photography lenses, and most photographers recommend that beginners use a 50 mm lens.
When used with a wide aperture, 50 mm lenses can make your model stand out sharply from a soft background.
These lenses are great for taking close-up portraits of your subject, from about the hips and up. They are fantastic for taking headshots and tight portraits where the model takes up most of the frame.
These lenses can help you produce clearly defined portraits of the face and eyes. Perhaps that's why so many photographers recommend having a 50 mm lens present at every photo shoot.
Shooting Portraits with a 35 mm Lens:
The tradition of shooting portrait photography with a 35 mm lens is a relatively new one. Until pretty recently, these lenses were used by street photographers and landscape photographers who wanted to capture more detail in a single image.
These wide angle lenses render images with frames that can accommodate more detail. With a more vast depth of field than 50 mm lenses, 35 mm lenses allow you to produce sharp, vibrant images.
That's why a 35 mm lens is a great lens to use if you want to have a lot of open space in your images. For example, a 35 mm lens is an excellent tool for combining landscape photography and portrait photography.
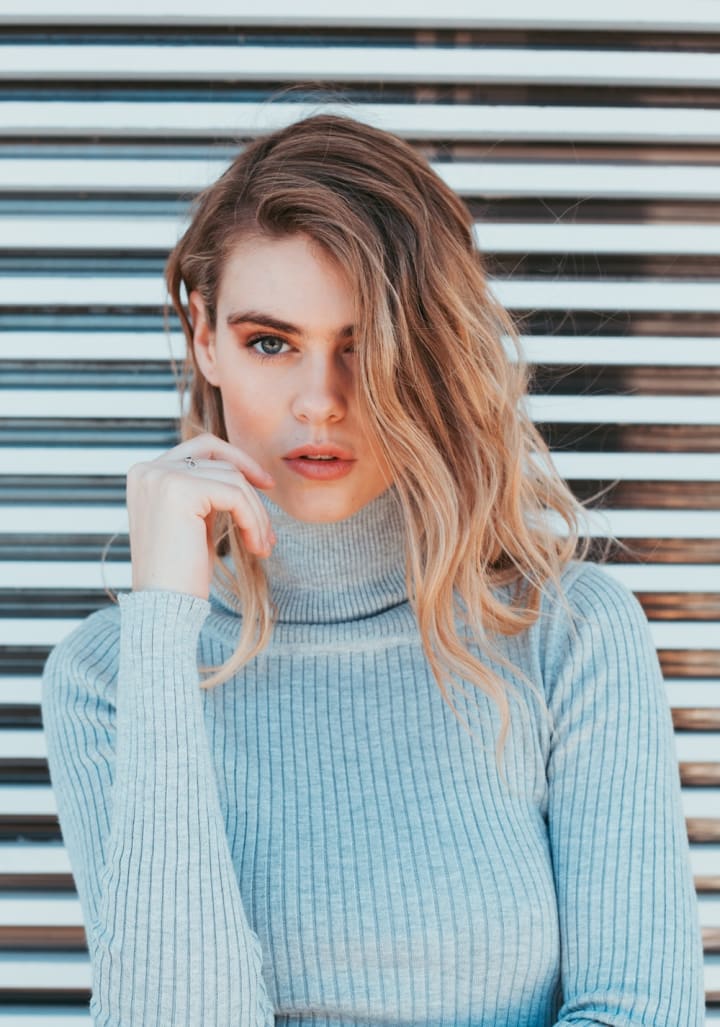
Remember the HENC checklist.

HENC stands for "Hair, Eyes, Nose, Chin." Make sure they are all positioned correctly to get the most out of each photo.
Hair
Make sure your model isn't being weighed down by their hair. You need to free up space around their neck and shoulders to make the portrait more dynamic.
You can put their hair up to enhance your model's neck, or you can put it to one side to accent the better side of their face.
Make sure their part is facing the camera to create a leading line. For models with long hair, ponytails are a great way to free up space around the neck and make cheekbones look higher.
Eyes

Make sure that your model's irises occupy most of their eye space, or your model will look like a demon from a horror film.
Have your model look into your camera as if they're making eye contact with your lens. If you want them to look in a different direction, make sure they are gazing no more than 45 degrees to either side of the camera.
It can be helpful to have posters or stickers in the locations where you want your model's eyes to gaze during the photo shoot.
Nose

If you are photographing your model from a slight angle, make sure the tip of their nose does not add to the outline of their face. The outline of your model's face should be smooth.
Shooting your model's side silhouette is one thing, but if you want the image to include both sides of their face, their nose needs to look like it's in the center of their face.
Chin

Have your model move their chin forward during the photo shoot. This is super important to pay attention to and one of the best tips for helping models pose. Not only do you not want to give your model extra chins, but moving their chin forward will make their posture look better and their neck longer.
About the Creator
Nikkie Evans
Millenial Libertarian trying to reconcile her ideals with the real world.
Keep reading
More stories from Nikkie Evans and writers in Photography and other communities.
The 13 Best Fetish Photographers on Instagram
Fetishes are a universal phenomenon. While some people consider fetishes to be taboo, others embellish in its art and create content to share with others. With the help of social media, fetish photography has grown exponentially and is reaching audiences by the thousands, making it a normality within our culture. Content is filling our timelines with everything from pin-up dolls, erotica, latex, and much more that define fetishism. Exploring the Instagram feeds and analyzing fetish photographers opens our minds to a whole other world.
By Nikkie Evans5 years ago in Photography
Capturing Magic
In the world of photography, timing is the key to everything. While skilled compositions and technical proficiency are undoubtedly crucial, the perfect lighting can create the perfect photo. Nowadays, we can determine any light ourselves and are no longer dependent on any natural light source, thanks to the developed technology. We can turn every day into a night by using the right filters. And we can illuminate every night to be seen as a day. A typical process, especially in the film industry.
By Krishan Mubashar8 days ago in Photography
Cristiano Ronaldo, often hailed as one of the greatest footballers of all time
Cristiano Ronaldo, often hailed as one of the greatest footballers of all time, has had a storied career marked by unparalleled success and remarkable achievements. From his humble beginnings in Madeira, Portugal, to becoming a global icon, Ronaldo's journey is nothing short of extraordinary.
By Mithun Gainabout 16 hours ago in Photography


Comments
There are no comments for this story
Be the first to respond and start the conversation.