
The Ultimate Guide to Makeup
Your Personal Makeup Masterclass

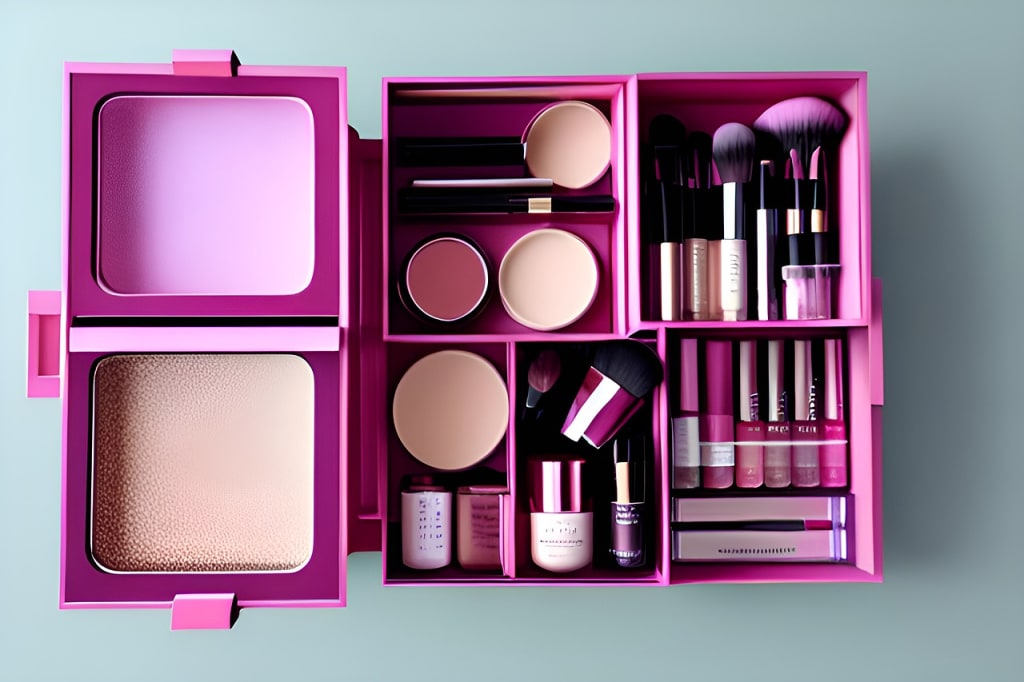
Are you ready to elevate your makeup game to the next level? Look no further! This comprehensive guide will walk you through everything you need to know about makeup and application techniques, ensuring you have all the knowledge and tools to create stunning looks.
Makeup Basics
Before we dive into the nitty-gritty of makeup application, it's essential to understand some basic concepts. Here are a few key terms and techniques you should familiarize yourself with:
Ingredients and Formulations
Makeup products come in various formulations, including powders, creams, liquids, and gels. Each type has its benefits and drawbacks, depending on your skin type and desired finish. It's crucial to know what works best for you and your individual needs.
Color Theory
Understanding color theory is vital for choosing the right shades for your skin tone and creating harmonious makeup looks. Familiarize yourself with the color wheel and learn how complementary colors can enhance your features.
Makeup Expiration
Makeup products have a limited shelf life, and using expired products can lead to skin irritation or infections. Always pay attention to the expiration dates on your makeup, and replace items as needed to ensure a safe and effective application.
Understanding Your Skin Type
Knowing your skin type is crucial for selecting the right makeup products and ensuring a flawless finish. The four main skin types are normal, oily, dry, and combination. Each has specific needs and concerns, which should be addressed with targeted products and techniques.
Normal Skin
Normal skin is balanced, with minimal oiliness or dryness. Those with normal skin should opt for lightweight, hydrating products that enhance their natural glow without feeling heavy or greasy.
Oily Skin
Oily skin produces excess sebum, resulting in a shiny appearance and enlarged pores. Oil control is essential for those with oily skin, so look for mattifying and oil-free formulas to prevent makeup from sliding off throughout the day.
Dry Skin
Dry skin lacks moisture and can feel tight or flaky. Hydrating and nourishing products are a must for those with dry skin, as they help to restore moisture and create a smooth, even base for makeup application.
Combination Skin
Combination skin has a mix of oily and dry areas, with oiliness typically concentrated in the T-zone (forehead, nose, and chin). Those with combination skin should use targeted products for each area, such as a mattifying primer on the T-zone and a hydrating foundation on drier areas.
Creating a Solid Foundation
A flawless makeup look starts with a solid foundation. Here are the steps to create a smooth, even base for your makeup:
Step 1: Primer
Primer is essential for creating a smooth canvas for your makeup. It fills in pores and fine lines, ensuring your foundation glides on seamlessly and stays put throughout the day. Choose a primer that addresses your skin concerns, such as oil control for oily skin or hydration for dry skin.
Step 2: Foundation
Foundation evens out your skin tone and provides a base for the rest of your makeup. Select a formula that suits your skin type and desired coverage, and apply using a brush, sponge, or your fingers. Start in the center of your face and blend outwards for a seamless finish.
Step 3: Color Correction
Color correction is a technique used to neutralize skin imperfections, such as redness or dark circles. Apply a color-correcting product (like a green or peach-toned concealer) to the problematic areas before applying your regular concealer and foundation.
Concealing and Correcting
Concealer is your secret weapon for hiding imperfections and brightening your complexion. Here's how to use it effectively:
Step 1: Choose the Right Shade
Select a concealer that matches your skin tone for blemishes and imperfections. For under-eye circles, opt for a shade one to two shades lighter than your foundation to brighten the area.
Step 2: Apply Strategically
Apply concealer directly onto blemishes and imperfections using a small brush or your fingertip. For under-eye circles, apply in a triangular shape beneath your eye and blend outwards.
Step 3: Set with Powder
To prevent your concealer from creasing or fading, set it with a light dusting of translucent powder.
Defining Your Eyes
The eyes are the window to the soul, so make sure they're perfectly framed with these eye makeup tips:
Step 1: Eyeshadow Primer
Apply an eyeshadow primer to your eyelids to prevent creasing and help your eyeshadow last all day long.
Step 2: Eyeshadow Application
Choose your desired eyeshadow shades and apply them strategically to enhance your eye shape. Start with a neutral base color, then add depth and dimension with darker shades in the crease and outer corner of your eye.
Step 3: Eyeliner
Define your eyes with eyeliner, either using a pencil, gel, or liquid formula. Line your upper lash line and, if desired, your lower lash line for added drama.
Step 4: Mascara
Finish your eye makeup with a generous coat of mascara to lengthen and volumize your lashes.
Perfecting Your Brows
Well-groomed eyebrows frame your face and enhance your features. Follow these steps for perfect brows:
Step 1: Determine Your Ideal Shape
Use a pencil or brush to measure the ideal starting point, arch, and end of your eyebrows.
Step 2: Fill in Sparse Areas
Use a brow pencil, powder, or gel to fill in any sparse areas and create your desired shape.
Step 3: Set with Brow Gel
Keep your brows in place all day with a clear or tinted brow gel.
Blushing and Bronzing
Add warmth and dimension to your face with blush and bronzer:
Step 1: Apply Bronzer
Using a fluffy brush, apply bronzer to the areas of your face where the sun would naturally hit, such as your forehead, cheekbones, and jawline.
Step 2: Apply Blush
Apply blush to the apples of your cheeks and blend outwards for a natural-looking flush.
Lip Service
Complete your makeup look with the perfect lip color:
Step 1: Exfoliate and Moisturize
Prep your lips by gently exfoliating with a lip scrub and applying a hydrating lip balm.
Step 2: Line Your Lips
Outline your lips with a lip liner that matches your chosen lipstick shade to define your lip shape and prevent feathering.
Step 3: Apply Lipstick
Apply your chosen lipstick shade, either straight from the bullet or using a lip brush for precision.
Setting and Finishing
Ensure your makeup stays put all day with these setting and finishing techniques:
Step 1: Setting Spray
Mist a setting spray over your face to lock in your makeup and prevent smudging or fading.
Step 2: Touch-ups
Carry blotting papers and a compact powder for touch-ups throughout the day, especially if you have oily skin.
Makeup Application Tools
Invest in quality makeup brushes and tools for a seamless, professional-looking application:
Foundation and Concealer Brushes
Choose synthetic bristles for liquid and cream products, and natural bristles for powders.
Eye Makeup Brushes
A variety of eye makeup brushes will give you more control and precision when applying eyeshadow and eyeliner.
Powder and Blush Brushes
Opt for fluffy, soft bristles for an even and natural-looking application of powder and blush products.
Now that you've mastered the art of makeup application, it's time to put your skills to the test and create stunning, customized looks that showcase your unique beauty. Happy experimenting!.
Thanks for the read, If you enjoyed it then be sure to check more of my work out and like subscribe, and always have a great day.
About the Creator
Arhum Nasir
A writer who specializes in creating captivating blogs, powerful poems, and informative articles
With a unique voice and a flair for storytelling.
Keep reading
More stories from Arhum Nasir and writers in Blush and other communities.
Winner's Circle: Prompted #3
INTRODUCTION Prompted: #3 is over and done with. There were a total of 7 entries for this challenge, just like with Prompted #2. That was a bit surprising, considering this was a poetry challenge. The first poetry challenge garnered much more attention. Of course, one way to look at the drop in participation is that Vocal writers are not fans of the rondel.
By Randy Baker5 days ago in Writers


Comments
There are no comments for this story
Be the first to respond and start the conversation.