
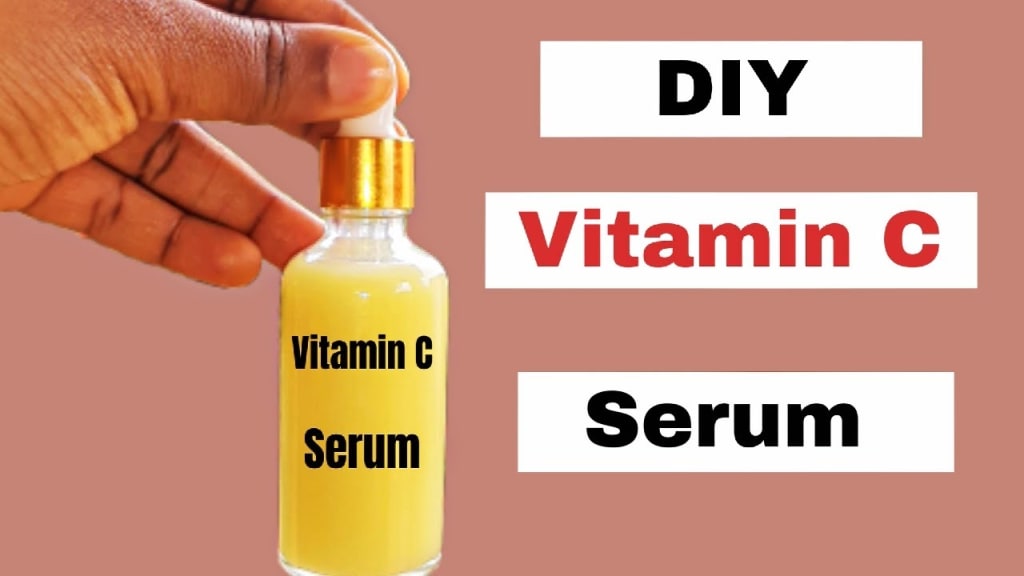
DIY Vitamin C Serum
A Natural and Effective Skincare Recipe

Welcome to our comprehensive guide on creating your very own vitamin C serum! In this blog post, we will explore the benefits of vitamin C for your skin and provide a step-by-step tutorial on making a high-quality, homemade vitamin C serum. By following this simple recipe, you can harness the power of vitamin C to promote youthful, glowing skin without breaking the bank. Let's dive in!
Understanding the Benefits of Vitamin C for the Skin
Before we delve into the recipe, it's essential to understand why vitamin C is a popular ingredient in skincare products. Vitamin C, also known as ascorbic acid, is a potent antioxidant that offers numerous benefits for the skin. Here are a few key advantages:
- Boosts collagen production: Vitamin C stimulates the production of collagen, a protein that gives skin its elasticity and firmness. This helps to reduce fine lines and wrinkles, promoting a more youthful appearance.
- Brightens the complexion: Vitamin C has skin-brightening properties, fading dark spots and hyperpigmentation caused by sun damage or acne scars. It evens out the skin tone, leaving you with a radiant glow.
- Protects against sun damage: As an antioxidant, vitamin C combats free radicals and helps protect the skin from harmful UV rays. It can also aid in repairing existing sun damage.
- Hydrates and nourishes: Vitamin C helps to retain moisture in the skin, keeping it hydrated and plump. It also supports the skin's natural healing process and reduces inflammation.
II. Gathering the Ingredients and Materials
To create your homemade vitamin C serum, you'll need the following ingredients and materials:
Vitamin C powder: Look for a high-quality, pure ascorbic acid powder, preferably with a concentration of 10-20%. This ensures maximum effectiveness.
Distilled water: Distilled water is free from impurities and minerals that can affect the stability of the serum.
Vegetable glycerin: Glycerin acts as a humectant, attracting and retaining moisture in the skin.
Dark glass bottle: Choose a dark-colored glass bottle with a dropper for easy application. This helps protect the serum from light and air, maintaining its potency.
III. Step-by-Step Instructions for Making Your Vitamin C Serum
Now, let's walk through the step-by-step process of creating your own vitamin C serum:
Step 1: Cleanse and sterilize
Before you start, ensure that your hands, tools, and workspace are clean and sterile. This prevents any contamination that could affect the quality and shelf life of your serum.
Step 2: Measure the ingredients
Measure 1 teaspoon of vitamin C powder and add it to a clean, dry bowl. Ensure that you use the appropriate concentration of vitamin C powder based on your preferences and skin sensitivity.
Step 3: Add distilled water
Slowly pour 4 teaspoons of distilled water into the bowl with the vitamin C powder. Stir gently until the powder is completely dissolved. The solution should be clear without any visible particles.
Step 4: Incorporate vegetable glycerin
Add ½ teaspoon of vegetable glycerin to the mixture. Glycerin helps to hydrate and moisturize the skin while enhancing the texture of the serum. Stir well to combine all the ingredients thoroughly.
Step 5: Transfer to a glass bottle
Using a funnel, carefully pour the serum into a dark glass bottle. The dark color of the bottle helps to protect the serum from degradation caused by light exposure. Secure the bottle with a dropper cap or a pump dispenser.
Step 6: Store and usage
Store your homemade vitamin C serum in a cool, dark place away from direct sunlight and extreme temperatures. To use the serum, apply a few drops to clean, dry skin and gently massage it in. Follow with a moisturizer and sunscreen for optimal results.
IV. Precautions and Shelf Life
To ensure the efficacy and longevity of your vitamin C serum, keep the following precautions in mind:
Use it promptly: Homemade vitamin C serums have a shorter shelf life compared to commercial products. Aim to use it within two weeks to maximize its potency.
Perform a patch test: Before applying the serum to your entire face, conduct a patch test on a small area of your skin to check for any allergic reactions or sensitivity.
Gradually increase usage: If you are new to using vitamin C on your skin, start with a lower concentration and gradually increase it to avoid irritation.
The Bottom Line
By creating your own vitamin C serum, you can harness the remarkable benefits of this powerful antioxidant for your skin's health and appearance. With a few simple ingredients and careful preparation, you can enjoy the radiant glow, reduced hyperpigmentation, and improved texture that vitamin C offers. Remember to follow the precautions, store your serum correctly, and make a fresh batch every few weeks for the best results. Embrace the natural goodness of homemade skincare and enjoy the transformative effects of vitamin C on your journey to healthier, more youthful skin!
About the Creator
Waseem Khan
I am a creative writer and researcher who has always been passionate about words and their power to inspire and transform. Ever since I was young, I have been fascinated by the stories and characters that populate our world.
Keep reading
More stories from Waseem Khan and writers in Blush and other communities.
How to Make Your Own Vitamin C Serum with Ferulic Acid?
Unlock the secret to radiant and youthful skin with your very own homemade Vitamin C serum infused with the magic of Ferulic Acid. Imagine stepping into a world where skincare alchemy is at your fingertips, and you have the power to concoct a potion that revitalizes your complexion. This remarkable DIY serum combines the potency of Vitamin C, known for its brightening and anti-aging properties, with the antioxidant prowess of Ferulic Acid, creating a dynamic duo that works wonders for your skin. With just a few simple ingredients and a touch of creativity, you can embark on a skincare adown venture, transforming your bathroom into a laboratory of beauty.
By Waseem Khan11 months ago in Blush


Comments
There are no comments for this story
Be the first to respond and start the conversation.