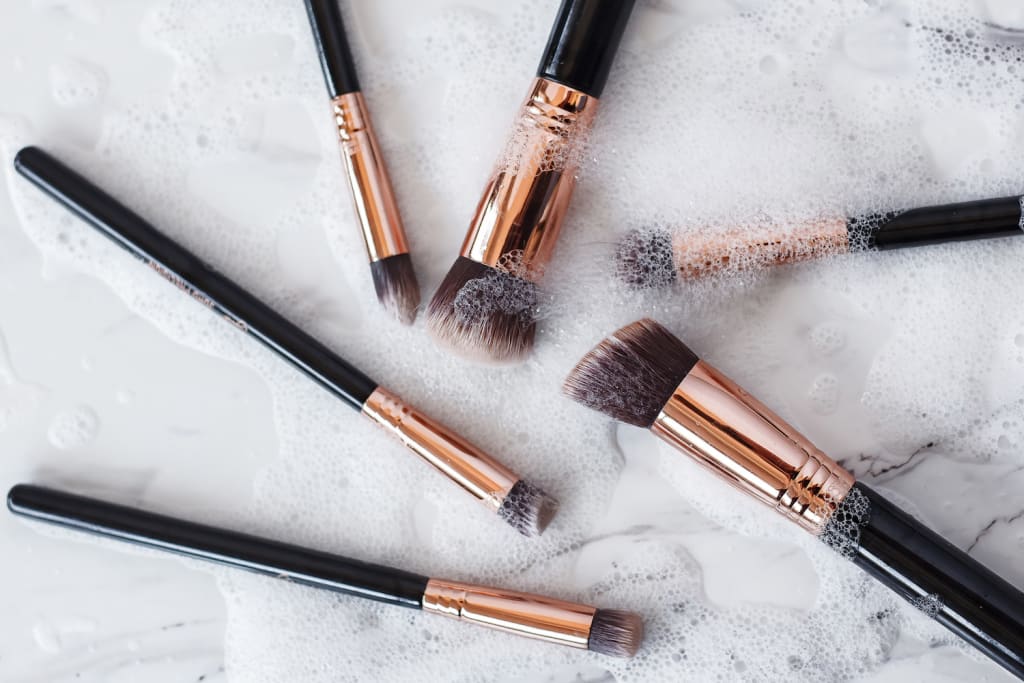
A Lazy Girl's Guide to Cleaning Your Makeup Brushes
I know it's been a while. I'm here to help.

I know what you're thinking - "I haven't used my makeup brushes all year!" Or maybe you've been practicing while you've been hanging out at home. Get it! Either way, your brushes are probably looking a little bit neglected. Maybe you went to a fancy function in February and just haven't had the energy to give them a good clean since then. Maybe you've gotten your miles out of them, and have now just realized that they're getting kinda gross.
Cleaning your makeup brushes is an absolute must in your beauty routine. It keeps them from growing bacteria and depositing it onto your face, and prolongs the life of your brushes. But if you're a beginner (like myself), cleaning them can be intimidating. You don't want to ruin them by using the wrong cleaner or handling them incorrectly. Good brushes are expensive! But a lot of guides will tell you to get specialized cleanser, a particular tool, or - God forbid - a tiny washing machine for your brushes. Adorable, but unnecessary. I'm here to tell you that you don't need any of that stuff (but you can use it if you want to, I'm not your Mom). You only need three things: running water, dish soap, and your own two hands.
Step 1: Set It Up
Gather up all of your dirty brushes and beauty blenders and move to your nearest convenient sink. Kitchen, bathroom, doesn't matter. Just make sure that the sink you're using can run warm water. Grab some dish soap - I like Dawn, but any old dish soap will do. It MUST be dish soap, though; hand soap won't cut it. I've read some guides that state that you can also use something like baby shampoo, but I like dish soap simply because it cuts through grime like a hot knife through butter. I also like having a small container on hand; a bowl or Tupperware container is just fine, and it doesn't have to be huge.
Step 2: Dip
Put a small amount of warm water and dish soap in your container. Dip each brush/sponge in the solution and swish it around a little. If it's a sponge, make sure that it gets saturated with the liquid. I usually change the water in the dish a couple of times during this process if my brushes are really filthy.
Step 3: Scrub
Now that you've got some soap in the mix, it's time to grind the dirt out of your brushes. You don't need to do this for sponges; squeezing is just fine for them. But for brushes, cup your hand like you're cradling a handful of water, or a really small frog, or a single M&M. Basically, make a well in the center of your hand. Swirl your brush head against your palm; don't be afraid to use a little pressure! You should start to see makeup and water coming out of the brush; you can hold your hand under the water to rinse it out if it starts getting really gnarly.
Step 4: Rinse
Now that you've got your brush or sponge thoroughly scrubbed, rinse it under warm running water. It doesn't have to be scalding, but it should be warm. Squeeze your brush bristles or sponge to push all of the soap out of it. Make sure that you're holding your brushes in a downward position so that water doesn't flow back into the ferrule (AKA the metal part holding the bristles to the handle). If water gets into this part, it can make the bristles come loose and ruin your brush.
Step 4: Repeat
Really dirty brushes or sponges will probably need a trip back into the soapy water for extra cleansing. I usually find that beauty blenders need four or five rounds of this before they're clean. Just wash them until the rinse water runs clean.
Step 5: Dry
Once your brush or sponge has come clean, squeeze the water out of it and return it to its intended shape. Leave them to air dry; brushes should be left hanging over the edge of a surface, such as a counter, so that the bristles retain their shape. Again, be careful to hold them downwards to protect the ferrule. I usually find that my brushes take a couple of hours to dry, so just be patient.
BONUS STEP: Sanitizing Your Beauty Blender
Sponges can hold nasty bacteria inside them even after cleaning, so every second cleaning or so I like to do a little extra thing to make sure they're sanitized. Pop your cleaned sponges into a small, microwave-safe dish with clean water. Make sure that your sponge is fully saturated with water, or else you're going to have a bad time. Put the dish in the microwave, and run it on high for up to 30 seconds. I've read a lot of different times for this process, but 30 seconds is usually what I go for. Just keep an eye on your sponges to make sure all is well. After it's sanitized, leave your sponge to cool before taking it out of the water - don't try and take it out right away, it will be really hot! Once it's cooled, leave it out to dry as normal.
Presto! Your brushes are now clean and ready for a whole new year of looks. And you did it without any special tools! Go you!
About the Creator
Skylar Banach
I'm a freelance writer with an interest in true crime, entertainment, and a wide range of other things.
My avatar was created on Picrew with a generator created by the very talented Hunbloom!


Comments
There are no comments for this story
Be the first to respond and start the conversation.