
The Ultimate Guide to Retouching Product Photos in Photoshop
In the age of digital marketing and e-commerce, high-quality product photos are more important than ever. Whether you're selling products online or in-store, customers expect to see clear, attractive, and professional photos of the products they're interested in. This is where retouching product photos in Photoshop comes in handy.

In the age of digital marketing and e-commerce, high-quality product photos are more important than ever. Whether you're selling products online or in-store, customers expect to see clear, attractive, and professional photos of the products they're interested in. This is where retouching product photos in Photoshop comes in handy.
I. Introduction
In this ultimate guide, we'll take a comprehensive look at retouching product photos in Photoshop. We'll cover everything from preparing your workspace to advanced retouching techniques, enhancing product details, and final touches. So, let's get started!
A. Importance of high-quality product photos
Product photos are the first point of contact between a customer and your product. They are what your customers use to evaluate your product before making a purchase decision. Therefore, it's essential to make sure your product photos are of high quality and visually appealing. Great product photos can increase sales, boost customer engagement, and build trust in your brand.
B. Overview of retouching product photos in Photoshop
Retouching product photos in Photoshop involves making adjustments to an image to enhance its visual appeal. This process involves using various tools and techniques to improve the image's quality, such as removing background elements, adjusting color, and adding shadows and highlights. By retouching product photos, you can create images that are clean, professional, and attractive to your customers.
II. Preparing your workspace
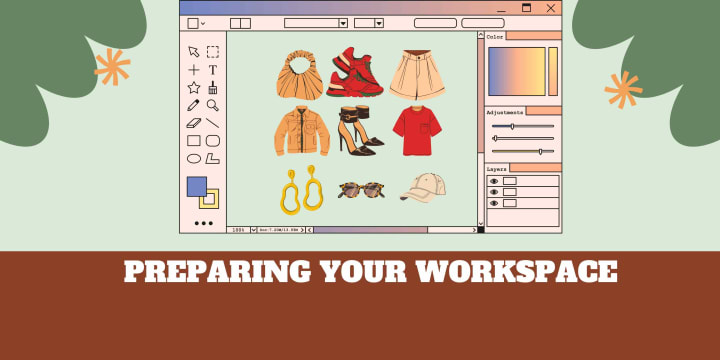
A. Creating a new project
To get started, open Photoshop and create a new project. Go to File > New, and choose the desired size and resolution for your image. For product photos, we recommend using a resolution of at least 300 pixels per inch to ensure high-quality images.
B. Importing your product photo
Next, import your product photo into the project. Go to File > Open and select your image. Alternatively, you can drag and drop your image into the project window.
C. Setting up your workspace
To make your workflow more efficient, set up your workspace by customizing your panels and menus. You can do this by going to Window > Workspace > Essentials (Default) and choosing the desired layout.
III. Basic photo editing techniques
When it comes to basic photo editing, there are several basic techniques to consider. These include cropping and resizing images, adjusting brightness and contrast, and color correction. Cropping allows you to cut out unwanted parts of an image; resizing will help you reduce the size of an image or enlarge it. Adjusting brightness and contrast involves increasing or decreasing the intensity of an image’s colors to ensure that the overall tone is balanced. Finally, color correction allows you to make specific changes to the hue, saturation, and tones of an image.
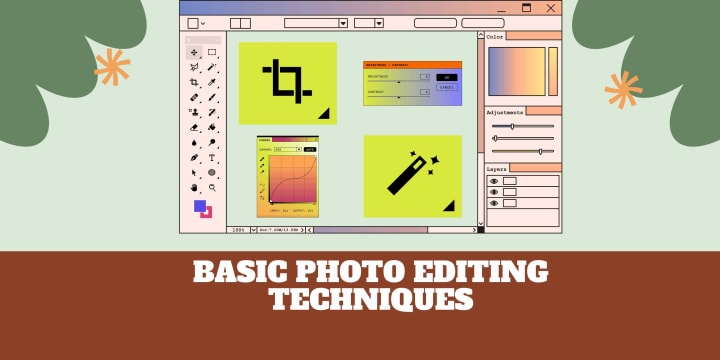
A. Cropping and resizing
Cropping and resizing your image is essential for creating a clean and focused product photo. Use the Crop tool to remove unwanted elements and adjust the composition of your image. Use the Image Size option to resize your image to the desired dimensions.
B. Adjusting brightness and contrast
Brightness and contrast adjustments can significantly improve the quality of your product photo. Use the Brightness/Contrast tool to adjust the overall brightness and contrast of your image. Use the Levels tool to adjust the individual levels of your image's shadows, mid-tones, and highlights.
C. Color correction
Color correction is necessary to ensure your product photo looks accurate and appealing to your customers. Use the Hue/Saturation tool to adjust the color balance of your image. Use the Color Balance tool to adjust the overall color temperature of your image.
D. Removing unwanted background elements
Removing unwanted background elements can help you create a clean and focused product photo. Use the Magic Wand or Lasso tool to select the unwanted element and delete it using the Eraser tool.
IV. Advanced retouching techniques
Advanced product photo retouching techniques are often used in photography to make the image look more professional. These techniques include removing blemishes and other imperfections, adding shadows and highlights, and adjusting product shapes and proportions. These techniques help draw the viewer's eye to the focal point of the image and enhance the overall look. Advanced retouching techniques also help to create uniform images that look consistent across different mediums, allowing for a more professional, polished look.
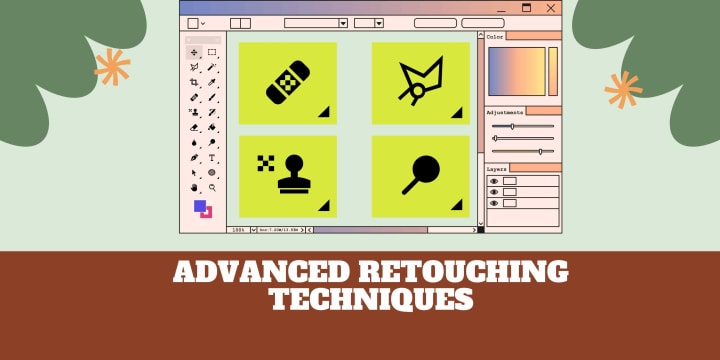
A. Removing blemishes and imperfections
Removing blemishes and imperfections can help you create a flawless product photo. Use the Clone Stamp or Healing Brush tool to remove unwanted spots, wrinkles, or scratches from your product.
B. Adding shadows and highlights
Adding shadows and highlights can help you create depth and dimension in your product photo. Use the Dodge and Burn tools to add highlights and shadows to your product. Use the Gradient tool to create a natural gradient effect in your shadows and highlights.
C. Adjusting product shape and proportions
Sometimes, the shape or proportions of your product may need adjusting to create a more visually appealing product photo. Use the Liquify tool to adjust the shape of your product. You can also use the Transform tool to resize or reshape your product.
V. Enhancing product details

A. Sharpening and adding texture
Sharpening and adding texture can help you create a more detailed product photo. Use the Sharpen tool to sharpen the edges and details of your product. Use the Texture tool to add a subtle texture to your product.
B. Adjusting focus
Adjusting focus is essential to ensure your product is in focus and sharp. Use the Focus tool to adjust the focus of your image. You can also use the Blur tool to create a soft focus effect.
C. Highlighting product features
Highlighting your product's features can help you showcase its unique qualities. Use the Dodge tool to lighten specific areas of your product. Use the Burn tool to darken areas of your product and create contrast.
VI. Final touches and exporting
A. Applying finishing touches
Applying finishing touches can help you create a polished and professional product photo. Use the Spot Healing tool to remove any remaining imperfections. Use the Vignette tool to add a subtle vignette effect to your image.
B. Exporting your edited product photo
Export your edited product photo by going to File > Export > Save for Web. Choose the desired file format and size for your image. Save your image and you're done!
VII. Conclusion
Retouching product photos in Photoshop can help you create high-quality, visually appealing product photos that can increase sales, boost customer engagement, and build trust in your brand. Remember to crop and resize your image, adjust brightness and contrast, color correct, remove unwanted background elements, and use advanced retouching techniques to enhance your product's features.
Now that you've learned how to retouch product photos in Photoshop, don't hesitate to apply your newfound skills to your product photography. Experiment with different techniques and styles to create images that represent your brand and showcase your products in the best light possible. With practice and patience, you'll be able to create stunning product photos that stand out from the crowd.
About the Creator
MD Samiul Islam
I'm a photographer based in the Dallas/Fort Worth area. With over Five years of experience, I have the knowledge and expertise to capture memories that will last a lifetime.
Keep reading
More stories from MD Samiul Islam and writers in Photography and other communities.
The Art of Retouching Jewelry Photos: Tips and Techniques
Jewelry photography is a unique genre that requires exceptional attention to detail and precision to capture the intricate beauty of each piece. High-quality photos are essential for e-commerce websites, online marketplaces, social media, and print advertisements. However, capturing the perfect shot is not enough; professional retouching is necessary to enhance the images and make them stand out. In this article, we will explore the art of retouching jewelry photos and provide tips and techniques to create visually stunning images.
By MD Samiul Islamabout a year ago in Photography
Capturing Magic
In the world of photography, timing is the key to everything. While skilled compositions and technical proficiency are undoubtedly crucial, the perfect lighting can create the perfect photo. Nowadays, we can determine any light ourselves and are no longer dependent on any natural light source, thanks to the developed technology. We can turn every day into a night by using the right filters. And we can illuminate every night to be seen as a day. A typical process, especially in the film industry.
By Krishan Mubashar14 days ago in Photography
Exploring the Art and Craft of Photography: Pursuing Excellence in the Visual Medium
Introduction: Photography is more than just capturing images; it's a powerful means of storytelling, expression, and communication. In today's digital age, where smartphones and social media platforms have made photography accessible to everyone, the pursuit of excellence in this visual medium remains an ongoing endeavor. Best photography transcends technical proficiency; it involves creativity, vision, and a deep understanding of composition, light, and subject matter. This essay delves into the art and craft of photography, exploring what defines the best photography, the elements that contribute to its excellence, and how aspiring photographers can strive for mastery in their craft.
By WILLIAM DIAGO RODRIGUESabout 23 hours ago in Photography
Turning Pages of Life
Life’s like a book — some parts are good, others not so much. Still, keep turning the pages; you might find the best chapter next. If someone hurts you, choose to forgive or just let it be, but never change who you are for them.
By Emily Chan - Life and love sharing5 days ago in Poets


Comments
There are no comments for this story
Be the first to respond and start the conversation.