
The Exposure Triangle—A Guide to Getting off Auto
Getting the most out of our cameras by speaking its language


Welcome back everyone! For the past few weeks we've gone over the components of the exposure triangle; shutter speed, aperture, and ISO. This week we will be discussing the tips, techniques, and mindset to combine these elements to give you greater control over your photography and to help bridge the gap between the shot we've got, and the shot we want.
While shutter speed, aperture and ISO will be mentioned through the blog, the specific details of effects they have are in my previous blogs, I would implore you to please have a read of these blogs (or even someone else's). A solid understanding of fundamentals is beneficial in what we're aiming for here when trying to understand the exposure triangle. I will provide links to these blogs at the bottom of this one should you wish to have a look.
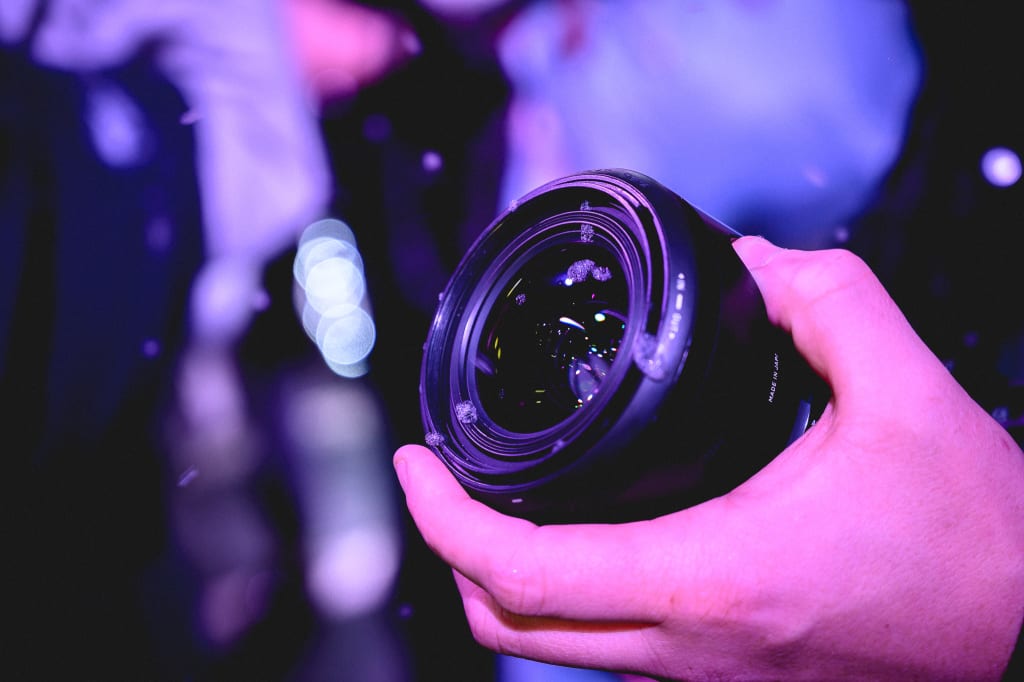
If you have an interest in photography whether that be professionally, or as a hobby, or even if you're just beginning, you've probably heard of the term "exposure triangle." The exposure triangle is a tool that helps highlight the fact that our three elements of achieving an exposure or taking a photo (shutter speed, aperture, and ISO) must all be used and balanced. We can't take a photo without a shutter speed, we can't take a photo without an aperture, and we can't take a photo without selecting an ISO. It represents the fact that a change in one of these components will affect our exposure, and to keep it "balanced" we will need to make changes to one or both of the other components.
So how does being aware of an exposure triangle and what it's components do provide us with the opportunity to move away from shooting on auto?
It helps provide us with the knowledge that:
- An exposure taken by our camera relies on three main settings
- These three settings have a specific way of impacting our exposure
- We can learn what these three settings do independently and how they impact our final product
- We can apply what we've learned about these individual settings in the field
Being aware of the exposure triangle is beneficial, because arguably, people that are new to photography shoot on auto as they're not entirely aware of everything the camera is doing whilst on auto and taking a photo, and it is a simpler, more streamlined, user friendly way of using your DSLR.
Let's look at the benefits of auto, and then why if you want to, understanding the exposure triangle will help with moving away from auto.
What does auto actually do for us?
Auto is a function on most modern DSLR's; it allows you to pick up a camera, point it in a direction, push a minimal amount of buttons and take a photo. It does this by using an algorithm to read the light hitting the sensor and a light meter to make sure the "Exposure Value" or EV sits as close as it can to the centre of the light meter. For the casual user, auto will probably be more than adequate to take snaps of family, friends, pictures of their travels etc in adequate lighting. But outside of adequate lighting, ideal subjects (read: non-moving), and when we start to implement an element of creativity to our photos, be that beautiful bokeh (creamy/blurry backgrounds) or pin sharp photos from front to back, long exposure or precise stop-motion freezing of a high-speed event, we need more control over how we take that photo. When our camera is on auto, it is still using all of the same concepts as someone who shoots on manual (or aperture/shutter priority); the only difference is someone who uses manual understands how to communicate the image they want to take to the camera, in the camera's language. When we shoot auto, we let the camera do the thinking, and often it says "this is good enough." For most casual users, this is perfectly adequate, but if you're here reading this, you're probably starting to move away from what would be considered a casual user.

So how does the exposure triangle actually help us?
For the users who are just beginning to move off of auto, simply knowing the exposure triangle exists, allows us to know that what our cameras are doing on auto isn't black magic. It's all the same stuff, we're just not thinking in the camera's language yet. This is where the exposure triangle comes into its element. The exposure triangle is like a super simplified layman's way of understanding the language of our camera, we don't need to understand the physics and science behind acquiring an adequate exposure, we need to know how to tell our camera to take the image. We need to talk in the camera's language, our exposure triangle is our translator, and knowledge of it's components (SS/ƒ/ISO) are how we "structure" our image in terms of light. When taking an exposure, we balance three components, shutter speed, aperture, and ISO, this is why it is often related to a triangle, three components, three sides.
It is possible to break down this thinking even further into a sort of formula if you would. Bare with me there's no math, but this is simply a way of visually explaining it.
SS + ƒ + ISO + available light = exposure
- Shutter speed + aperture + ISO are the components we control and are what we use to control our camera
- Available light we can't always control but it will influence the settings we use
- And our end goal is our exposure
Changing one element whether that be available light, or any of our settings will affect our exposure. Compensating by changing other settings in unison will balance out the impact that our changes have on our exposure.

So what next?
Good question. If auto is cutting it for you, you're welcome to continue using it—no-one will think otherwise of you, and if they do you shouldn't be bothering with that person. If you find yourself wanting a little more, but are unsure what to do before jumping into manual, "Priority modes" are a good middle ground. Shutter priority is a mode that allows you to choose your shutter speed, and the camera will pick the aperture and ISO. Aperture priority will allow you to choose your aperture and your camera will choose the shutter speed and ISO. But I will say now, I'm of the strong belief that if you can shoot on a priority mode, you can shoot on manual. You're already half way there and know enough of the basics to be off auto; there's not much more to manual photography. But it does take a lot of practice, a lot of trial and error. The more familiar you are with your camera, and your settings the more comfortable and prepared you will be and less likely to miss a shot.
Good, extensive knowledge of fundamental settings and their impact on our shots, and functional familiarity with your camera is paramount to excelling with manual mode. If you're able to navigate your way around your camera with your eyes closed, if you know where every dial and every button is like the back of your hand, changing settings on the fly is not as intimidating as it seems. You just need to be holding your camera, and playing with your camera. Even if you aren't taking a photo, fiddle with your buttons and dials. Fiddle with your settings while on the train before heading to a photowalk. Every purposeful second you put into handling your camera is beneficial. If you have a vision before you take a photo, and if you have the knowledge of the components of the exposure triangle, you can know before you take the photo, what settings are necessary to achieve your desired image.
Once again, thanks for stopping by! - J
Hopefully this blog has helped inspire you to make the jump from auto to another setting of shooting. If it has, if you've found success in capturing photos you previously were unable to, shoot me a message or drop a post on my facebook page! I'd love to see your progress! And as always, if you've enjoyed this blog, or if you've found some benefit from this and the last three blogs, feel free to share them around, or if you're really feeling generous Vocal allows readers to leave tips, if you enjoyed this enough to buy me a coffee I wouldn't say no to a coffee donation 😍
If I've missed something or completely missed the mark, please feel free to let me know also, I do take constructive criticism onboard for future blogs!
Links to blog about: Aperture, Shutter Speed and ISO below
Aperture: https://vocal.media/photography/aperture-filling-our-camera-with-light
Shutter Speed: https://vocal.media/photography/shutter-speed-controlling-time-with-photography-settings
ISO: https://vocal.media/photography/iso-same-same-but-different
About the Creator
Keep reading
More stories from Justin Clark and writers in Photography and other communities.
ISO—Same, Same, But Different
Welcome back to another blog! This week we're going over another component of our exposure triangle, ISO. ISO is an interesting concept; it's just as important as our other components, while at the same time it doesn't matter quite as much unless we're in the nitty-gritty's of it (in digital photography). Let's explore the basics and look at why understanding ISO and its subtle differences are important, not just for the shot we're trying to take, but also if we're looking to upgrade digital camera bodies. This blog is less aimed at what exposures are needed for what environments of shooting, but more to challenge incorrectly held beliefs on how ISO operates, and to hopefully provide you with a hunger to research ISO more. I will cover ISO from a more scientific perspective in the future, but for today let's look at why common belief is wrong.
By Justin Clark4 years ago in Photography
Capturing Magic
In the world of photography, timing is the key to everything. While skilled compositions and technical proficiency are undoubtedly crucial, the perfect lighting can create the perfect photo. Nowadays, we can determine any light ourselves and are no longer dependent on any natural light source, thanks to the developed technology. We can turn every day into a night by using the right filters. And we can illuminate every night to be seen as a day. A typical process, especially in the film industry.
By Krishan Mubashar6 days ago in Photography
Offbeat Places in Malaysia: Travel Secrets
Malaysia is most popular for stunning urban areas like Kuala Lumpur and George Town. In any case, there are such countless odd spots in Malaysia anticipating nature sweethearts and travelers. We've assembled a rundown of 10 mystery objections that make us need to book a pass to Malaysia this exact instant!
By prashant soni2 days ago in Photography


Comments
There are no comments for this story
Be the first to respond and start the conversation.