
How to create your Instagram aesthetic!
Which apps I use to create my Instagram aesthetic, and when not to use filters...


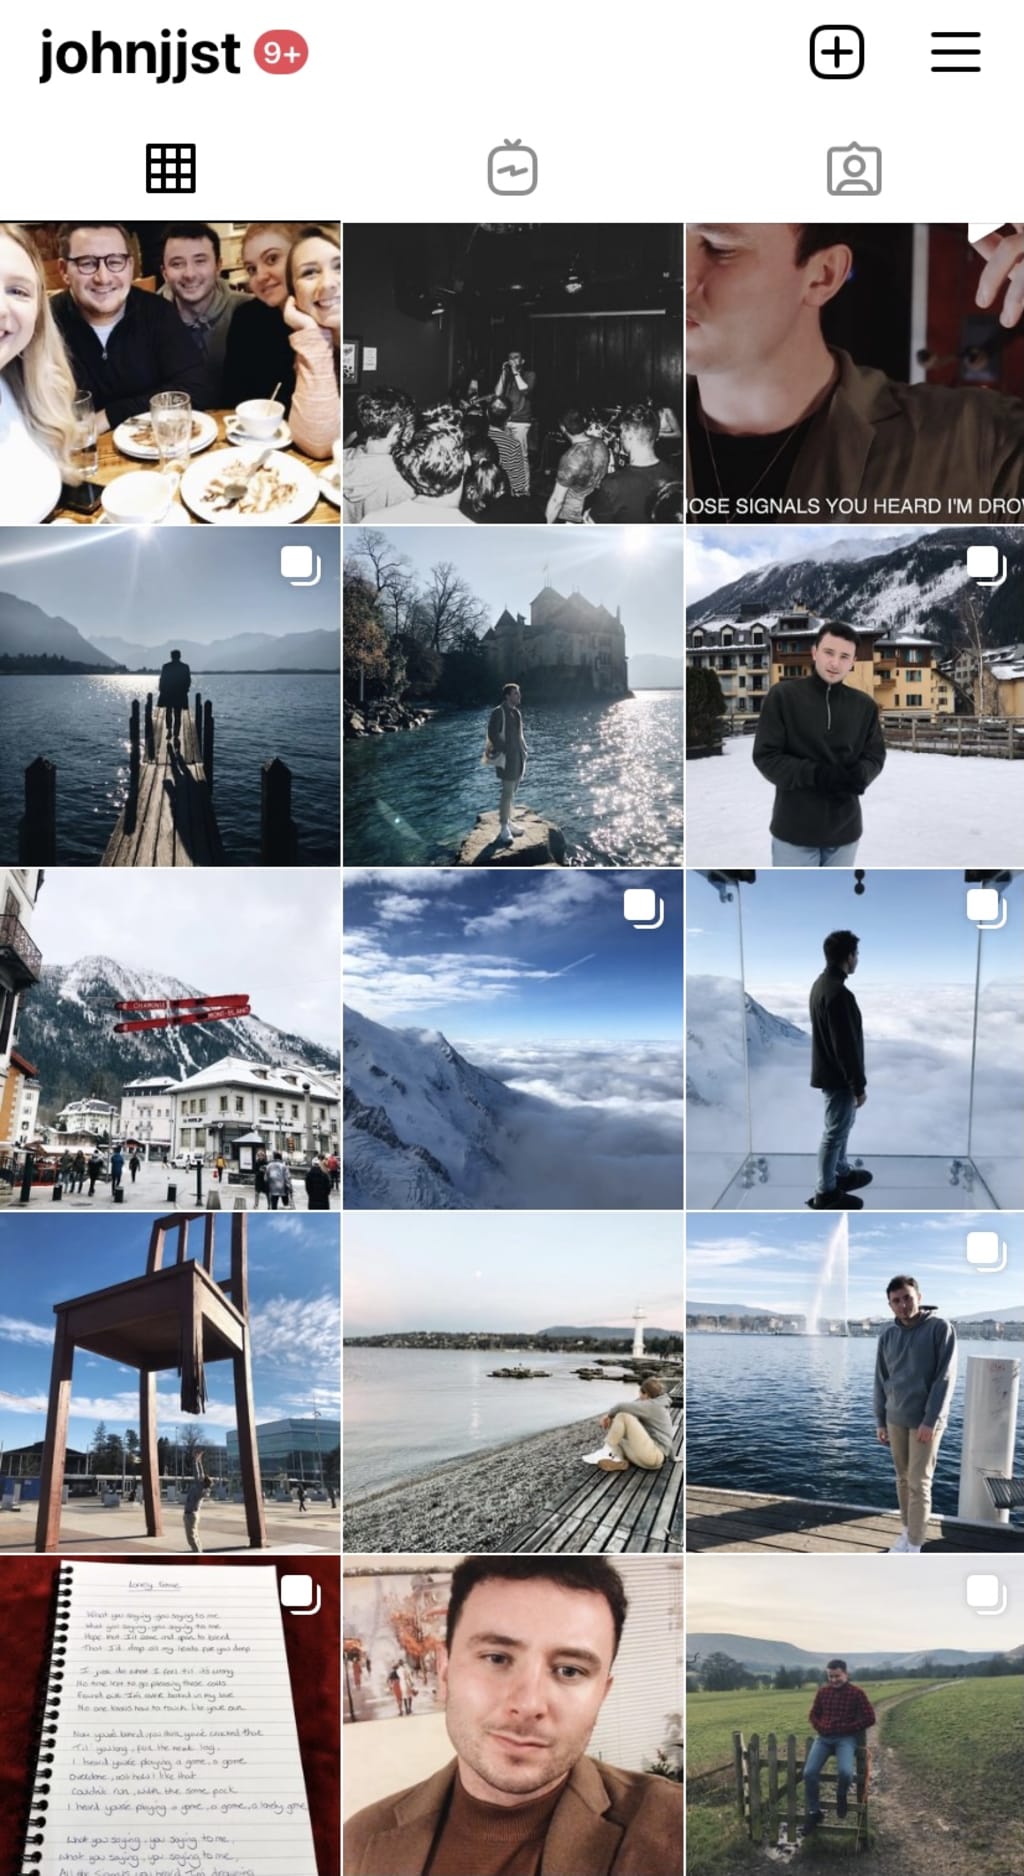
My Instagram feed is an expression of who I am. As a creative, it's my brand. I am in no way any form of influencer, but yet I've had work from my Instagram, made connections, and I enjoy playing with my own aesthetic. When I look back on memories, or trips I've taken, I like my feed to represent that moment in time. Like a public scrapbook of images.
I've tried and tested various different photo editing apps in the past that haven't quite worked for me. To create the style of my feed that I want to share with the world, I've found a particular format of customisable filters and edits that I can easily apply to my photos in minutes to get them ready to share.
Here are some of my favourite apps that I use for my pictures, as well as when not to use any filters at all...
VSCO
Before
After

I use VSCO more than any other app to edit my photos. With a few quick clicks, I can transform my travel snaps, my pictures with friends, shots of my dinner (yes, I’m one of those – don’t judge me), into vivid eye candy that I’m ready to share.
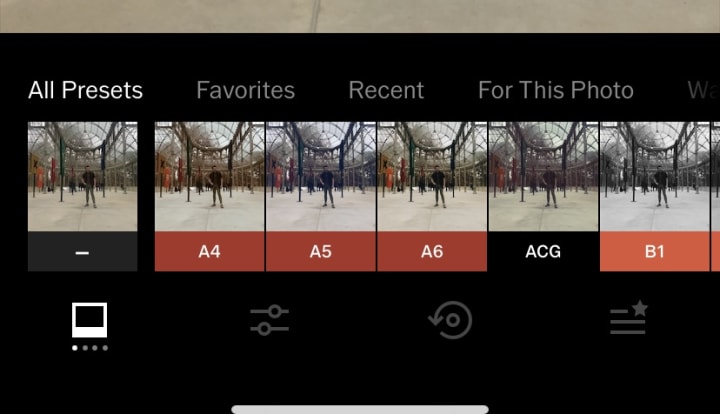
The app has my favourite filters, they are bold, vibrant, and customisable. You can play with the intensity of filters - I usually have the filter at around 50%. The filters don’t compromise the quality or detail like many other photo editing apps but instead enhances them. You already get a generous range of filters with the free version of the app, however, there is a free trial if you want to explore some of the paid filters on the app - I personally did the trial yet found myself still using the free filters anyway.
My personal favourites I've put below:
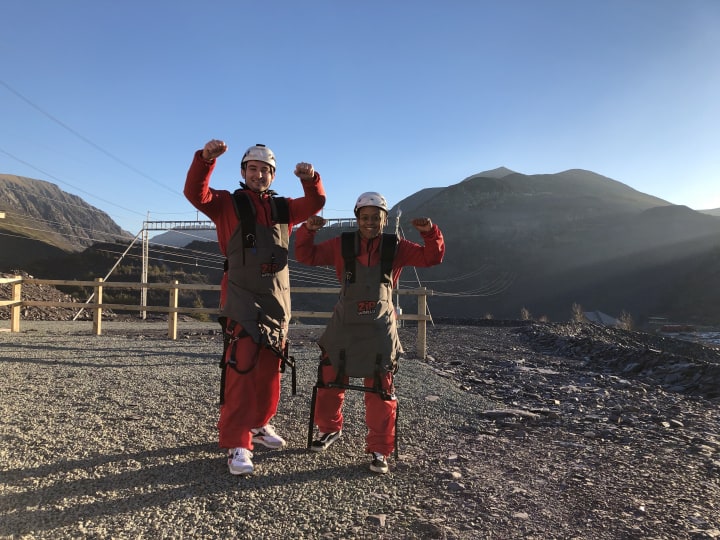
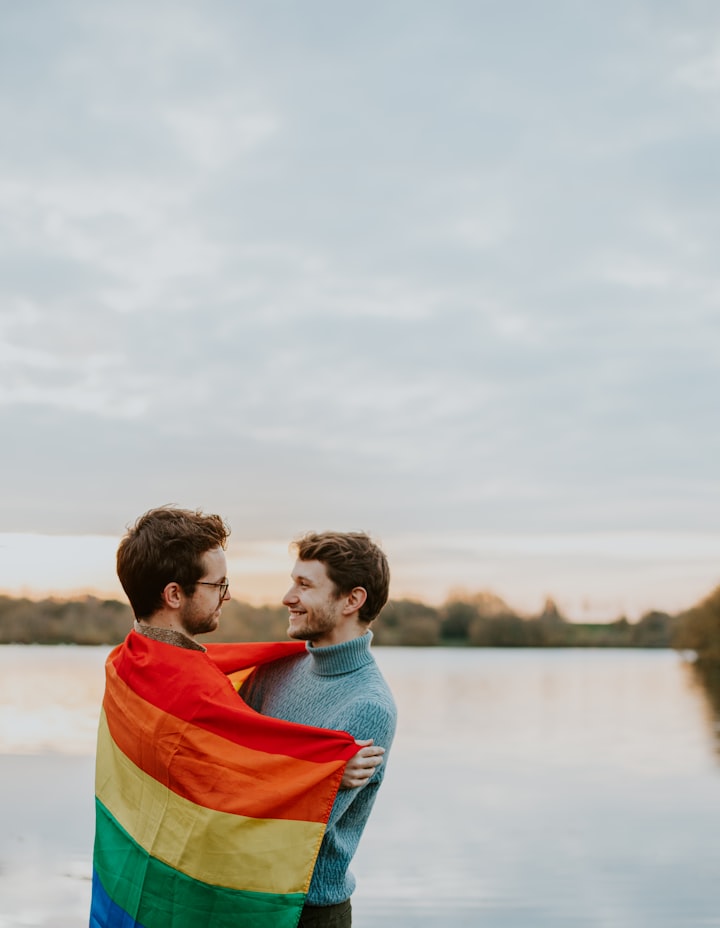
HB2 - I use this filter for probably about 75% of my Instagram feed. I love the blue tint and the way that it intensifies the sky, (see example below, also the above skydiving image is using HB2). There's a cinematic feel to the filter that I connect with, almost as though the picture could suddenly be a screenshot from a movie.
Raw Image
Using HB2 at full +12 (no other editing)

A6 - I use this filter to add a more washed-out look to my socials. To create the clean, neat aesthetic I want on my page, there's something about the neutral effect the filter has that impacts the quality of the shot. It instantly makes the photo go from a snap I've taken on my phone, to a high quality professional looking image.
Raw Image

Using A6 at full +12 (no other editing)

You can use a filter and post right away and you'll already have enhanced your pictures. But if you really want to work on expressing your individuality, I would recommend customising the filter even further...
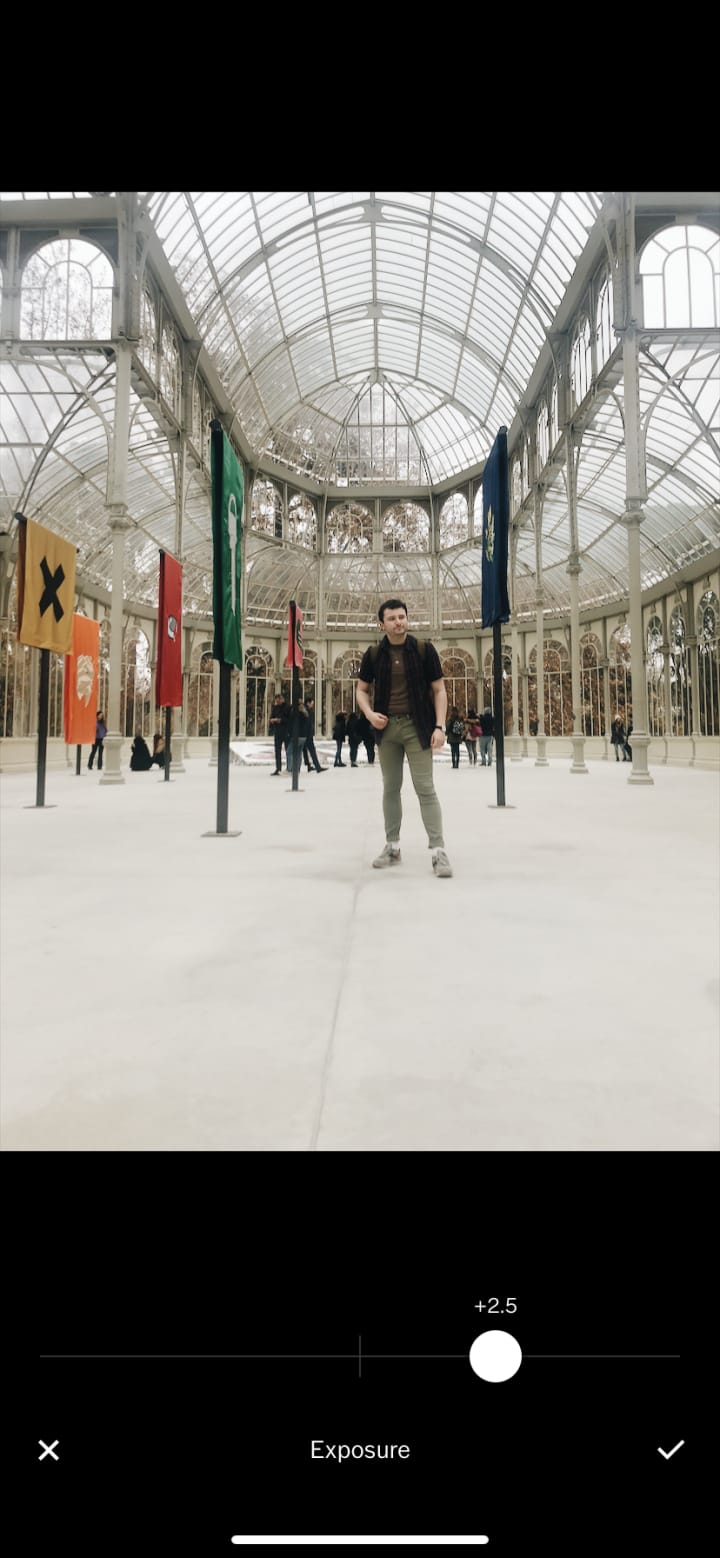
You can play with other settings on VSCO like exposure/saturation/clarity. For my feed, I want it to feel bright and clean, so I usually put around +2.5 exposure on my pictures and use a slight bit of saturation no more than +1.5 to bring the colours to life even further. But this depends on your personal aesthetic for your feed, if you want your images to be bursting with colours and overexposed, then you could adjust these to fit your own personal preference – after all, that’s what’s going to make your pictures unique!
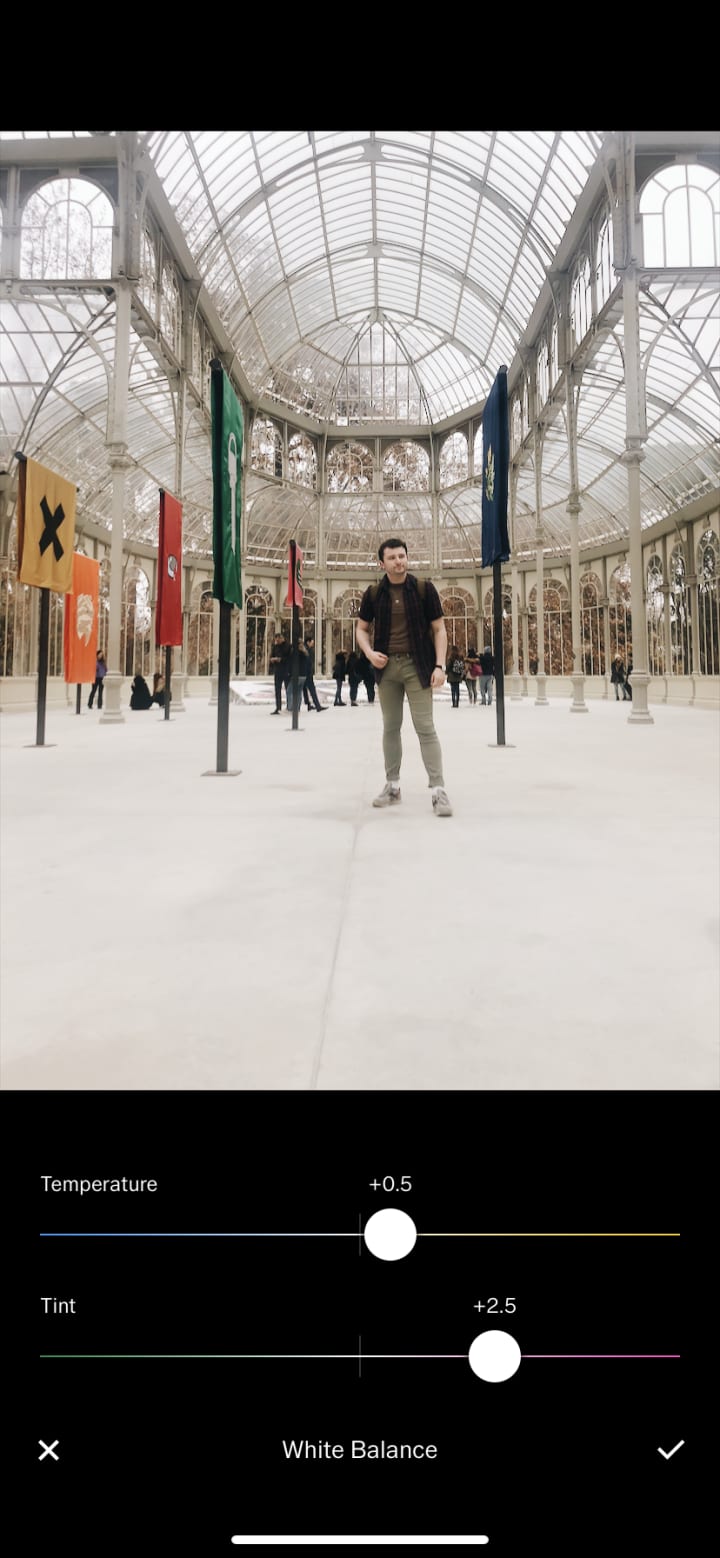
Another feature that I like to play with is using the white balance feature where you can play with temperature and tint. When I look back on my feed, I like to be a snapshot of that time of my life. Usually, I like to think back to sunnier times, so I like to add 0.5 temperature to add that warmth to the picture. I also like to play with the tint, I like having a subtle pink in the background of my pictures without overpowering the image - depending on the shot I use up to +2.5 of tint on my pictures.
Play around with the filters and the customisable features and see what works for you! Remember your feed is your brand, your style, your memories, you have complete control over the aesthetic, so experiment until it clicks.
Raw image

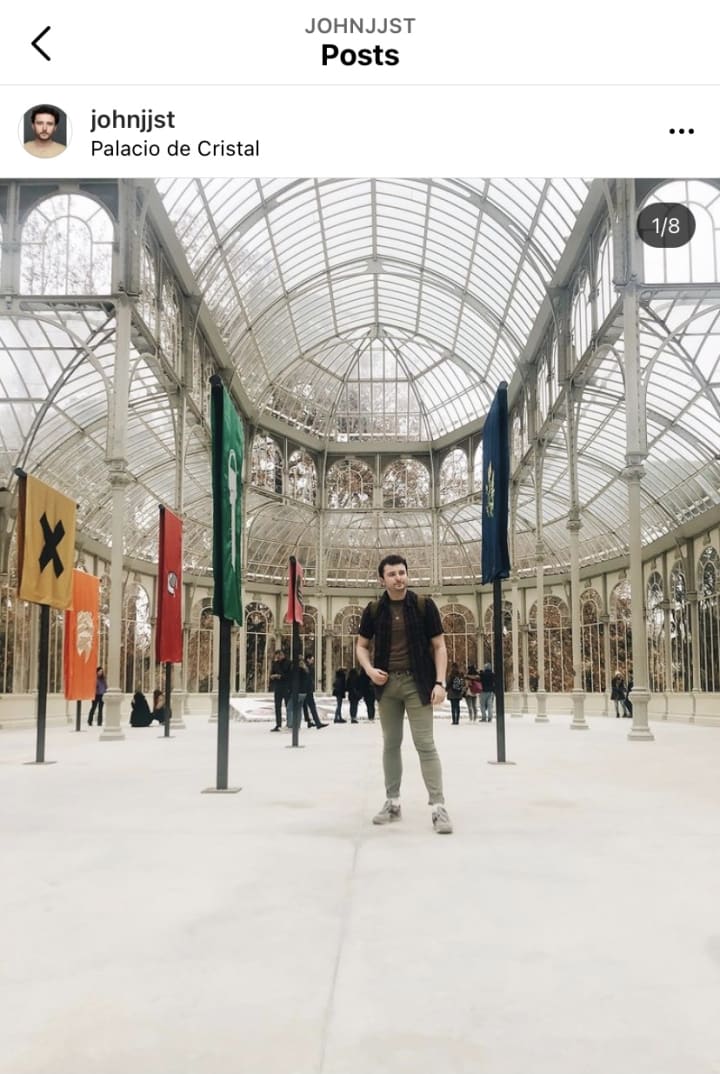
The edited picture on my Instagram feed
HUJI
Another must-have photo editor is Huji. There's less flexibility to be able to customise images yourself - you are given an automatical preset filter on each image you take or upload, but there is a distinct flair that Huji uses that can transform particular images into stylised ready to post snaps.
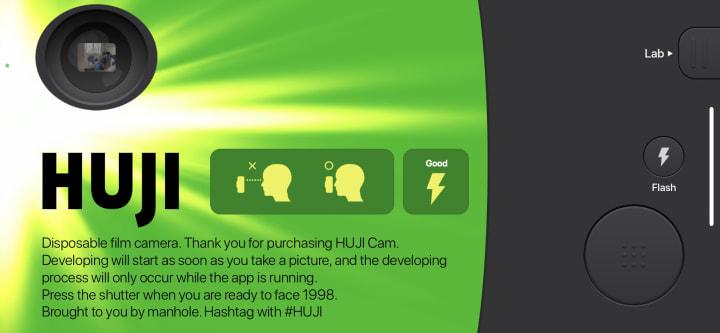
Huji works like a disposable film camera. When you first open the app, you have a small camera in the top left corner, similar to an actual camera, where you can take an image, there and then, and Huji will whack a retro filter onto it. I also like that it adds the date to the image in the corner, just like a 90's film camera. You can just do this, it's fun and quirky! Great for a day out with some friends. But I've found that using the 'lab' feature is how I get the best use from the app. In the top right corner you can see the lab, from there you can access your photo library. Instead of just having to accept the preset filter that Huji has automatically added to the shot (it's very hit and miss), you can select the photo you want to add a filter on, and if you don't like it, you can repeat the process until you find a filter you like. It's much less creative that apps like VSCO, but I've seen some great feeds that use only Huji filters.
Raw image

Shared image on my feed using a Huji filter

Layout
Not particularly a photo editor, but Instagram's own app Layout is a great tool to format your edited images together. Often I find myself with two images that I would really like to bunch together - you can upload up to 10 images on Instagram for your followers to scroll through, but Layout allows you to merge together a couple, or even a bunch, of photos into one image for your feed.
Using Layout to edit two images together

Something that I also like to do at the end of each year is to share a collage of my favourite memories from those past twelve months. I use layout to merge together all of my favourite images into one clean aesthetically pleasing image.
A collage of my favourite pictures of 2018 on my Instagram
Problematic Facetune
'Just swipe for perfect skin' is the advertising line for face editing app Facetune. I don't Facetune or any facial editing software. I am not in any way telling you that you shouldn't. But it's important to recognise the difference between editing a photograph and editing how you look. I don't use filters to change anything about how I look. That's me. That's who I am. I want to recognise myself when I look at my feed. The truth is, Instagram lies. It lies when we only share our positive experiences - I do this too, it makes it feel like everyone is having shiny, perfect, fun life that is far from any reality. But it also lies when we see a constant flow of perfect bodies and flawless skin. This is not a reality. I often have days when I stress myself out because I don't look like an influencer I've seen on Instagram. But after working in an industry that sees first hand the use of Photoshop to change body type, or the use of apps like Facetune to clear skin, or even change features, I take comfort in knowing that these images are not a true reflection of what society tells us is perfect.
You are perfect just as you are, and share that with the world rather than edit your wonderful uniqueness to obtain a false, bland, void of personality idea of what "perfect" is.
No Filter
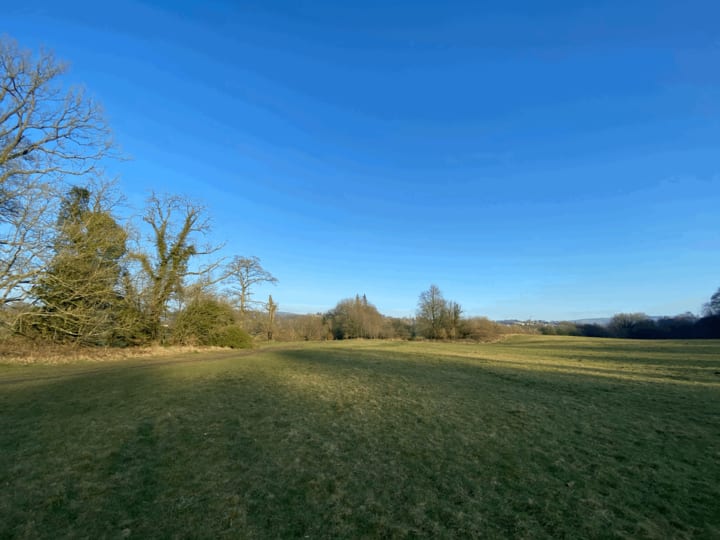
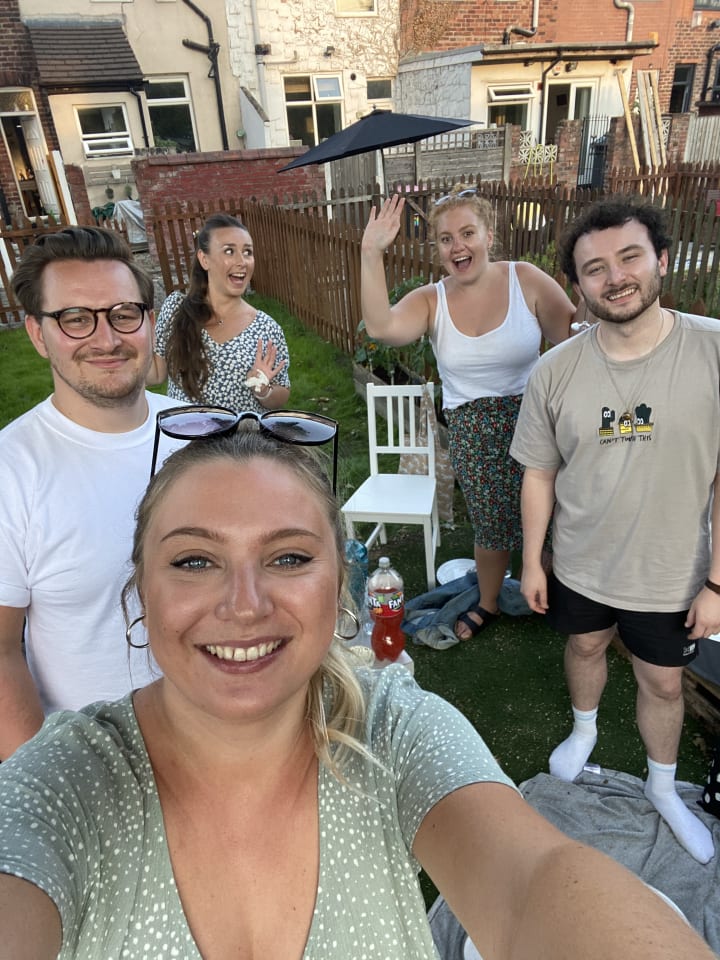
There are pictures that don't need a single edit or filter. The world has already filtered it for you. You might want to remember an image exactly as it was, without gimmicks attached. Or the picture might already be so perfect just as it is, an edit would only take away the beauty of that moment. I often post without filters or edits. A picture with friends that might just make me smile so much that I don't want to change a single thing about it, and that's the memory I want to share with the world. Or one of those rare bucket-list memories that are already so spectacular it would be impossible to enhance.
An unfiltered picture from last summer with my friends that I treasure
Climbing to the peak of Mont Blanc where no filter was required

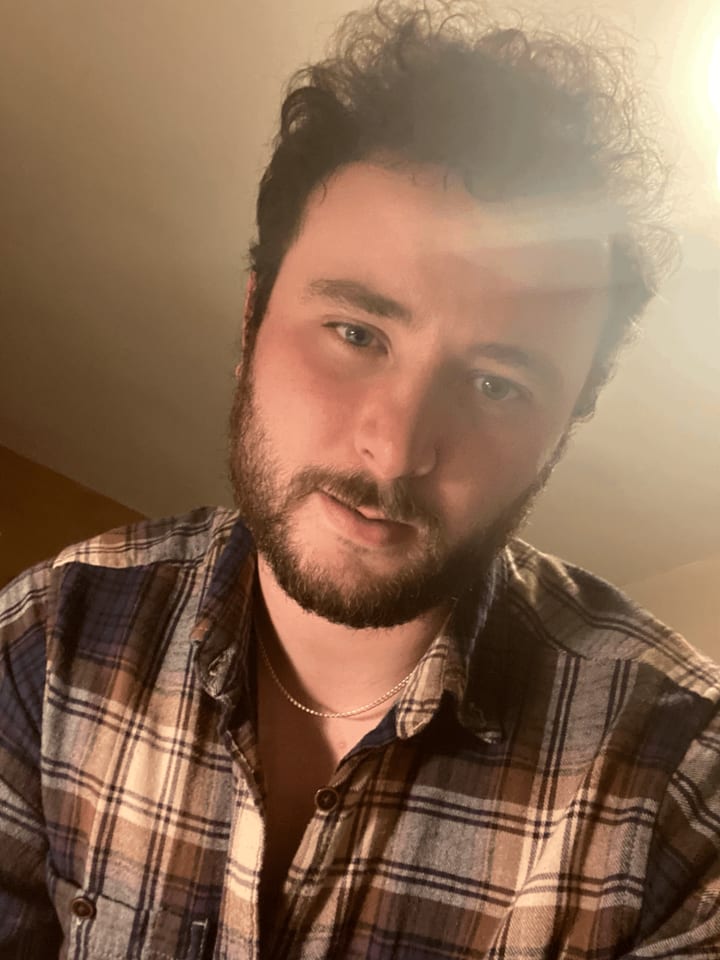
Sometimes you will take a selfie, and it doesn't need a filter. You can create your own lifter. Maybe you can play with the use of natural light, or a lamp in your room, or play with where you put your camera or phone to take the selfie. Remember lighting is everything with selfies! Sometimes just moving from one side of my room to the other can transform an image.
Me. No filters. No edits. Posted on my Instagram story.
About the Creator
John Thacker
Hello...
I am a writer, actor, and singer/songwriter from Manchester, UK.
Catch up with me on the socials...
instagram.com/johnjjst
twitter.com/johnjjst
Keep reading
More stories from John Thacker and writers in Photography and other communities.
LGBTQ+ characters on our screens changed my life!
Representation of the LGBTQ+ community, not only on our screens but also in music, in theatre, in literature, in the media, feels more present than ever before. But it’s still not enough. ‘Netflix is going through a gay phase,’ is a comment I heard recently. As though it's something temporary and will pass. Here is why we are only just scratching the surface on LGBTQ+ representation.
By John Thacker3 years ago in Journal
Capturing Magic
In the world of photography, timing is the key to everything. While skilled compositions and technical proficiency are undoubtedly crucial, the perfect lighting can create the perfect photo. Nowadays, we can determine any light ourselves and are no longer dependent on any natural light source, thanks to the developed technology. We can turn every day into a night by using the right filters. And we can illuminate every night to be seen as a day. A typical process, especially in the film industry.
By Krishan Mubashar15 days ago in Photography
Revolutionize Your Content with the Top 6 AI Tools to Make A Picture Talk Online
"How do I make a photo talk?" - Christopher With the rapid development of AI technology, it brings benefits to everyone, from individuals to photographers, teachers, marketers. One of the most impressive applications of AI technology is that it leverages deep learning to analyze a photo, animate it and make it talk with audio. The talking photo conveys stiff and complicated messages in an entrancing way, which is very suitable for using in advertisement videos, educational videos and training videos to enhance the storytelling. Individuals can also make photos of deceased loved ones to talk, bring the cherished memories to life.
By JaniceCA7 days ago in Photography
The Voyeur's Incandescent Reasoning
The woman sat nonplussed, in the Waiting Room. In a sort of daze, looking straight ahead patiently. She had already had three small breakfast's that morning and a nip of sherry, this was not unusual she would typically wait until an hour after she took her anti-depressant and was her morning routine. She was merely following instructions she assured herself, shifted slightly in her seat and feeling a little heart burn thought, maybe she should skip lunch. Dom had said to have the task done this week. She was well used to his methods and desired to get this over and done with soon. She glanced at her watch, smiled weakly at the Receptionist who was there for a moment and then gone.
By Canuck Scriber L.Lachapelle Author6 days ago in Fiction


Comments
There are no comments for this story
Be the first to respond and start the conversation.