
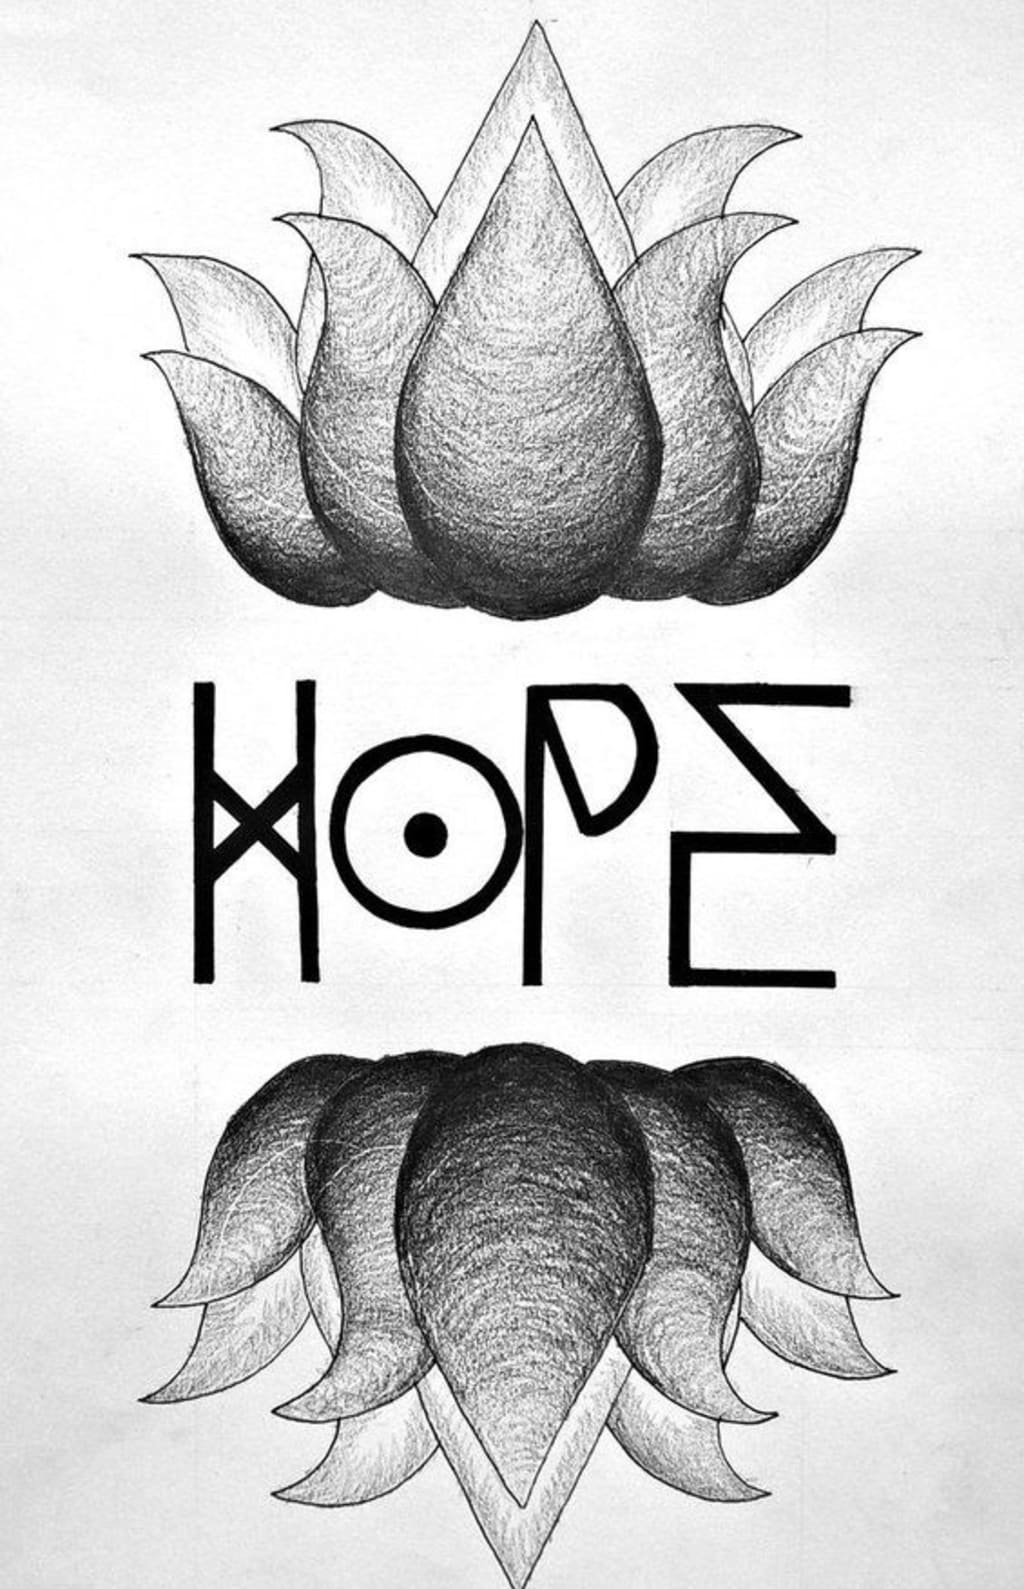
PENCIL DRAWINGS!...
In all honesty- its one of the dullest ways to draw BUT I love it so much because it teaches you to be CREATIVE while being LIMITED to one shade of colour.... GREY! or GRAY.. whatever!! XD
I know not many are into this type of drawing, but I can't blame them- but for those who are interested then I can give you a summary on it!
There are many different techniques you can use to pencil draw. Some people prefer to use simple lines, while others may use more complex drawings. The key is to find what works best for you and to be comfortable with the technique. If you are new to pencil drawing, it is important to start with simple drawings. This will help you to develop your skills and to build a comfort zone. Once you are comfortable with the basics, you can experiment with different techniques and styles. There are many great books and online tutorials that can help you to improve your pencil drawing skills. Try to find something that is comfortable for you and that will help you to develop greater depth and complexity.
Pencil drawing styles include realistic, impressionistic, and cartoonish styles. Hatching is a popular technique for pencil drawings because it helps to create a sense of depth and texture. Listing is a method of drawing lines that creates a gridlike image. Top artists who use pencil drawings include Rembrandt, Michelangelo, and Leonardo da Vinci. Graphite pencils are the most common type of pencil used for pencil drawings because they have a soft lead that is easy to erase. Easy sketches are quick drawings that are done without any detail or shading. Minutes are pencil sketches that are done in quick, small strokes to create a sketchy look.
Learning to pencil draw is a great way to hone your skills and get started with creating drawings. There are many different ways to learn, so find what works best for you. Some beginner lessons might cover the basics of pencil drawing, like understanding how to use a pencil, how to create basic shapes, and how to create a right path.
Blending tool One of the most important things to know when penciling is the blending tool. This is a small, round object that can be used to blend two or more pencil marks together. To use the blending tool, place it over one of the marks you want to blend and press down lightly. This will create a smooth transition between the two marks. You can also use the blending tool to create light and shadow effects. Pencil marks When drawing, it's important to use accurate pencil marks.
Pencil marks can be used to create a variety of effects in your drawings. When contouring your figure, it's important to use accurate pencil lines. Make sure to always use pencil lines instead of using the eraser. This will help to create a more accurate drawing. Additionally, use pencil lines to create volumes in your drawings.
To create the desired effect, use the angle of your pencil to create a line that is close to the contours of your figure. Use the first attempt to get a rough idea of where the line should go, then make a second attempt that is slightly further away from the original line. Once you have the desired effect, use a construction line to connect the two lines.
There are many ways to pencil draw. Some people prefer to use a mechanical pencil, while others like to use a softer lead. It really depends on your style and the type of artwork you are trying to create.
To start, you will need a good pencil and some paper. The paper should be thick so the pencil can create a thick line. You will also need to have good drawing skills and practice. Start by drawing a line down the middle of the paper. This is your baseline. Next, start drawing your lines on the left side of the baseline. This will be your left side of the artwork. To create the right side of the artwork, draw the lines on the right side of the baseline. You will now have two sides of the artwork. To create the curves in the artwork, you will need to use the sides of the pencil. To do this, you will need to start by drawing a smooth mark.
To create the small circular marks, you will need to apply pressure to the pencil. This will create the darker areas in the artwork. To create the graphite in the artwork, you will need to use a lighter touch. This will create the harder lines in the artwork. Lastly, you will need to create dents in the artwork. To do this, you will need to draw small lines across the artwork.
Pencil drawing is a skill that requires a lot of finesse. You will need to be able to create a variety of pencil marks that will capture the attention of the viewer. You will also need to be able to feel the kind of feel that you want for your artwork. You will need to be careful not to over-do it with the pencil, as this will create a hard edge. Finally, you will need to pay attention to the values and the soft edge in order to create a realistic drawing.
When penciling a drawing, it is important to try to capture the chances and the accuracy of the representation. The first place to start is with the basic shapes. Once you have a basic understanding of these shapes, you can start to add detail. Remember to keep the pencil very light and to use accurate representation to create a beautiful drawing.
Start by lightly sketching in the basic shapes of your subject with pencil. Don't be too precise at this stage; you'll want to allow the pencil to help you develop the basic form. Once you have a basic understanding of the shape, you can start to add detail. Final outlines: Once you have a basic understanding of the shape, you can start to add final outlines to your drawing.
There are many different types of pencils, each with its own unique features that can help you achieve different results when drawing. Some of the most common types of pencils include charcoal, graphite, and wax pencils.
Charcoal is a very versatile type of pencil that can be used for a variety of different types of drawings. Charcoal is best for sketching character designs and details, as well as for creating a rougher and sketchier look. Graphite is a slightly harder type of pencil that is perfect for detailed drawings and illustrations.
Pencils come in a variety of grades, types, and styles, and can be bought in sets or individually. The grade of pencil is based on the hardness of the lead. The softest lead is usually the lowest grade, and the hardest lead is the highest. There are several factors to consider when choosing a pencil: the type of paper you will be drawing on, the type of pencil lead you will be using, and the pencil set you have. Different brands of pencils have different lead types, which can make drawing different types of objects on different types of paper more difficult. The type of lead used in a pencil also affects the how the pencil lines are drawn. For example, a pencil with a soft lead will create softer lines than a pencil with a hard lead. There are several types of pencils, each with its own specific use. The most common types of pencils are HB, 2B, 3B, 4B, 5B, 6B, and 8B.
If you have been doing simple sketches for some time, you might be ready for some lessons that go beyond the basics, taking your sketching practice to a new level. These pencil painting techniques by leading artists will help take your drawing skills to new heights, whether you are using graphite pencils or colored pencils. Whether you are looking for simple sketches that can be completed in just a few minutes, or pencil sketches that challenge your skills, there is a lot of inspiration to be found in these drawings. In this article, we are going to cover a few simple techniques that you can use to make your drawings look more professional, or to give them a unique style.
To make super-clean lines, first try drawing with a harder lead pencil, since those lines are lighter and easier to erase. Make sure the two fine vertical lines are lined up on a pointy end close to the pencils tip. For the second try, use your pencil to look at the angles of the lines that you have chosen to draw. Now, use the pencil to measure the angle of another line, and then draw that line onto your piece of paper.
Draw another vertical line that is parallel to the first line that we drew in the previous step. Draw a short, curved line directly over the V-shaped line we previously drew in step four. Draw the V-shaped line on the lower part of the pencil, finalizing the pencils shape. Use your pencil to measure the angle of a building line once more, and then draw this line, which will help you to see where your second line ends.
Now, be sure your sightline is perpendicular to the drawing table before you begin sketching. To practice this technique for shading, sketch out one line only, creating the picture, and do not take the pencil off the paper. The Hatch Drawing Technique is another fundamental technique which helps practice pencil control and shading skills. Using the following hatching techniques, you can create highlights, shadows, and give your drawings depth and shape.
You can also do shading by simply tilting the pencil, so you use its wider edges, creating thick lines which give you a sense of shading and shading. Using the Blending Tool, you can smooth over your pencil marks using circular movements, which helps create a more consistent, refined look. Perfect your drawings using different pencil marks to shadow and highlight specific areas.
Then, paint on top of dents in your paper, shading using the sides of the pencil. If you have to use graphite for dark areas in the drawings, rather than pressing down hard on the pencil, layer graphite gradually to darken the areas. It is more pliable than the H pencil, so if you push too hard, then your lines will get thicker because there is more graphite being forced into the paper. If too much pressure is applied to the pencil, it may cause a ridge on the paper surface.
When using the sides of these pencils to fill and shade, there is an uneven, raw feeling to them when they are used on drawing paper. Unsharpened pencils produce softer lines, using soft pencils is essential as well. For smooth transitions, sometimes using non-sharpened pencils is helpful.
Each one will sharpen your pencils with different types of tips, so it will give you plenty of drawing versatility. Drawing creates a separation between the pencil case and the tip of the pencil. Draw creates the sharpened pencil tip, which is the thing that glides over paper as we draw. A shorter horizontal line forms the top part of the pencil, which is usually where an eraser is placed.
Always apply the line on your pencil according to the outline of your subject. Remember to erase and adjust (that is the beauty of pencil drawings) until you have achieved your desired form. Make a free-form sketch before starting your final sketch, and then afterward, you can erase parts of lines that are out of place in your design. Many artists choose to begin pencil drawings by sketching the scene out using a loose, lightweight under drawing -- this can be particularly helpful if the end game is to paint accurate lines.
This is an advanced technique I recommend using once you are comfortable using both your graphite and charcoal sketching pencils independently. An excellent exercise for comparing the properties of these two types of pencils is drawing the same subject using graphite, and then using charcoal. Either obtain a piece of tracing paper and trace over the paper using pencil, where you wish to display the white highlights. Let us go through each of these pencil holds, showing how you can hold your pencils, and when you may want to use each. To perfect my drawing more, I used this guide to help me, and it may help you too!!
I wish you the best on it- it takes time to perfect ART!
Good luck you future artists !!
About the Creator
Keep reading
More stories from Amby and writers in Photography and other communities.
Aerial Photography
Aerial Photography: The Revolution Brought by Drones Drones have dramatically transformed the field of photography, offering perspectives and opportunities that were previously unimaginable. These unmanned aerial vehicles (UAVs) provide photographers with the ability to capture stunning aerial shots, opening up new creative possibilities and revolutionizing industries such as real estate, filmmaking, and tourism.
By Michael Trotter3 days ago in Photography
Through the Lens
In the heart of the bustling city, where the streets pulsed with life and the buildings reached towards the sky like giants of glass and steel, there lived a young woman named Emily. Emily was a dreamer a seeker of beauty and truth in a world that often seemed dark and uncertain. And though she walked among the crowds with a smile upon her lips, her heart yearned for something more a glimpse of the magic that lay hidden just beyond the edges of reality.
By Michael smitha day ago in Photography


Comments
Amby is not accepting comments at the moment
Want to show your support? Send them a one-off tip.