
A simple approach to making good exposures with your DSLR or Film SLR
Or how to take better pictures!

If you’re anything like me when I first started playing with a DSLR camera in manual mode, you are lost in a sea of settings and menus trying to make sense of all of it. ƒ what? And what the hell does ISO mean? And right now all you want is to take a fr****en picture so that you can share it on your instabook!
Well, I’m here to help you with a simplified system for making good exposures with your DSLR.
A bit of an explanation before we get into it. You’ll notice that I said “making good exposures” instead of “making good pictures.” There is a big difference.
Exposure has to do with the balance of light in your image. It’s a matter of seeing a darker image, a lighter image, or one that looks well balanced. A good image has more to do with composition and subject matter than it does with how dark or bright our image is. And chances are that its exposure that has you royally frustrated at this stage in your photographic career. You’ll also notice that I used the word “good” to describe the exposures instead of “great” or “fantastic.” At this point in our photographic career, let’s lower our expectations a bit and just try to make good exposures rather than epic images of greatness. Once you master a few key concepts you’ll have a chance to make those epic photos that will wow your friends, change the way governments see climate change, or perhaps prove that Sasquatch exists!
Plus giving ourselves a chance to play a little allows us to lessen our frustration level and will let us have fun instead of trying to make something perfect! Photography is fun and being outdoors in beautiful places is something most people dream of! So let’s have fun with it! Now with all that being said… let’s get our camera and head outside!
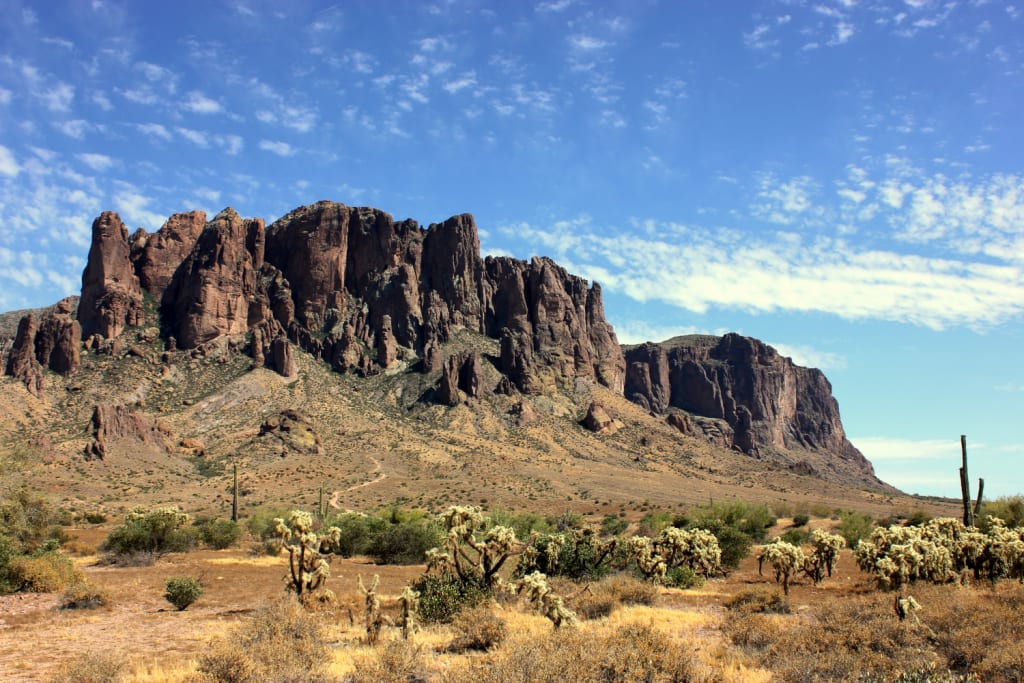
So here is the simplified version of understanding exposure. We’ll use the Sunny 16 rule. In a nutshell, the sunny 16 rule states that on a bright sunny day if you set your camera’s aperture or ƒ-stop to 16, the shutter speed will be the closest you can get to the ISO setting without going below it. For example, if you’re using an ISO of 100, then your shutter speed will be 1/100th or 100. If your camera doesn’t have 1/100th chances are it’s an older film camera and 1/125th will be there. If that’s the closest you can get to the ISO setting without going below it, use it! It’s that simple.
Now, this rule does assume that the sun is either behind us or to our side. And that we’re not photographing directly into the sun. Chances are that if you satisfy that requirement the picture you make using the sunny 16 rule will be pretty darn close to a good exposure. If you’re using a digital SLR take a picture and see what you got.
Chances are it’s pretty good and perhaps better than you expected if it is, congratulations you just learned the timeless secret to making better exposures with your camera! This is how photographers all over the world have been shooting amazing photos on film without using a light meter for the last 100-plus years.
If it’s not what you had hoped for, well then now we have. Baseline to work against. Is the image too dark? Bring the shutter speed up to say 1/80 or 1/60. Too bright? Set it to 1/125 or 1/160 and make the same shot again. Now take a look. How does it look?
Because it’s digital we can do this all day long. Start with the sunny 16 rule and then go up or down based on what we’re seeing on our preview screen.
If you’re using a film camera, you won’t be able to check your images but once the film is developed and scanned you’ll be able to adjust the exposure in editing software like Adobe Photoshop or Lightroom. So not to worry if you’re doing this on film. But chances are it’ll be close enough.
The point of the sunny 16 rule is that it gives us a way to shoot very quickly and get good exposures without a whole lot of playing with settings. SO that you can focus on the images instead of the camera! Or at the very least it gets you close enough so you can make adjustments to get the desired result. Once you master this time-saving technique, the rest is just composition and being at the right place at the right time!
So now what do you do? Go somewhere you like to photos and explore your world with your camera! Don't forget to have fun while you're at it!
About the Creator
Jason Almirez-Taglianetti
I'm an intuituve tarot reader studying the tarot and writing about my journey. To purchase readings please visit my livelogue site.
Keep reading
More stories from Jason Almirez-Taglianetti and writers in Photography and other communities.
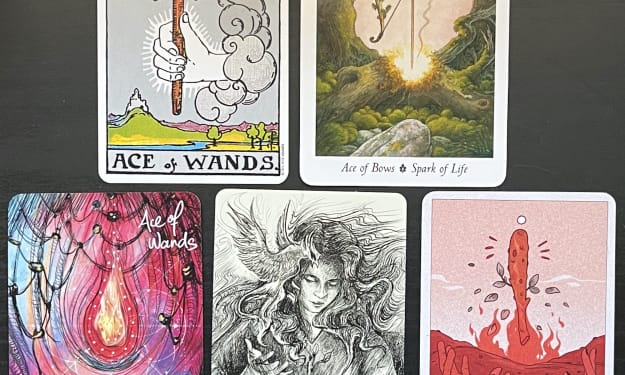
Taking a look at the same tarot card across several decks
Lately, I’ve been thinking a lot about the different kinds of readings you get with different tarot decks. I find that some decks are great for general readings. Others are great for readings about spirituality. Another might be good for inner healing. And I’ve started tailoring my readings based on these different decks and the ideas present in each deck. In doing this, I tend to see the cards differently from the author or the traditional meanings of the cards. And if you disagree with a particular meaning, know it’s ok that neither of us is wrong. I see what I see and choose that more often than the book because it’s what my intuition tells me. This is perfectly normal with tarot. You might see very different things from the same card. And depending on the day, the time, what you had for breakfast, the client, and the question, it will all be different. Bear that in mind as you read this.
By Jason Almirez-Taglianettiabout a year ago in Longevity
Capturing Magic
In the world of photography, timing is the key to everything. While skilled compositions and technical proficiency are undoubtedly crucial, the perfect lighting can create the perfect photo. Nowadays, we can determine any light ourselves and are no longer dependent on any natural light source, thanks to the developed technology. We can turn every day into a night by using the right filters. And we can illuminate every night to be seen as a day. A typical process, especially in the film industry.
By Krishan Mubashar7 days ago in Photography
Photo Tool: AI Photo Editor
The AI photo editor streamlines complex image editing tasks, empowering users to achieve professional-looking results effortlessly. With a wide range of AI editing tools, including automatic enhancement, object detection and removal, background manipulation, portrait retouching, and stylization. This editor simplifies the editing process while delivering captivating outcomes.
By xia sophiaabout 5 hours ago in Photography


Comments
There are no comments for this story
Be the first to respond and start the conversation.