
Tips for DIY Faux Stone Feature Walls
Explore the article and build a gorgeous stone veneer accent wall. With the DIY tips, you can transform any room with a stunning faux stone feature wall.

Feature walls are a great decorating option in your home and becoming more and more common. They look amazing if pulled off properly, and there are many options in terms of what you can do with a feature wall. With something as simple as a different paint colour on one wall in your living room, you can help the place feel modern and relaxing quite easily.
At the other end of the spectrum, more complex feature wall options exist, including brick, wooden and stone arrangements.
Doing the work yourself for this kind of feature wall is by no means easy, but with the right materials and know-how, it's absolutely doable. One of our favourites as painters and decorators is the faux stone wall option, which incorporates foam panels rather than real stone. It can help create a rustic, rugged look without forking out a fortune. Let's take a look at some of the best ways to go about doing it yourself!
Check out the options
There are two options when it comes to stone-faux walls:
- Buy thin, imitation bricks and stick them to the wall.
- Use a treatment to give the wall a 'stone look' and draw false brick lines.
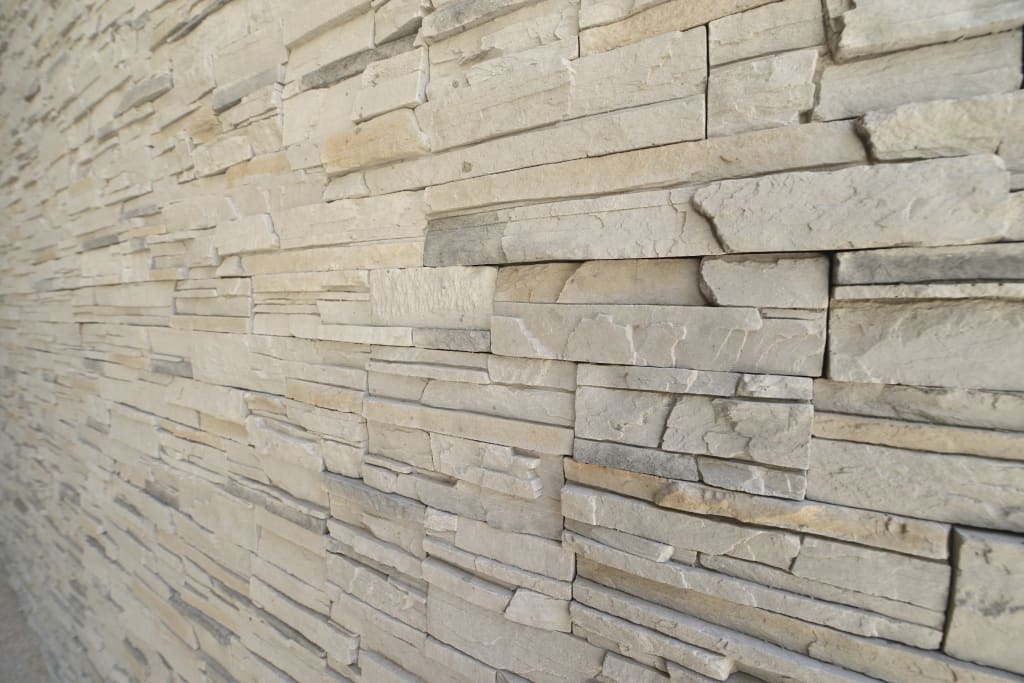
Given the difficulty of the second option, we usually recommend the first; it looks and feels more like the real thing, and we love the rugged look that can be achieved by having bricks of slightly different shapes and sizes.
Don't be afraid to order the products online

There are a number of providers online that can send you quality, inexpensive stone 'reproduction' products, and it's all about going through and finding what you want. There are also products available at retail providers like Mitre 10 and Bunnings, so feel free to head down there to check out their quality up close.
Some will be made of foam, while others will be light, soft, concrete-like material. While it's always a good idea to check out the options in-store, you can likely find the same thing online for much less.
Have wall adhesive, a level, and a saw handy

You're certainly going to need to get your hands dirty to get the job done! But the work is fairly easy if you have all the right tools and equipment. First, buy a wall adhesive, which should be applied over the paint before you work. This will allow the bricks to be applied.
You will also need to cut the 'bricks' so that they fit together nicely, particularly when you come to the top and bottom of the wall. If you're using concrete-like bricks, a saw will be needed. Ideally, you'll plan out what goes where prior to getting started.
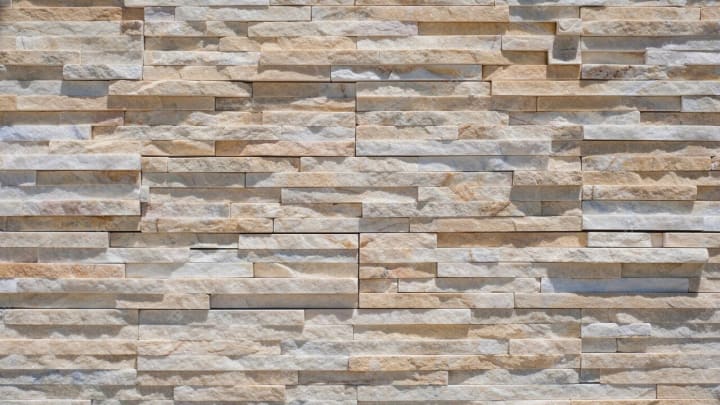
Often, uneven brick-laying style works the best, so don't be afraid to get to work with the saw and mix it up with the brick size and length. You might also consider using a chisel, as it's possible not all the bricks will be in line with each other.
Deal with baseboards and windows

Possibly the most difficult part of the entire process is navigating around existing windows and skirts. Whether you remove the baseboards or ceiling skirts is up to you. You always have the option of placing bricks on all of the walls apart from here. However, keep in mind that it may look more authentic if they are removed and the entirety of the wall.
For windows, it's simply a case of having the bricks neatly fit around it. However, when the window trim sticks out further or lesser than the bricks, it can look a bit odd. In these situations, you will need to cut the bricks lengthwise.
For your Sydney residence, if you don't have the time or don't think you can manage a DIY faux stone wall, you can always call in a professional decorator to take on the job for you. Many residential painters in Sydney are ready to help you out. You can always expect the highest in terms of quality if you do.
About the Creator
Enjoyed the story? Support the Creator.
Subscribe for free to receive all their stories in your feed. You could also pledge your support or give them a one-off tip, letting them know you appreciate their work.
Keep reading
More stories from Emma Sneddon and writers in Lifehack and other communities.
Easy Ways to Hygge Your Home
Hygge - never heard of this word? Cool. But don’t mention that you have never experienced the hygge-ness when you have, maybe unknowingly. Did you ever enjoy a winter evening reading a good book or sipping your freshly brewed mug of coffee, sitting in your living room, lying down by a fire while wrapping yourself up in a cosy blanket? You definitely did, right? And this is how you have already been practising hygge living unconsciously.
By Emma Sneddonabout a year ago in Lifehack
Life will change in a month! What habits will you adopt from today?
Embracing new propensities can prompt huge life altering events, frequently inside a brief period like a month. Whether you expect to work on your actual wellbeing, mental prosperity, efficiency, or generally speaking personal satisfaction, developing the right propensities can have a significant effect. Here are a few propensities to take on beginning today that can change your life in a month.
By Saniul Hasan3 days ago in Lifehack


Comments
There are no comments for this story
Be the first to respond and start the conversation.