Rolling Tray DIY: Create a Stylish and Functional Tray for Your Smoking Needs
New Hobby to Try
A rolling tray is an essential accessory for anyone who enjoys rolling their cigarettes or herbs. Why settle for a generic tray when you can create a personalized and stylish one? In this article, we will provide you with step-by-step instructions on how to make your very own rolling tray using various materials. From selecting the right base to adding artistic elements and practical features, we'll guide you through the process of creating a unique and functional tray that reflects your style. Let's get started on this exciting DIY project!
Materials Needed:
- Wooden or acrylic base (preferably with raised edges)
- Sandpaper
- Primer (if using a wooden base)
- Paint or wood stain
- Clear varnish or sealant
- Decorative elements (e.g., stickers, stencils, markers, decoupage paper)
- Mod Podge or glue (if using decoupage paper)
- Optional: drawer handles, small compartments, or storage features
Step-by-Step Instructions:
1. Prepare the Base:
If using a wooden base, start by sanding it to create a smooth surface. Remove any rough edges or imperfections. If desired, apply a coat of primer to the wooden base and let it dry completely.
2. Choose Your Design:
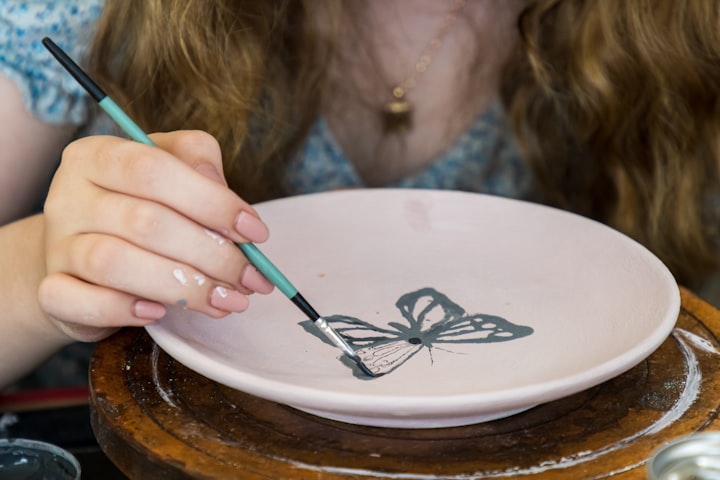
Decide on the overall design and theme of your rolling tray. Consider personalizing it with artistic elements, such as stickers, stencils, or hand-painted designs. You can also use decoupage paper to create unique patterns or images.
3. Paint or Stain:
If you prefer a painted or stained finish, select your desired color or wood stain. Apply multiple thin coats, allowing each coat to dry before applying the next. Ensure even coverage and let the final coat dry completely.
4. Add Decorative Elements:
Once the base is dry, it's time to add your chosen decorative elements. Place stickers, use stencils to create patterns, or let your creativity flow with freehand designs. If using decoupage paper, cut out desired images or patterns and adhere them to the tray using Mod Podge or glue. Smooth out any air bubbles or wrinkles and let it dry.
5. Apply a Protective Coat:
To protect your design and make the tray more durable, apply a clear varnish or sealant. This will also give the tray a glossy or matte finish, depending on your preference. Follow the product instructions for application and drying times.
6. Optional: Add Practical Features:
Enhance the functionality of your rolling tray by adding optional features. Attach small compartments or holders for storing rolling papers, lighters, or other smoking accessories. You can also install drawer handles for easy lifting and carrying.
7. Let It Cure:
After completing all the steps, allow your rolling tray to cure fully. This ensures that the paint, varnish, or sealant sets properly and creates a long-lasting finish.
Creating your rolling tray allows you to customize a functional item to suit your style and needs. By following these step-by-step instructions, you can make a stylish and unique rolling tray that reflects your personality. From selecting the base and applying artistic elements to adding practical features, let your creativity shine, and enjoy the satisfaction of using a tray that you crafted yourself. Happy DIY-ing!
About the Creator
Yuniyi ✿ 🌷
Manifesting Wealth | Exclusive Guide to Manifesting Wealth and Maintaining Financial Freedom | Visit my link to Gain Profitable Knowledge!


Comments
There are no comments for this story
Be the first to respond and start the conversation.