
How To Manage Your "Wall Warts"
Use expired membership cards and credit cards in an unexpected way...

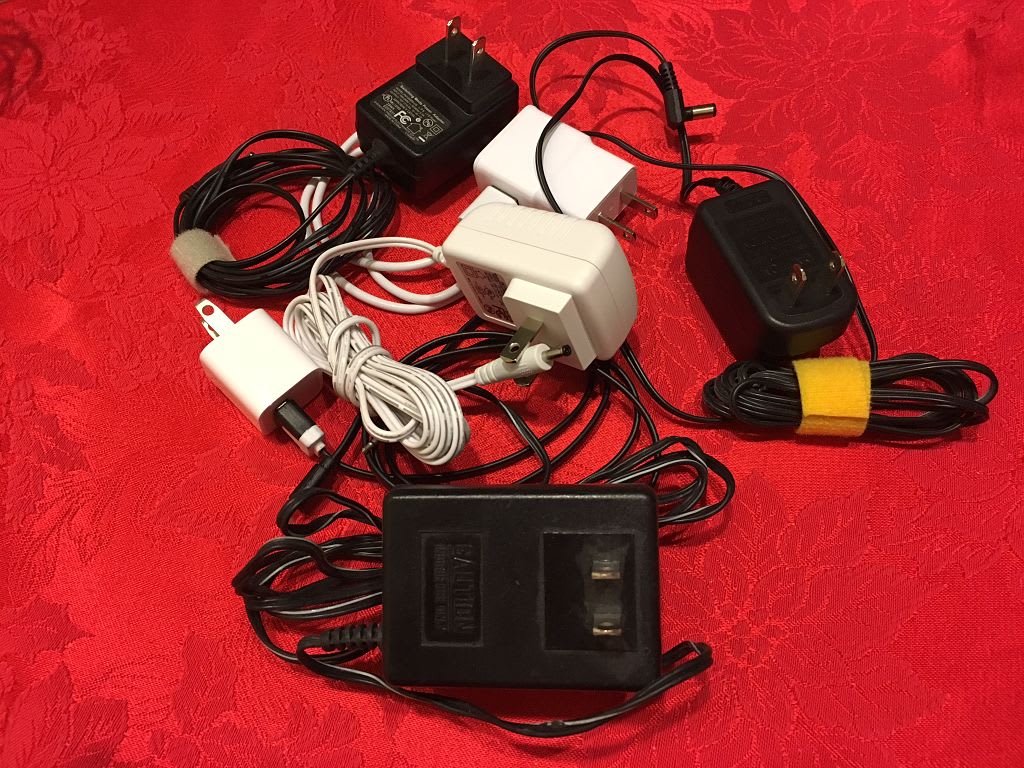
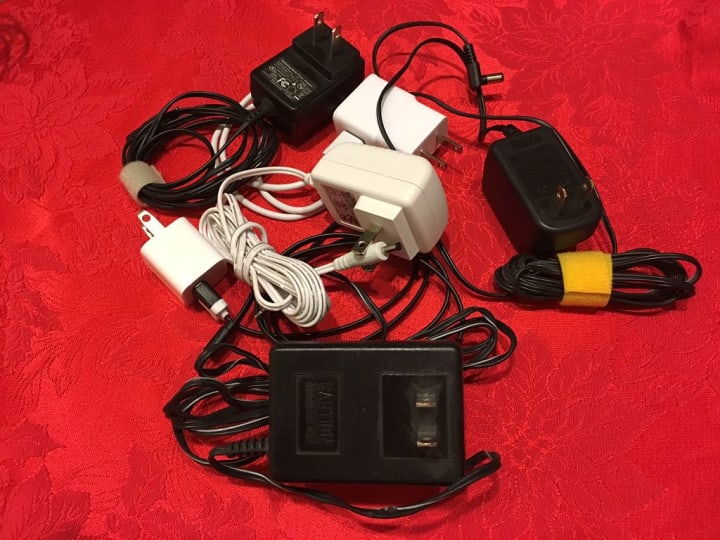
Most people own or have owned more than two or three (in most cases MANY) electronic devices (like cordless phones, digital cameras, cell phones, tablets, Personal Computers, Image Scanners, Printers, IP Cameras). If that description fits you, you probably have a bunch of "wall warts" sitting in drawers all over your house. If you have ever moved, you have probably accidentally separated one or more of the devices from their chargers or power supplies. This is frustrating because eventually you collect all the adapters, chargers, and power supplies into one place and can't figure out which one goes with which device. If this resonates with you at all, read on.
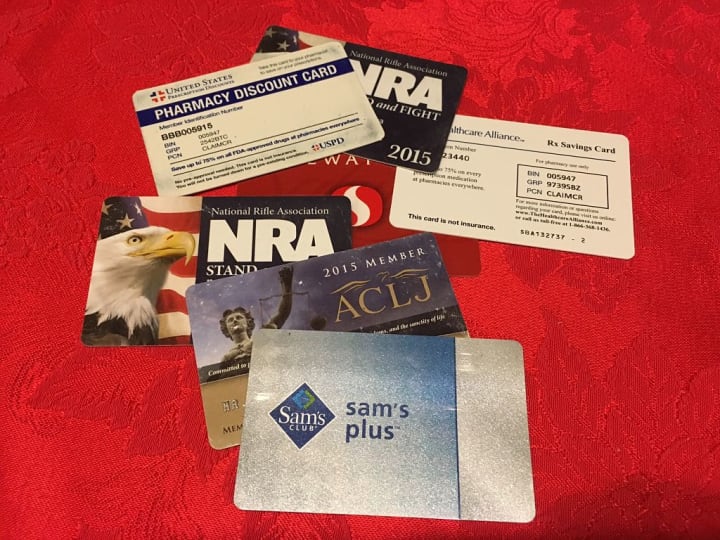
Most people have one or more bank accounts, credit cards, store loyalty cards or ID cards of some sort, most of which have a finite expiration date on them. Once you get the new card in the mail you must dispose of the old card. But if you're like me, you don't want to just shred it or throw it into the trash. You want to re-task it for other uses. As a musician, I have several "credit card guitar picks" which I fashioned from expired bank cards and store loyalty cards, but how many guitar picks does a musician REALLY need? I had to find another use for those expired cards. Then it hit me—I could solve two problems at once! This article tells exactly how I tag all my "wall warts" to identify what they go to and get rid of all those expired cards at the same time. Follow these steps and you will never again wonder "What does this wall wart go to anyway?"
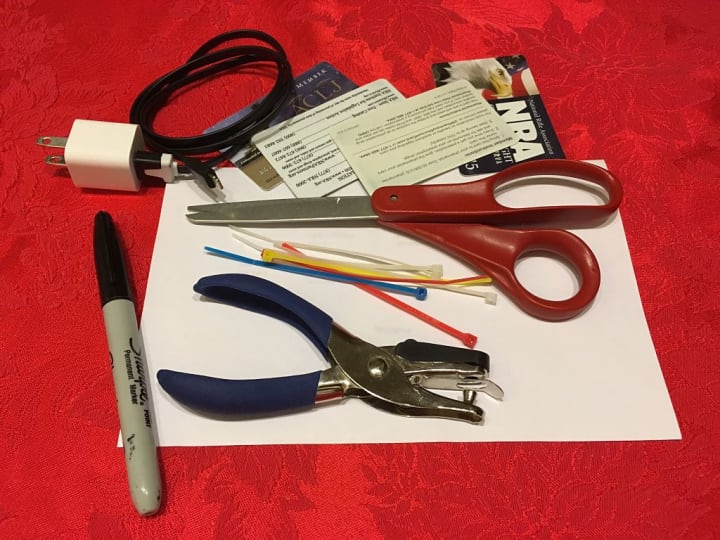
What You Need:
Cut Your Cards:
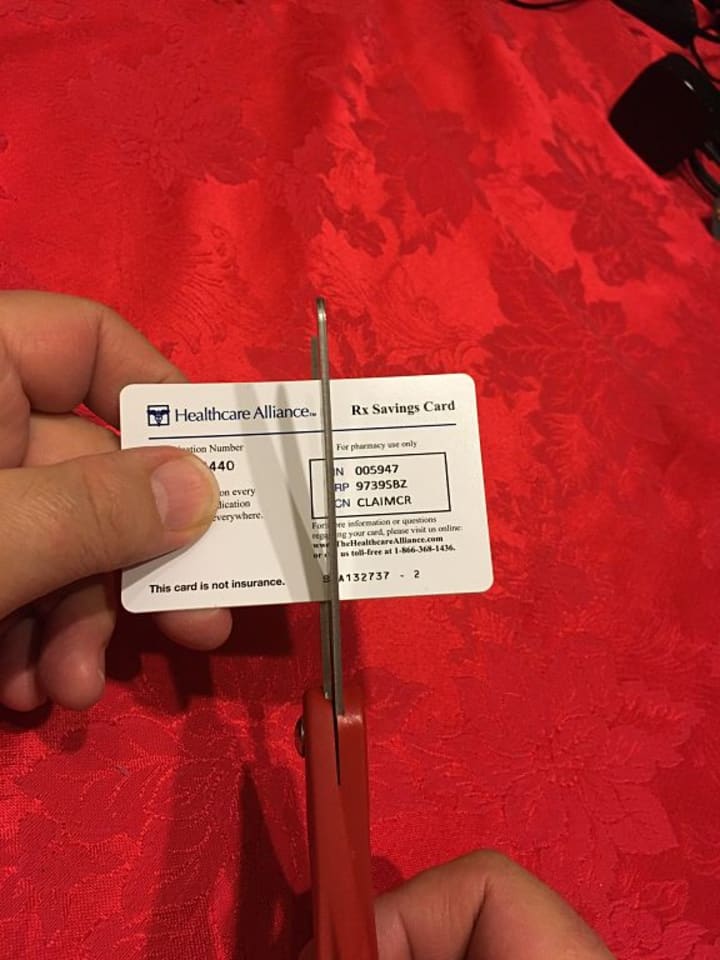
We start by deciding how large you need your tags to be. You can cut the Credit Card or ID Card in quarters or in sixths.
Round the Corners:
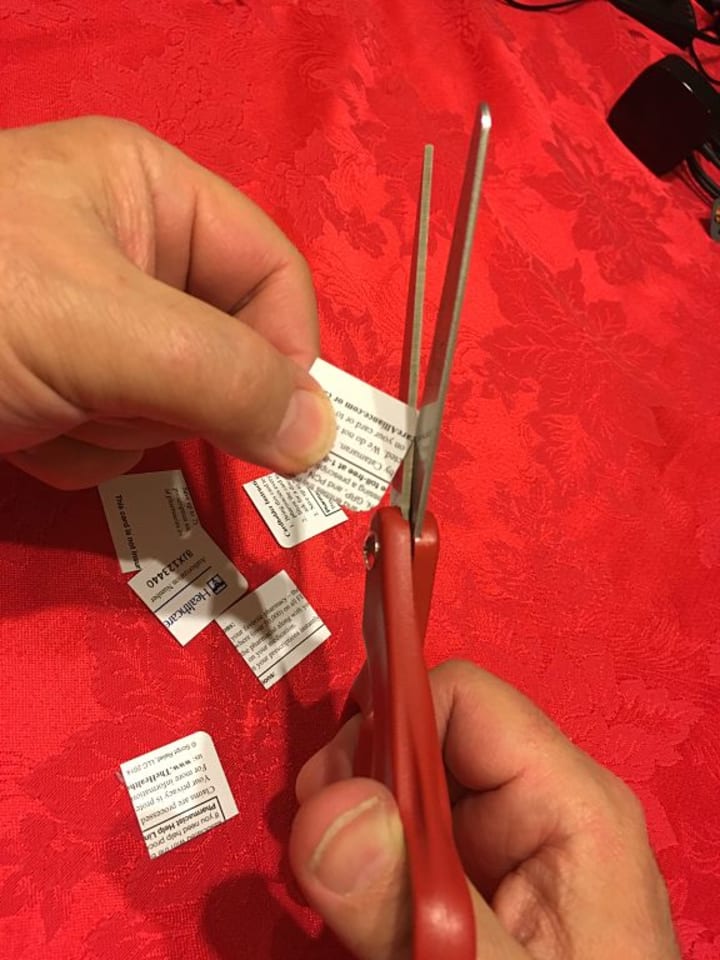
I almost always end up cutting mine into 1/6 card size. As you can see from my little pile of tags, I'm making this set of tags small. No matter what size you make your tags, you should always round the corners because the corners can be quite sharp.
Punch the Hole:
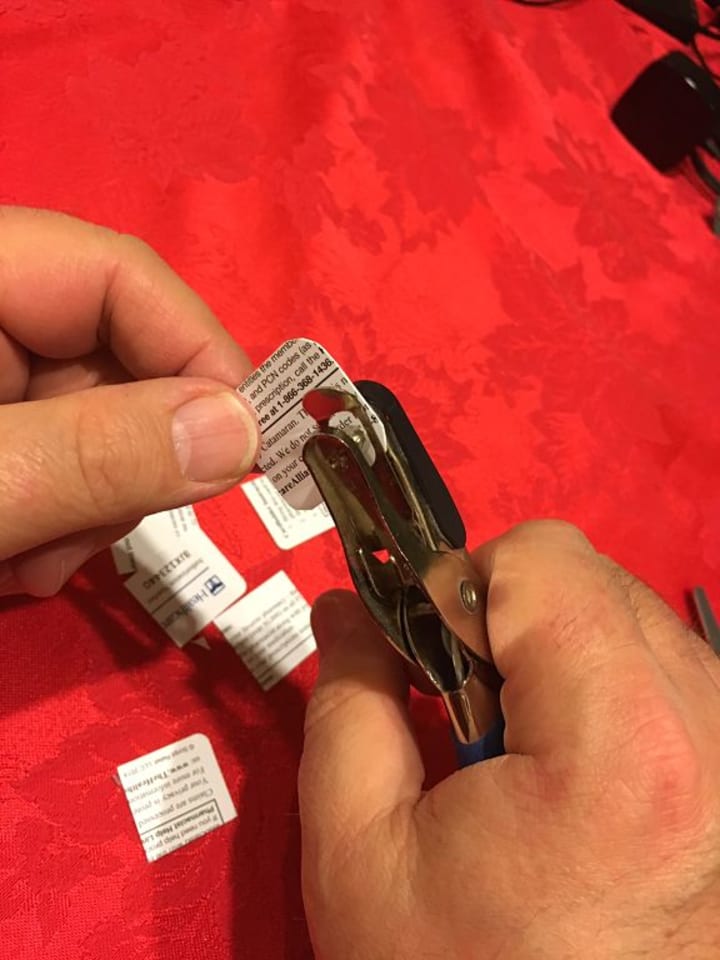
Poke the hole in the tags using a hole punch. Depending on the card, it may take a substantial amount of pressure.
Finished Tag:
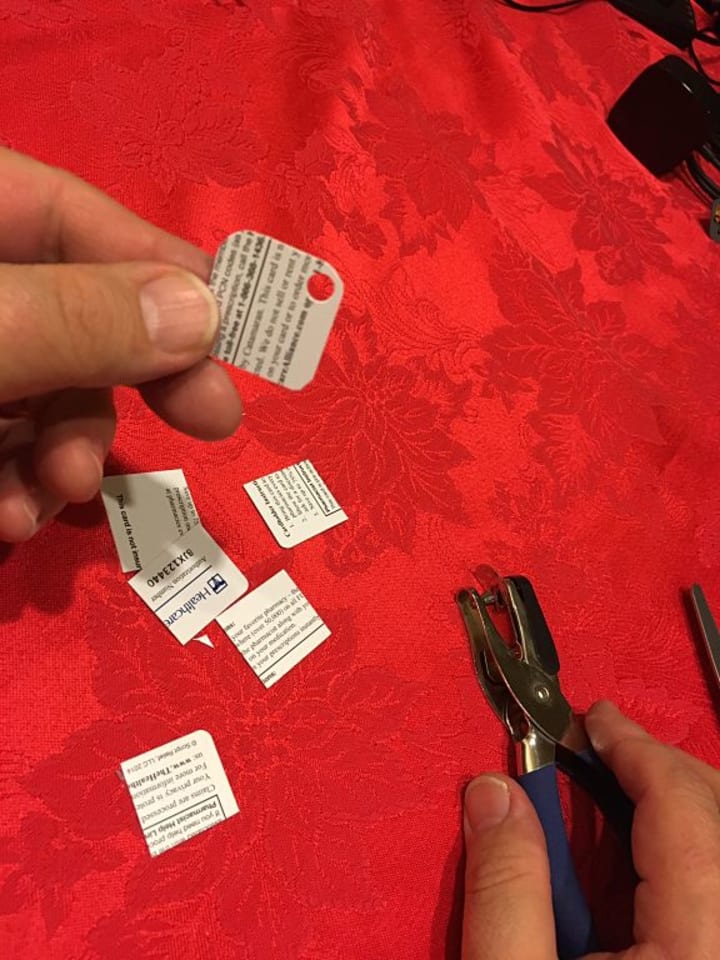
Here's the tag, ready to write on.
Write Your Label:
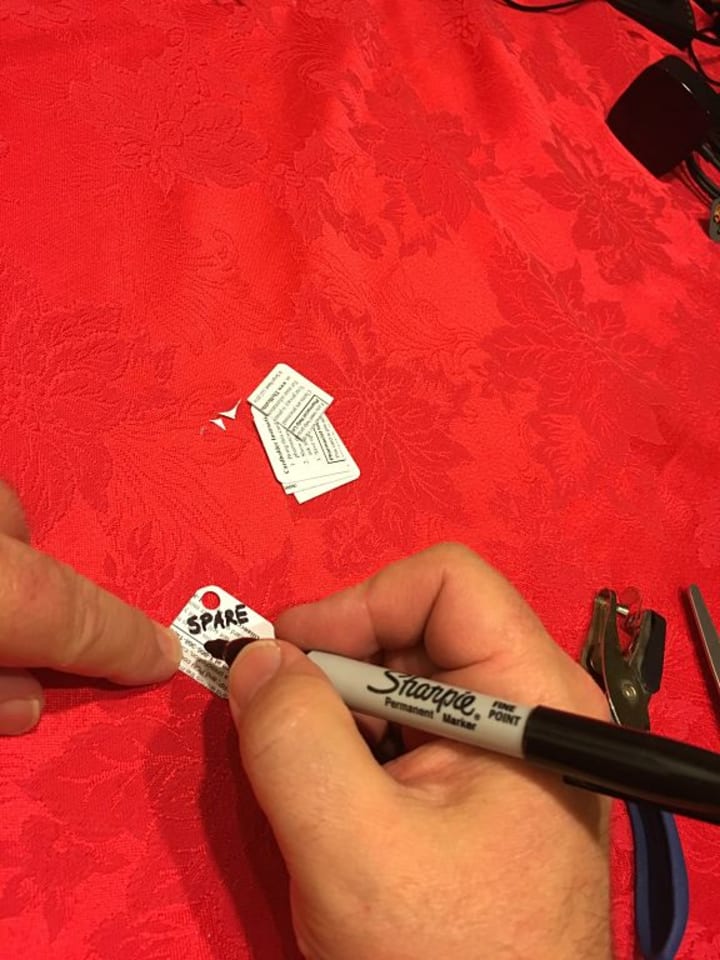
How large you make your tag might have to do with how tiny you can print and how fine point your permanent markers are. There are several sizes of sharpie markers available in Office Supply stores.
Labeling Your Devices:
Attach Your Tags:
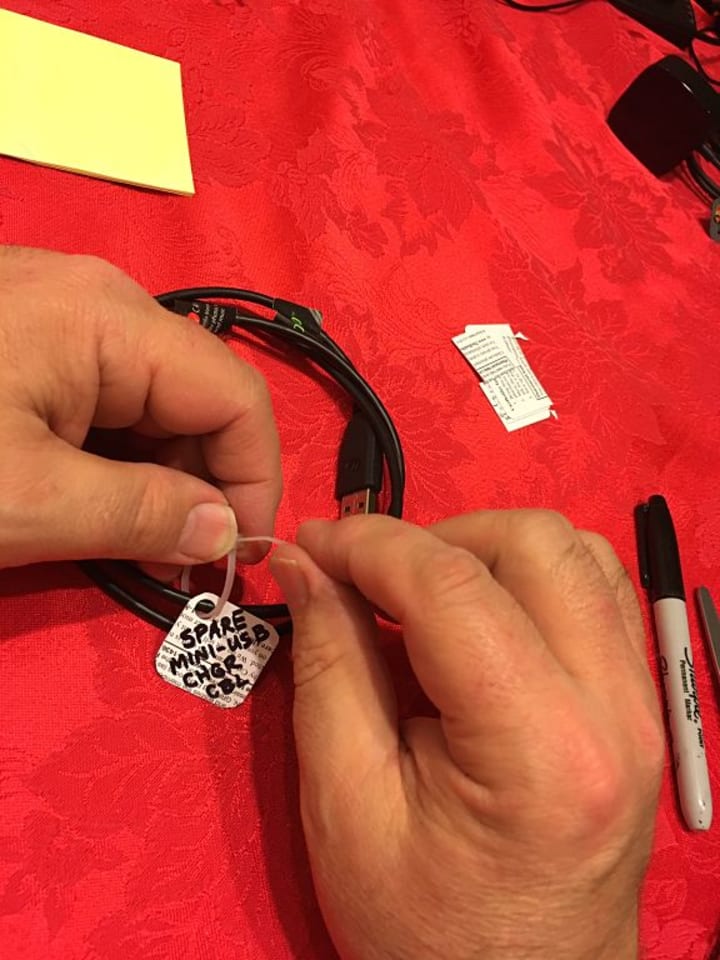
Using a zip tie, position the tag on the cable in an area you are likely to see it. Some people like it near the transformer end, others like it near the device plug end.
Voila! Installed!
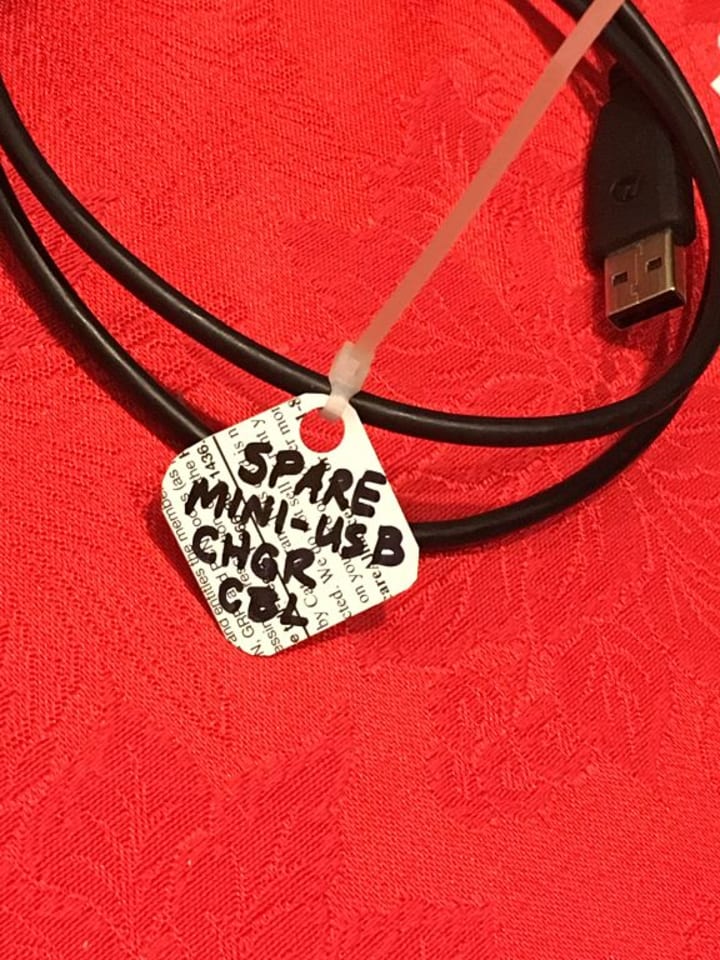
This is the installed tag before cutting off the excess zip tie.
Trim the Zip Tie:

I prefer using side-cutters (a.k.a. diagonals) to cut off the excess, but scissors will also do.
Finished Tag:
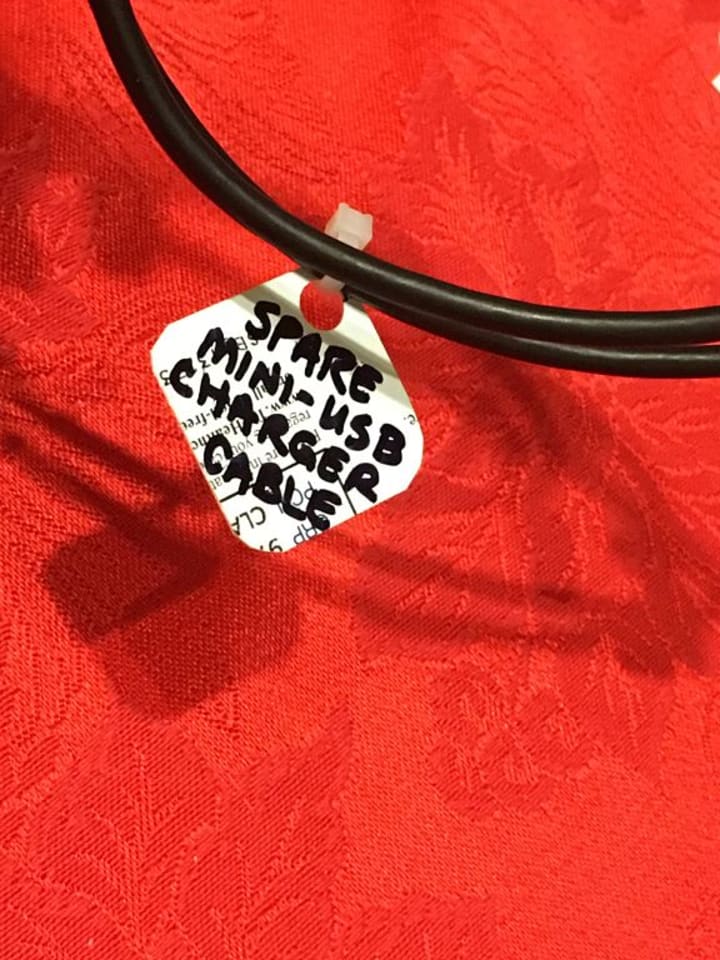
You may want to write on both sides of some tags to get additional information onto it. Where that permits, and if you have such a need, go for it!
All Items Tagged!
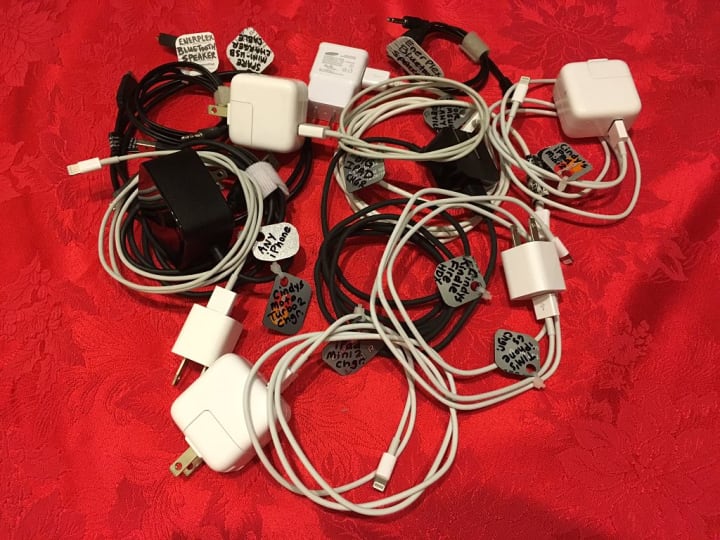
Now we know what everything goes to!
About the Creator
Tim Mrva
Husband, Father, Grandfather, Technology Enthusiast, Entrepreneur, Amateur Radio Operator, Business Owner, Patriot, Webservant and - most of all - "Not A Fan".
Enjoyed the story? Support the Creator.
Subscribe for free to receive all their stories in your feed. You could also pledge your support or give them a one-off tip, letting them know you appreciate their work.
How to Survive in World War III: A Comprehensive Guide
The possibility of a global conflict such as World War III is a frightening and disturbing prospect. Although we hope such a scenario never comes to pass, being prepared can increase your chances of survival. Here is a comprehensive guide on how to survive in a world at war.
By yash Khodiyar4 days ago in Lifehack
Sunsetting Pride 2024
Happy Pride! As Pride Month 2024 begins to sunset, I want to congratulate every individual who has become brave enough to take control of their life and live as their authentic, beautiful self. This is a month when it highlights those accomplishments. From acceptance within families and friends to acknowledgement in the political arena. Starting with Stonewall (and events prior) leading to the Supreme court ruling for same-sex marriages. We are here, we are queer, and we should never live in fear.
By Iris Harris2 days ago in Pride


Comments
There are no comments for this story
Be the first to respond and start the conversation.