
How to Make a Tablecloth - Part 3
This is the final of the 3 part series of articles linked to creating different types of table cloths. In this article we will be explaining how to make a fringed tablecloth, fringed tablecloth with scalloped edges, full-length tablecloth with tasseled edgings and tablecloth with a gathered skirt.

(Please ignore the bad lighting/editing or white cut-offs done on the images in this article, as the images were taken from a very old and classical book from my library)
(Links to certain terms and methods are highlighted in a different colour. Click the link and it will take you the article accordingly)
Fringed Tablecloth
When choosing the material for this tablecloth, bear in mind that loosely woven, medium-weight fabric lends itself best to a fringed edging. For this technique, you will need the fabric and the basic sewing kit.
Measure your table (see article "How to Make a Tablecloth - Part 1"), then cut out the fabric to the required size, adding extra for the fringe allowance and for any seams.

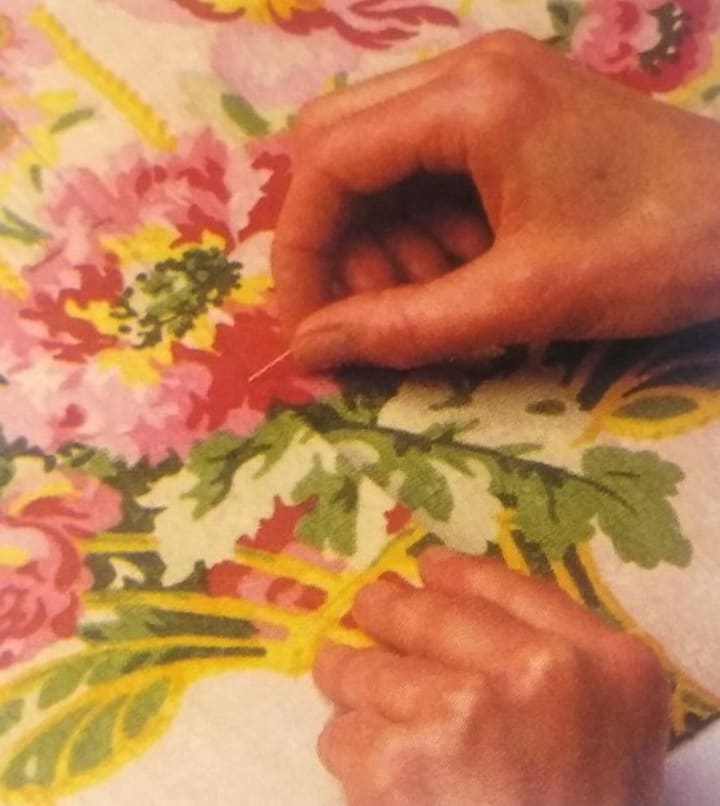
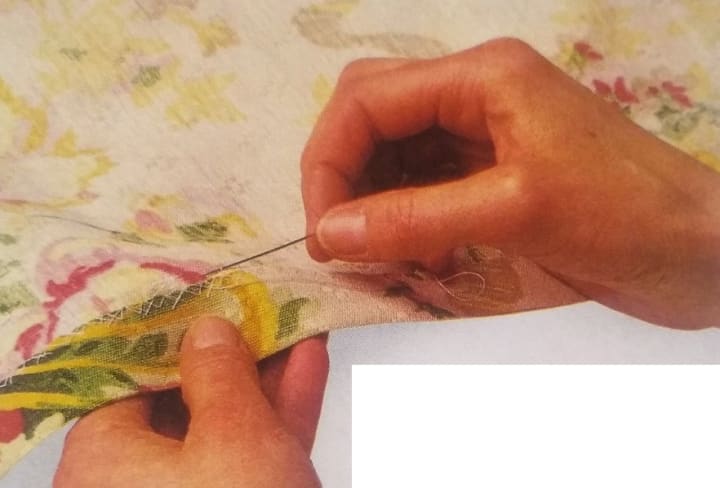
1. Fraying Edge: Lay out the fabric on a flat surface. Using a long needle, separate and remove a thread at a time from one edge of the fabric. Continue fraying the edge until the fringe reaches the depth you desire. Fray the remaining edges until you have created the same depth of fringe on all four sides.
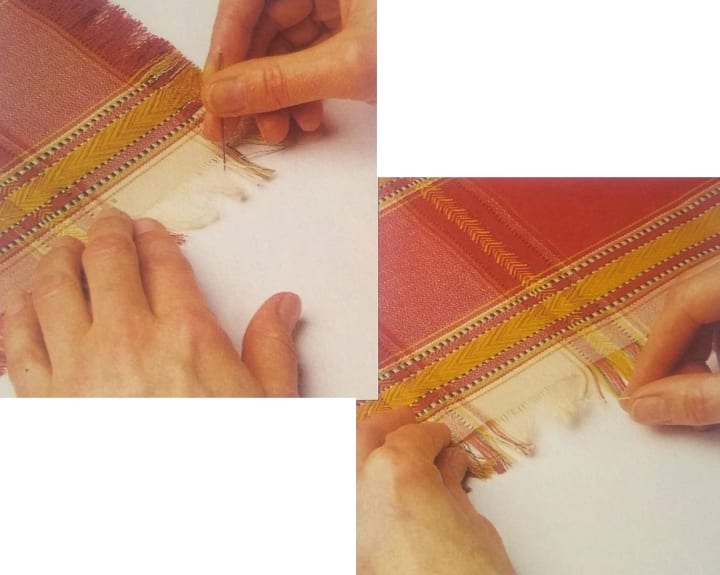
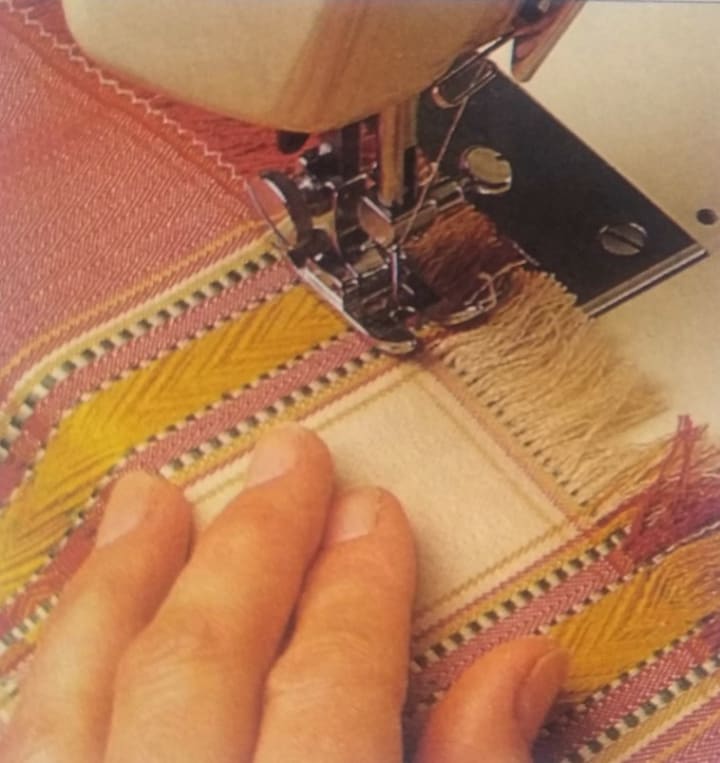
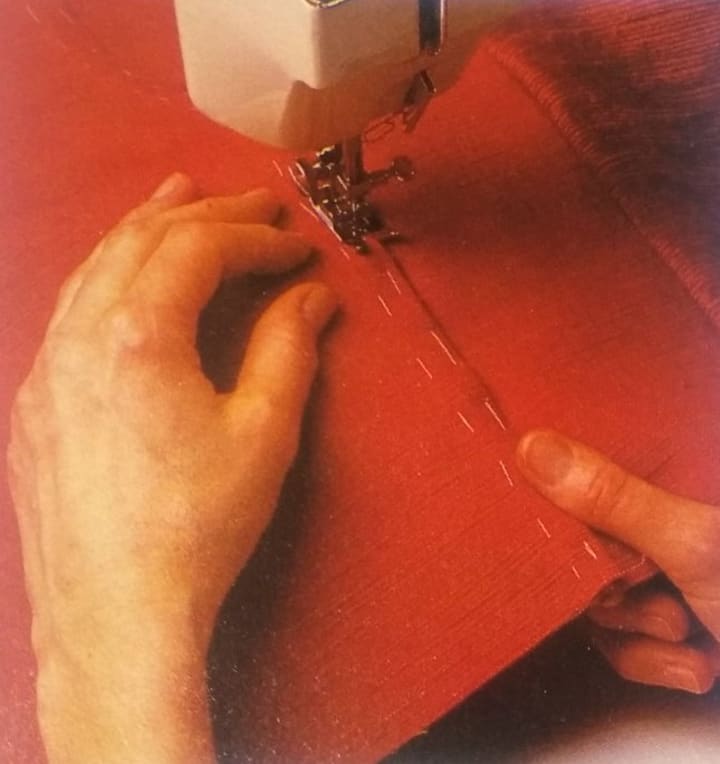
2. Securing Edge: To prevent the fabric from unravelling further, secure the unfrayed edge of the fabric with zigzag stitch. Press the tablecloth before use.

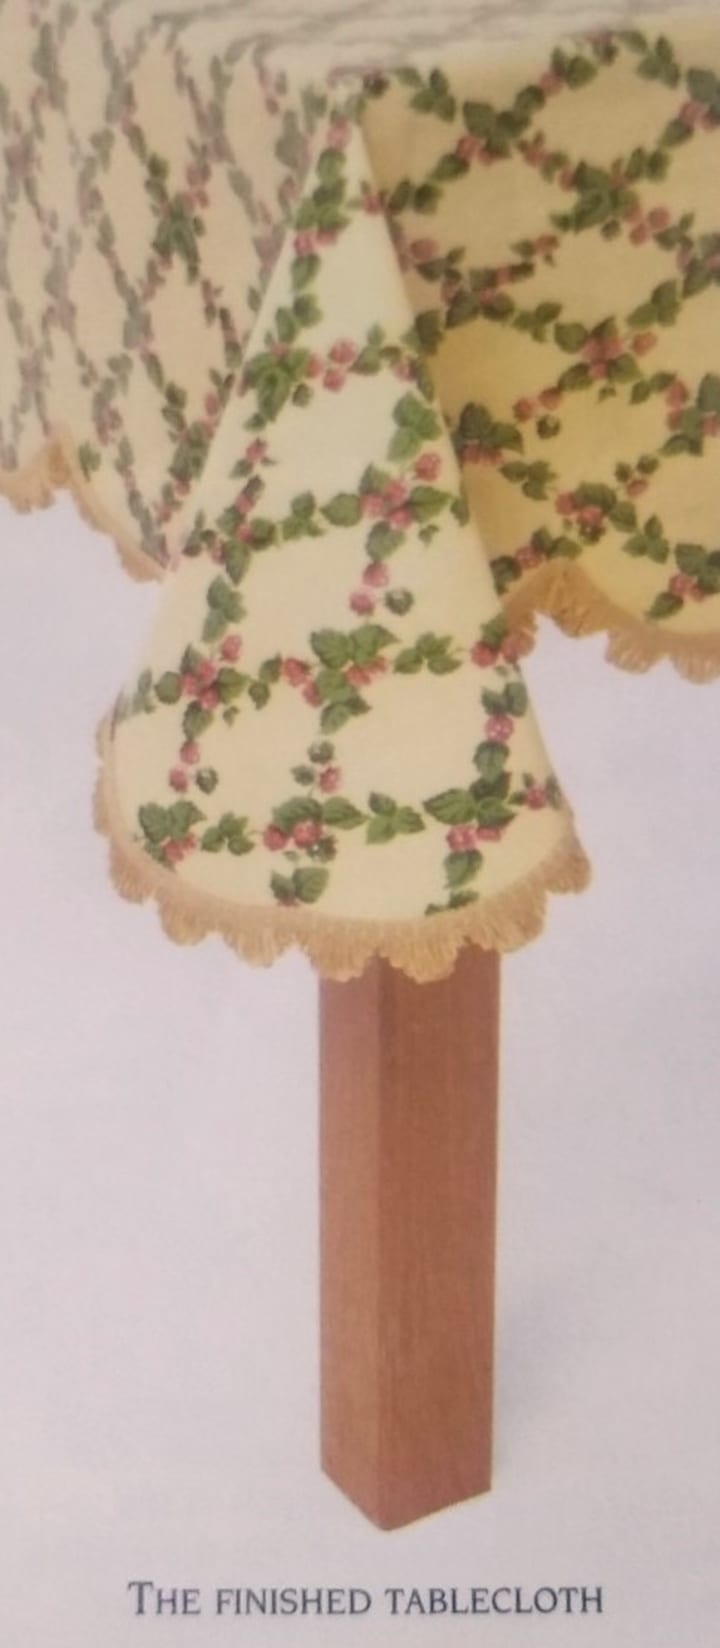
Fringed Tablecloth with Scalloped Edges
Ready-made trimmings can be used to decorate the edges of tablecloths, adding character to these furnishings. The fabric you choose for a tablecloth should depend on the nature of its use. For example a PVC-coated fabric is ideal for a kitchen table.
You can create scallops along the edges of the fabric. This is a very simple task to do. Since this fabric does not fray, and therefore does not require hemming. For this technique, you will need a PVC-coated fabric, fringe, saucer, and the basic sewing kit.
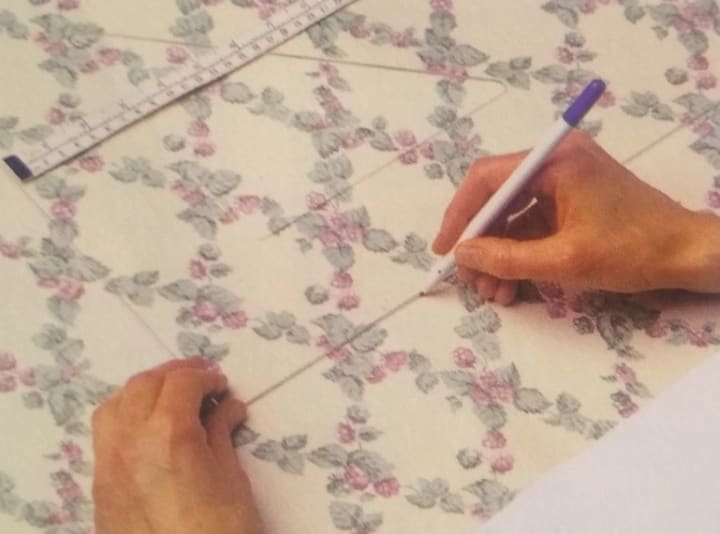
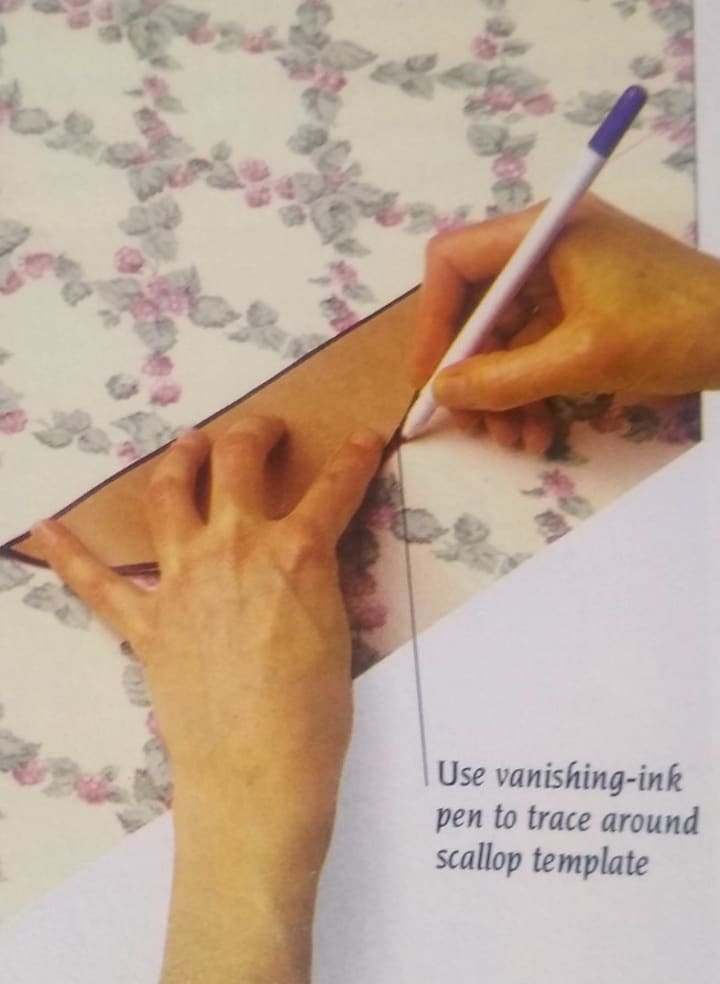
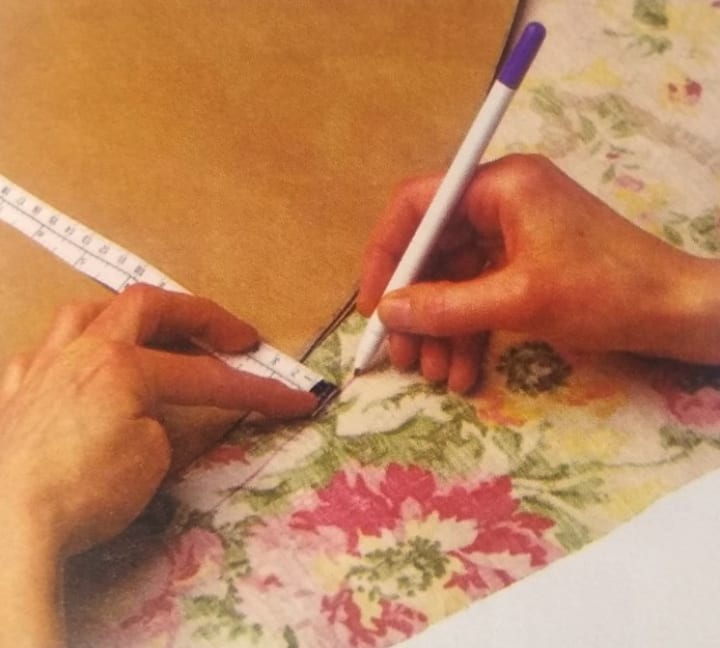
1. Marking Fabric: Measure up your table and add the desired drop of the tablecloth. Mark this dimension on the wrong side of the fabric, using a set square, tape measure, and a vanishing-ink pen.
2. Positioning Scallops: On the wrong side of the fabric, mark the scallop positions along the line. Try to fit an equal number of scallops on each side, and one complete scallop around each corner. This might take a few attempts.
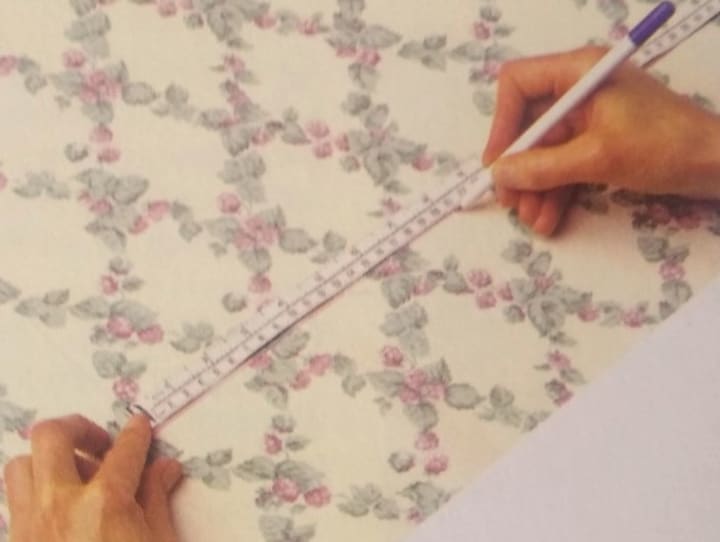
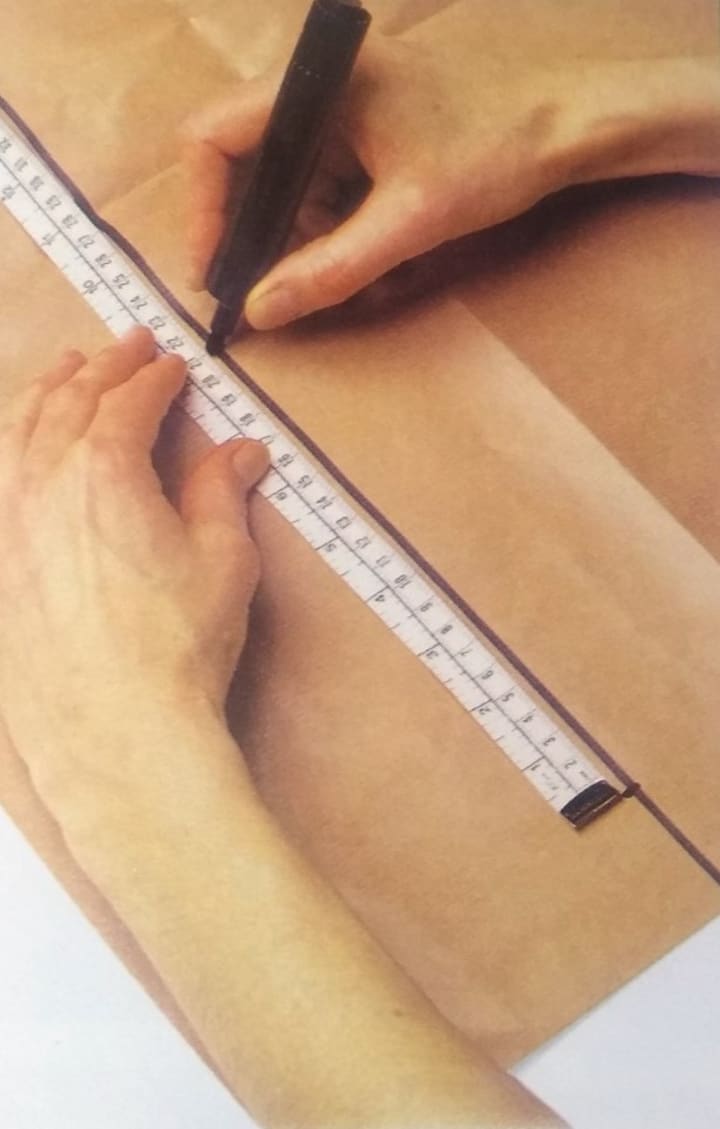
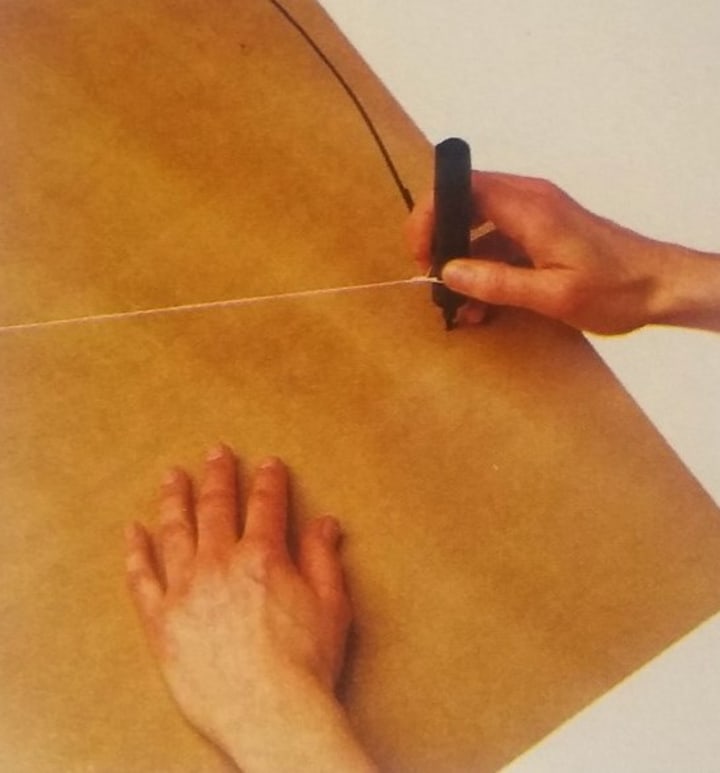
3. Marking Pattern: On a piece of paper, mark a line longer than the length of one scallop. Measure and mark the exact length of one scallop on this line.
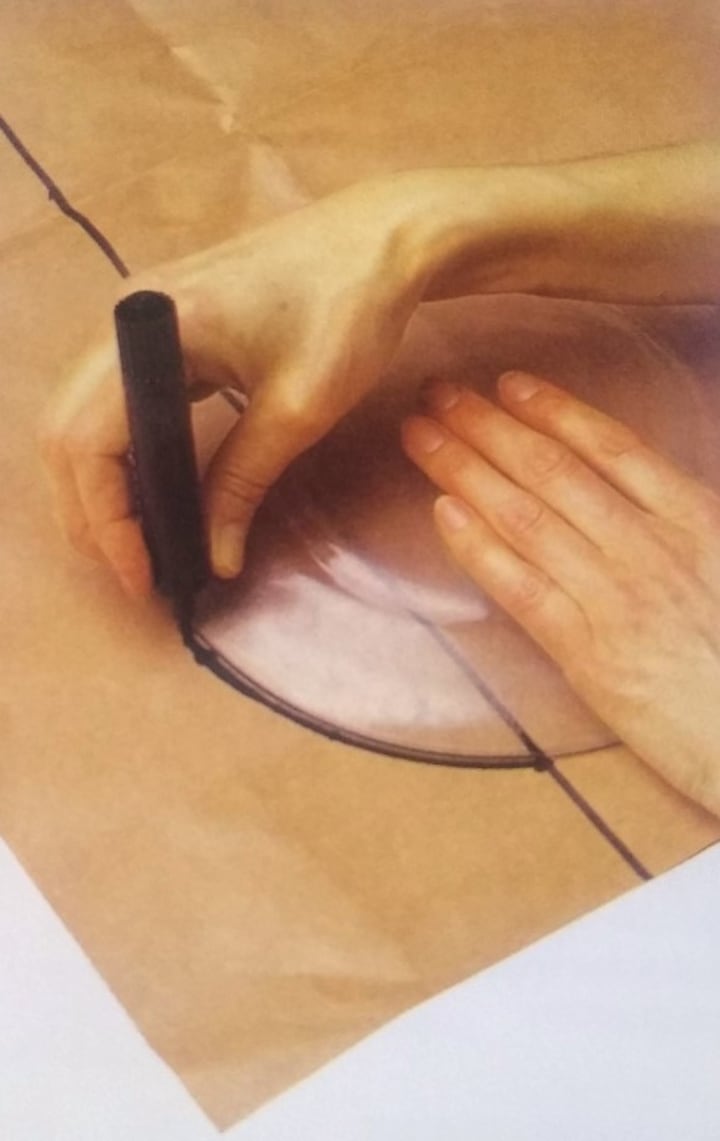
4. Drawing Scallop: Use a saucer or other circular object as a guide for drawing a suitable curve between the scallop marks on the paper.
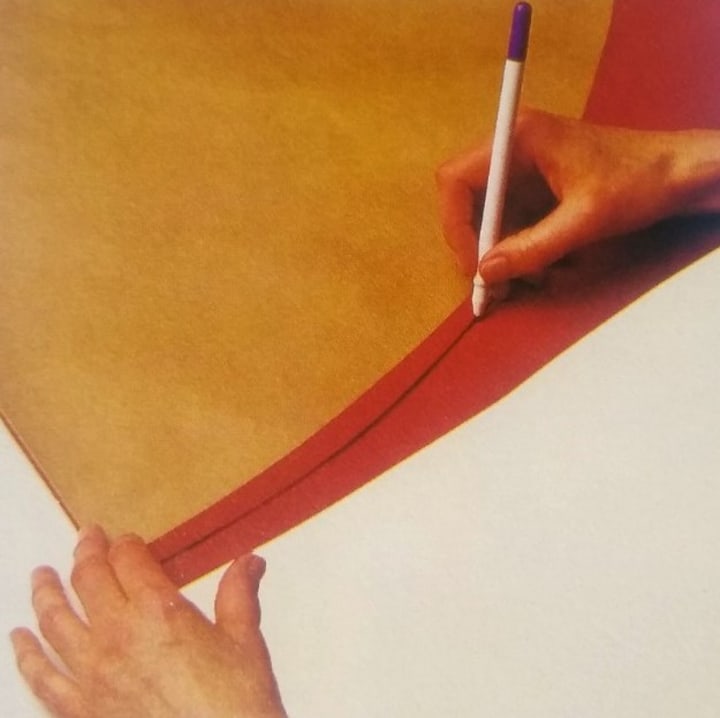
5. Tracing Pattern: Cut out the pattern, and place the straight edge against the marked line on the wrong side of the fabric. Trace around the template.
Safety Notice
As there are people out there who are just beginning on their journey of complete home furnishing. I would advise taking great care when it comes to dealing with sharp knives, scissors and especially pins.
6. Cutting Out Scallops: Following the marked scallop positions along the line, carefully cut out the scallops around the fabric.
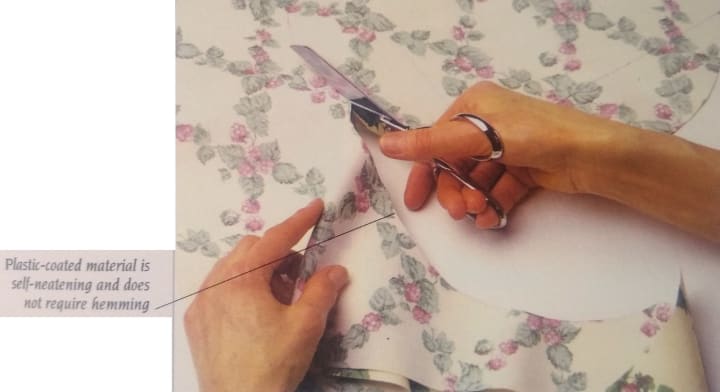
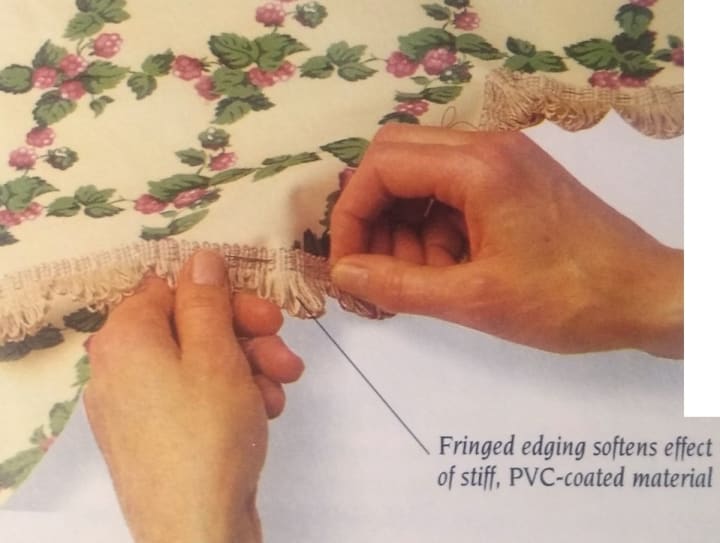
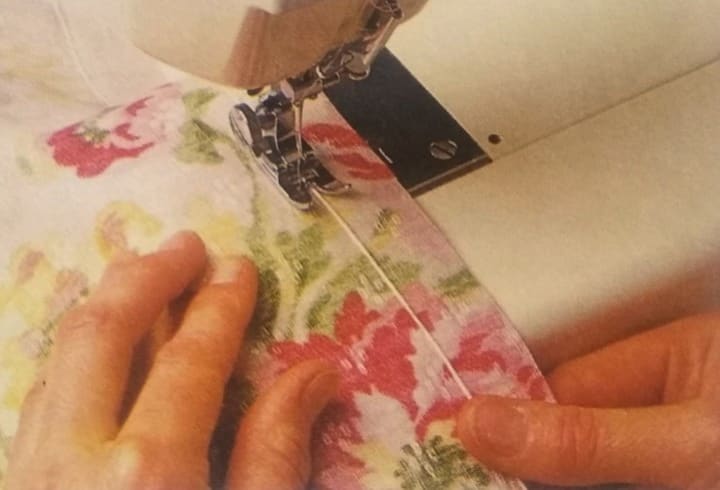
7. Attaching Fringe: PVC-coated material is self-neatening and therefore does not require a hem. Tack the ready-made fringe to the scalloped edge of the fabric. When you have attached the fringe along all four sides, machine sew it in place.
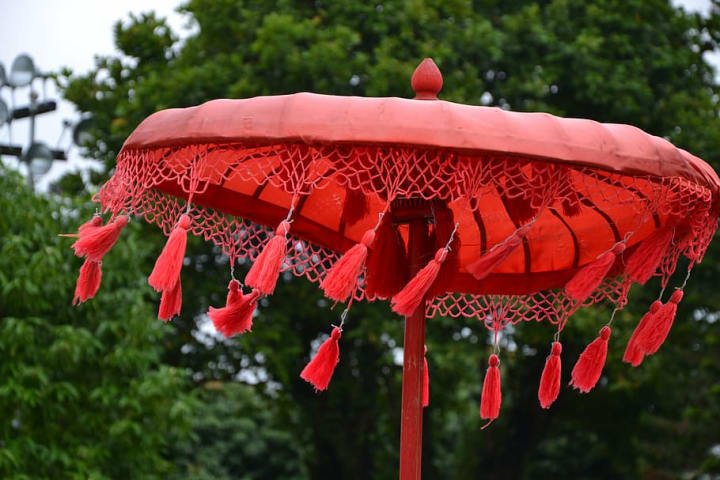
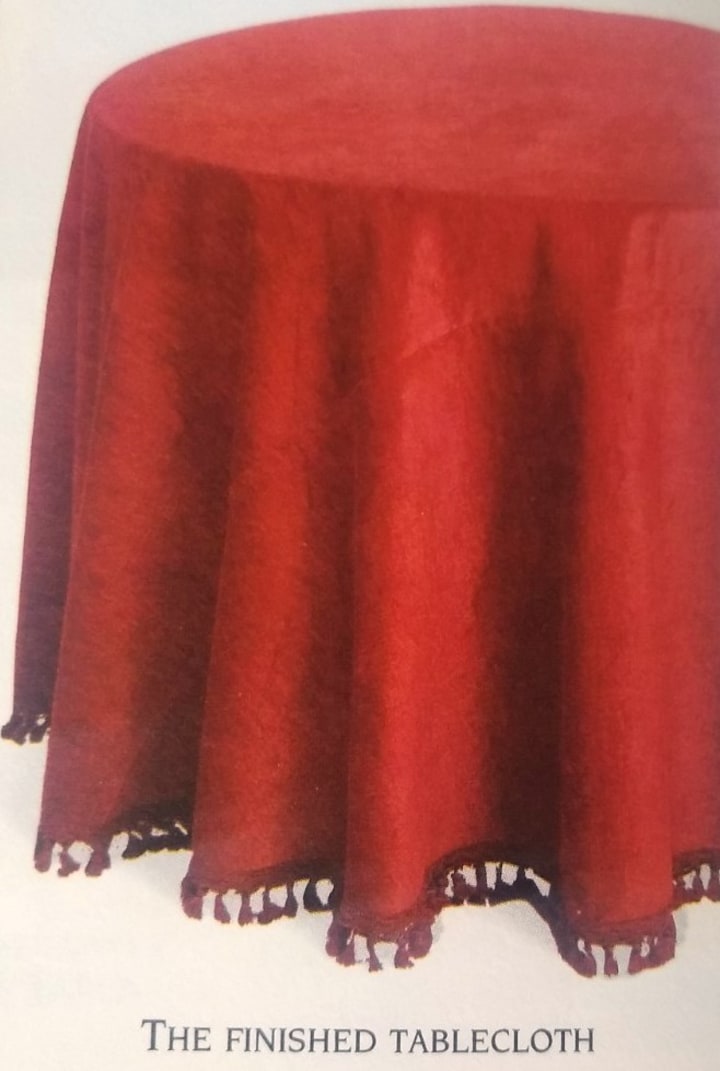
Full-Length Tablecloth with Tasselled Edgings
A full-length tablecloth is ideal for dressing a small table or stand. It can also be used as an under-cloth when dressing a table with layers of contrasting fabric, acting as a skirt under smaller fabric.
To make this full-length table cloth with edgings, you will need heavy-weight fabric for the tablecloth, edgings, a length of string, marker, and the basic sewing kit.
1. Joining Fabric: Measure the table and drop, minus the depth of the edgings (see article "How to Make a Tablecloth - Part 1"). Join sections of fabric, if necessary, with flat fell seams to make a large square of cloth that is equal to the dimensions of the table and drop. Fold the fabric right sides together into quarters.
2. Making Pattern: Make a square template to the size of the fabric when folded. Using a simple compass pinned to a corner of the template. Draw an arc across the paper from one corner to the other.
3. Marking Fabric: Cut out the paper pattern along the arc. Pin the pattern to the folded fabric, aligning the arc with the open edges of the folded fabric. On the wrong side of the fabric, trace around the pattern, adding 2 cm (3/4 in) for a single turned hem. Cut out the fabric along the marked line.
Safety Notice
Where silicon padded gloves if necessary and make sure you use a pin cushion for all your collection of pins. Stay away from the fireplace in your house, as the majority of the fabrics are highly flammable
4. Stitching Hem: Open out the fabric. Neaten the raw edge of the fabric by turning a 2 cm (3/4 in) hem all around. Pin, tack, and sew the hem, then remove the tacking stitches.
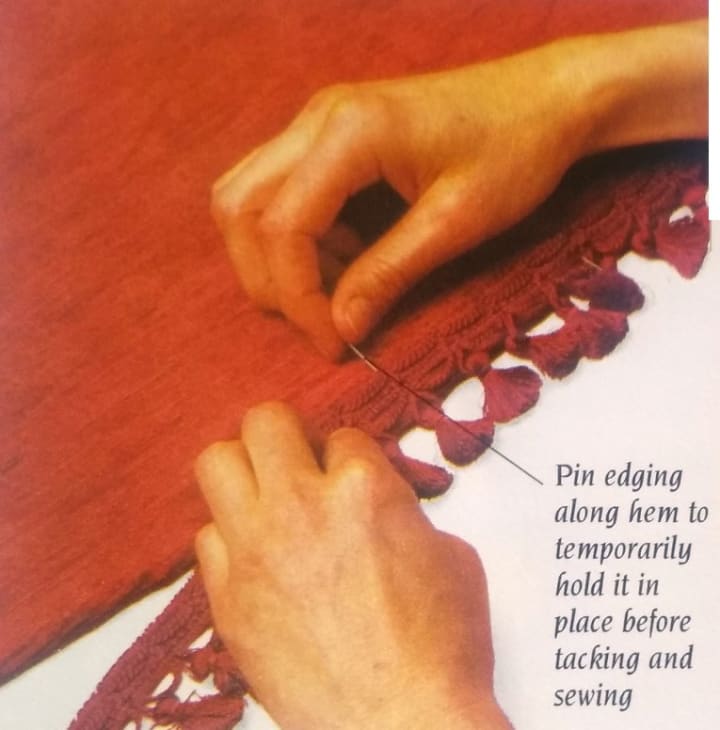
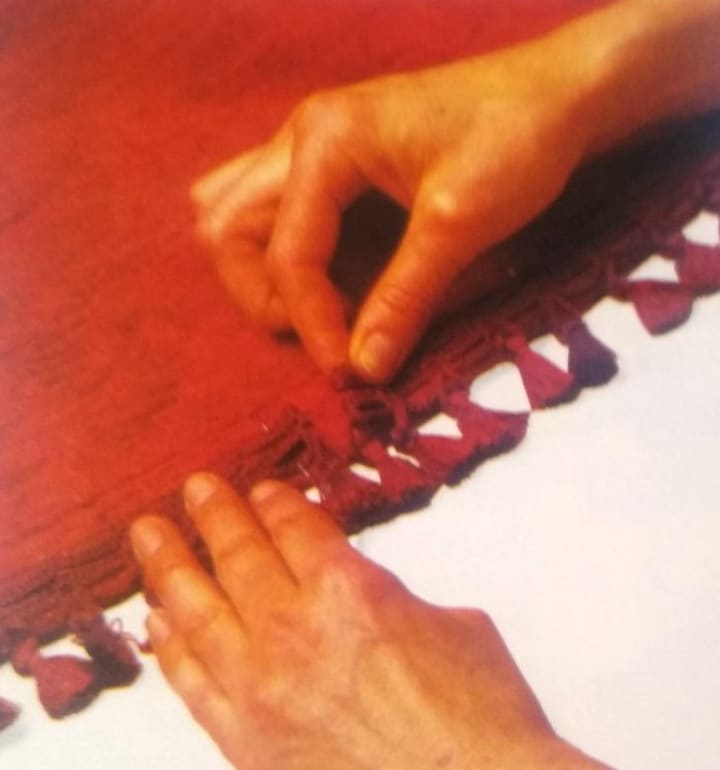
5. Pinning Edges: Measure the circumference of the tablecloth. Cut the edging to the same length as the tablecloth's circumference. Pin the edging along the hem, keeping a straight line.
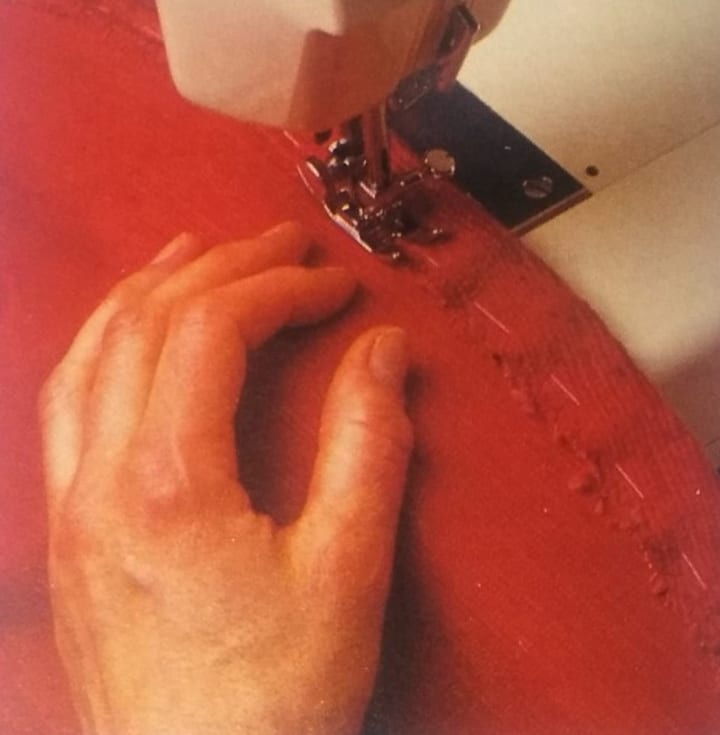
6. Joining Ends: Tack and sew the edging to the tablecloth. Where the ends of the edging meet, over-sew to make a neat join. Press the fabric carefully before fitting it on the table.
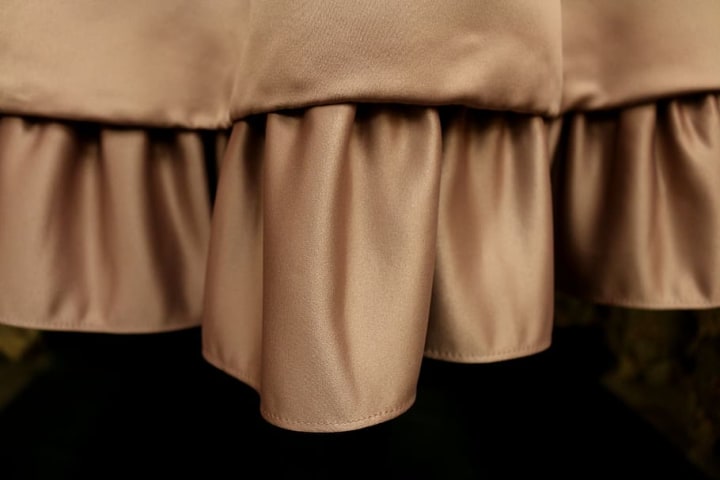
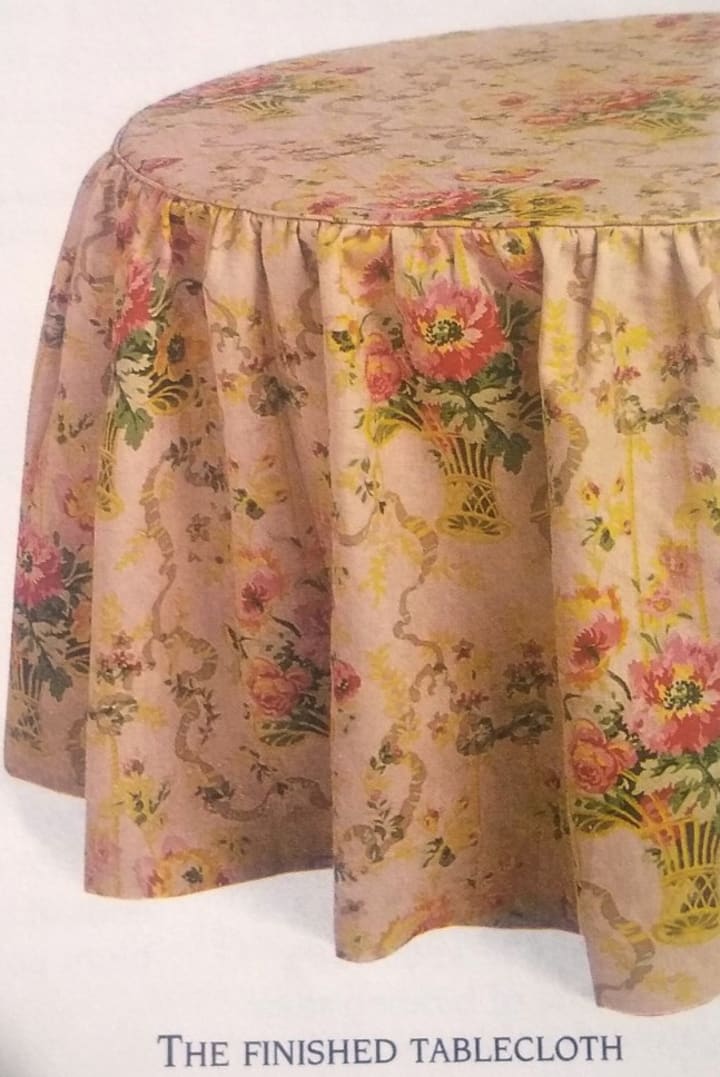
Tablecloth with a Gathered Skirt
To make this two-piece tablecloth, you will need fabric for the tablecloth and piping, piping cord, a length of strong twine, and the basic sewing kit. Measure the table top (see article "How to Make a Tablecloth - Part 1").
Make a square of fabric to this dimension, joining fabric widths as necessary with flat fell seams. Fold the fabric right sides together into quarters.
1. Marking Fabric: Make pattern to the size of the folded fabric. Cut out a quarter circle. Pin pattern to wrong side of fabric. Trace around it, adding 2 cm (3/4 in) for seams.
Cut fabric along marked line. Make piping to length of table's circumference. Add 10 cm (4 in) for joining. Cut out fabric widths for skirt to depth required, plus 5 cm ( 2 in) for seams and hems by one-and-a-half times the piping length.
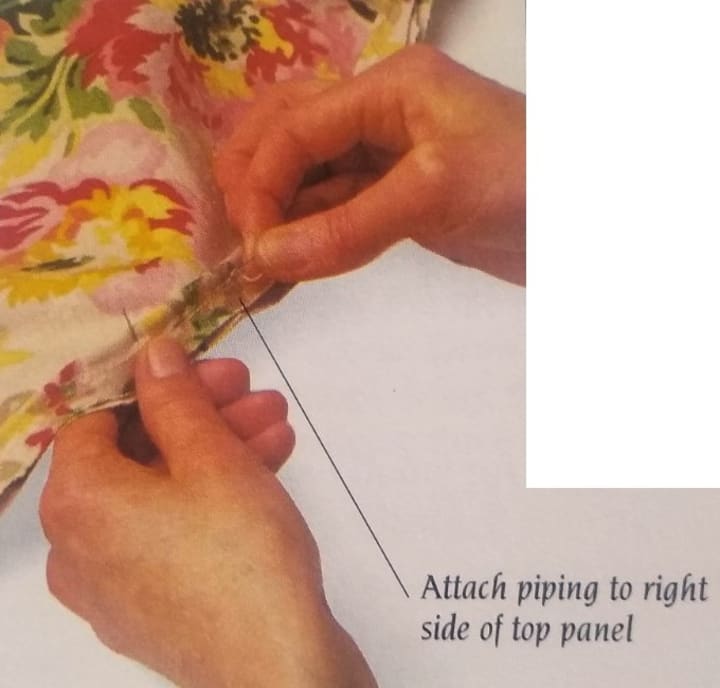
2. Attaching Piping: Pin, tack, and sew the piping to the right side of the top panel, with the piping seam allowance to the outside edge. Join the ends of the piping together.
3. Making Skirt: To make one length of the fabric, pin the widths of the skirt together, matching any motifs. Make joins with plain flat seams.
4. Hemming Skirt: Neaten the lower edge of the skirt with a row of zigzag stitches. Turn a 2 cm (3/4 in) hem to the wrong side along the lower edge. Once that is done, herringbone stitch or machine sew to secure.
5. Attaching Twine: Cut twine to the table's circumference. Place it 2 cm (3/4 in) from the skirts top edge. Sew zigzag stitches over the twine to secure. Mark quarter intervals around the edge of the top panel. Make matching marks on the skirt's top edge.
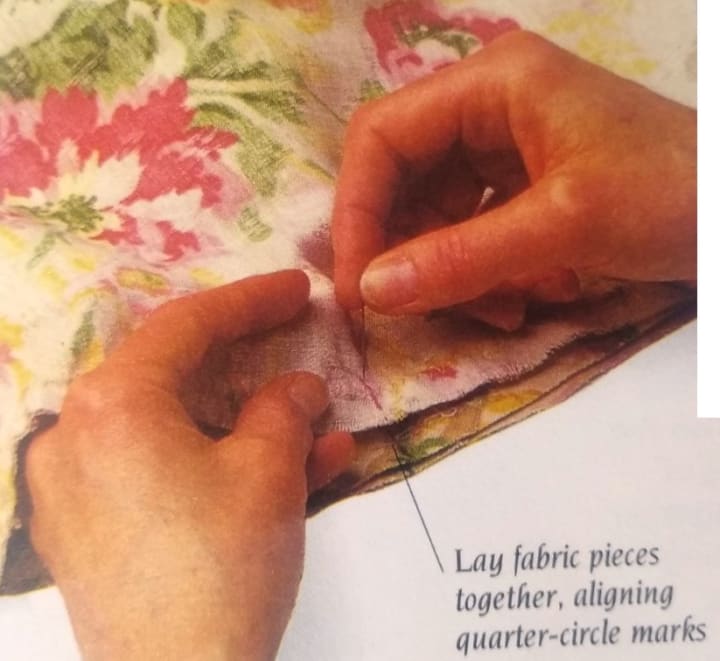
6. Aligning Fabrics: Place the top panel and the skirt right sides together. Align the quarter-circle marks. At the marks, pin the skirt to the top panel along the piped edge.
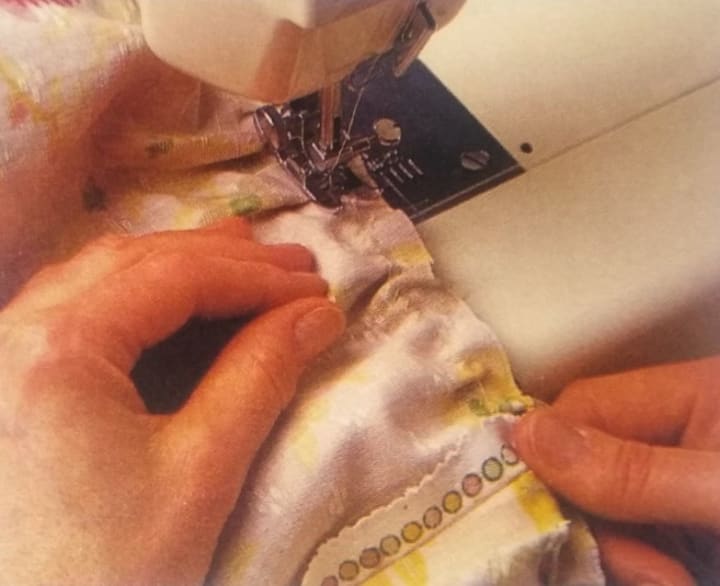
7. Securing Skirt: Pull the twine to gather the skirt, working first from one end and then to the other, so that half of the skirt is gathered at a time. Once the gathers are evenly distributed, pin, tack, and sew the skirt to the top panel 1.5 cm (3/4 in) from the raw edges. Press the tablecloth on the right side.
About the Creator
Temoor Dar
💡Topic: Entrepreneur and Writer💡
♟️Hobbies: Traveling, Poems, Playing Chess and Solving Puzzles♟️
🎂Born: July 7, 1991🎂
📍Born in Stockholm, Sweden, and now a Londoner since 1996📍
📚Lifelong Learner📚
🌟Wisdom from Mentors🌟
Enjoyed the story? Support the Creator.
Subscribe for free to receive all their stories in your feed. You could also pledge your support or give them a one-off tip, letting them know you appreciate their work.
Keep reading
More stories from Temoor Dar and writers in Lifehack and other communities.
Best Portable Grills To Buy Right Now
Coleman 4-in-1 Portable Propane Camping Stove: The Coleman 4-in-1 Portable Propane Camping Stove exemplifies innovation and functionality in outdoor cooking equipment. This versatile grill not only serves as a stove but also transforms into a wok, griddle, and grill, making it a compact powerhouse for various culinary adventures. With features like Instastart ignition, a convenient grease tray, and 7000 BTUs of power, it's designed to meet the demands of camping, tailgating, and other outdoor activities with ease.
By Jayden Will5 days ago in Lifehack


Comments
There are no comments for this story
Be the first to respond and start the conversation.