
How to Make a Tablecloth - Part 2
This is a 3 part series of articles linked to creating different types of table cloths. In this article we will be explaining how to make a tablecloth with knotted fringe edging and a linen tablecloth with lace edging.

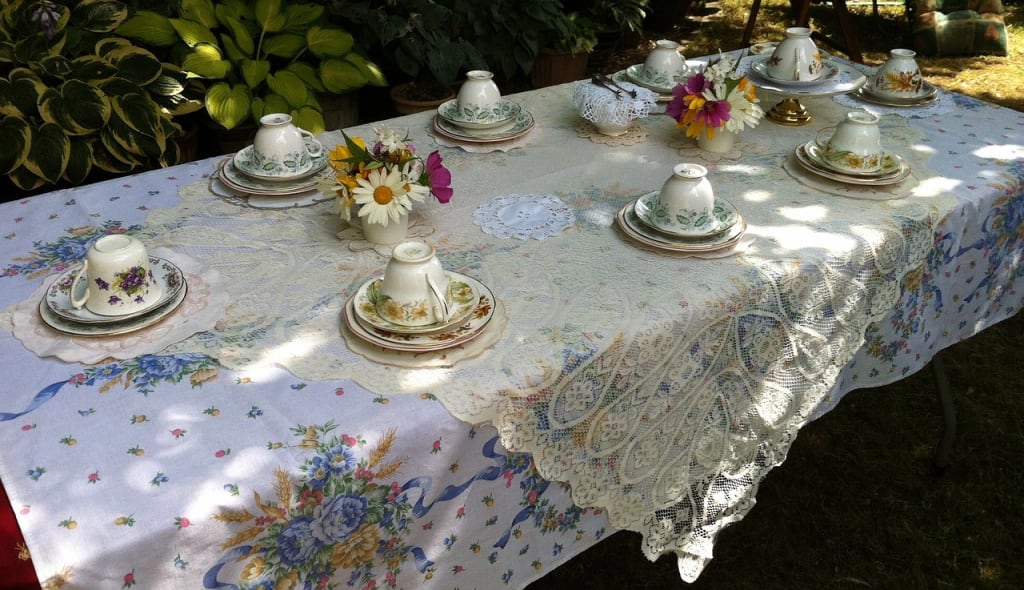
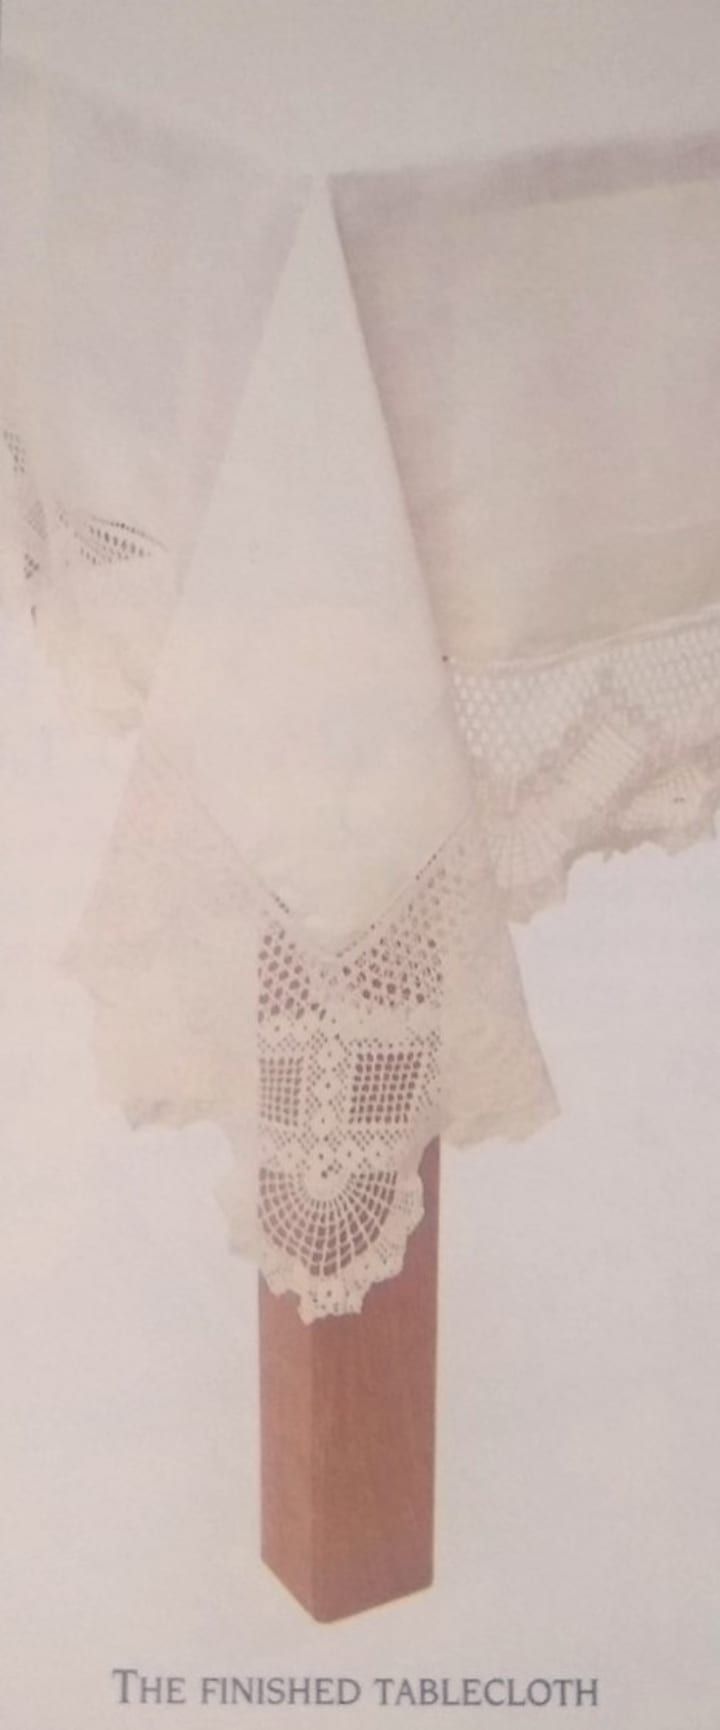
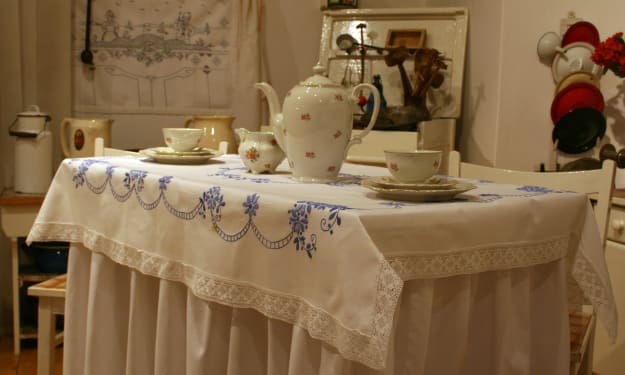
A few more examples of unique designs


(Please ignore the bad lighting/editing or white cut-offs done on the images in this article, as the images were taken from a very old and classical book from my library)
(Links to certain terms and methods are highlighted in a different colour. Click the link and it will take you the article accordingly)
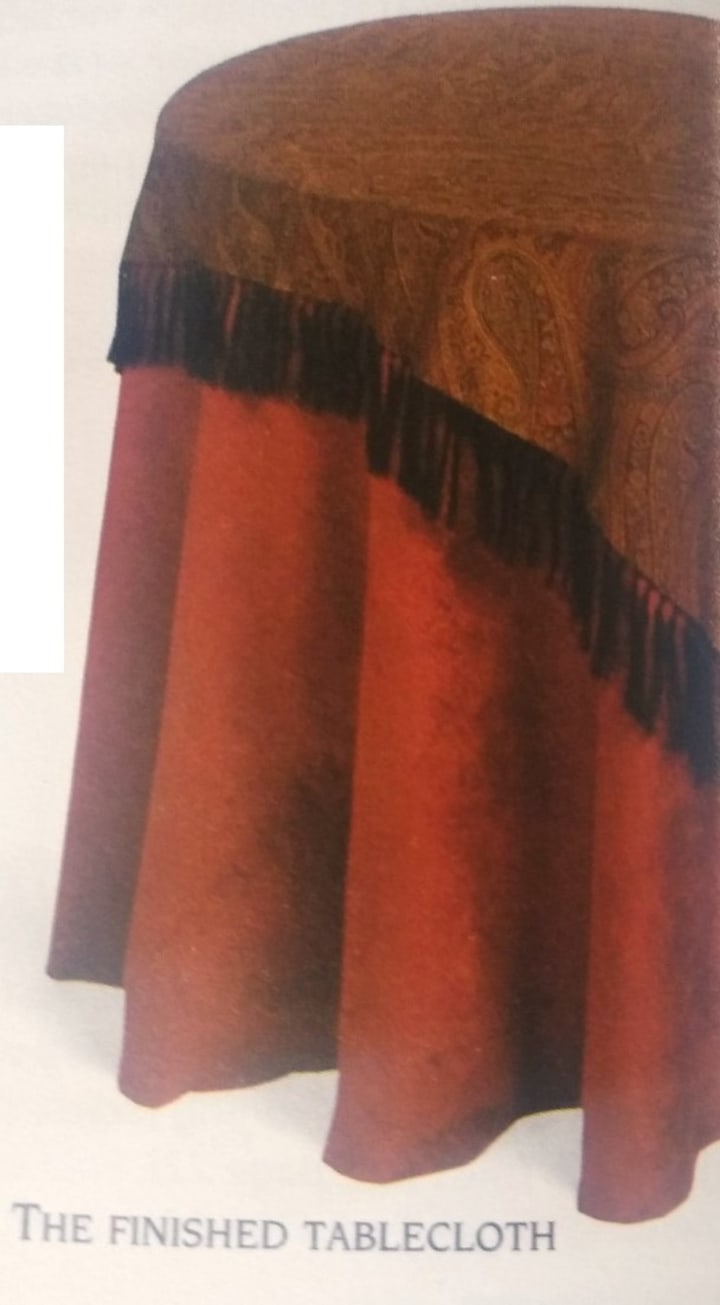
Tablecloth with Knotted Fringe Edging
To make up this square tablecloth, you will need a loosely woven fabric that matches the overall design scheme of the room, and the basic sewing kit.
Bear in mind that if you are using a fabric with a woven pattern, rather than a printed one, the wrap and weft threads may be of different colours. Resulting in edging that is not the same colour on all sides.
1. Separating Threads: Measure the round table and cut out a square of fabric (see article "How to Make a Tablecloth - Part 1"). Lay the fabric on a flat surface. Use a long needle to tease away threads from one of the raw edges. Carefully separate and remove one thread at a time.

2. Removing Threads: Remove the threads by pulling each strand away from the fabric. Continue separating and removing threads all around until you reach the desired fringe depth. The fringe should be long enough for knotting. Here, it is 7.5 cm (3 in) long.

Safety Notice
Where silicon padded gloves if necessary and make sure you use a pin cushion for all your collection of pins. Stay away from the fireplace in your house, as the majority of the fabrics are highly flammable.
3. Grouping Fringe: Working along one edge at a time, divide the fringe into small groups of an equal size. Separate each group into two.
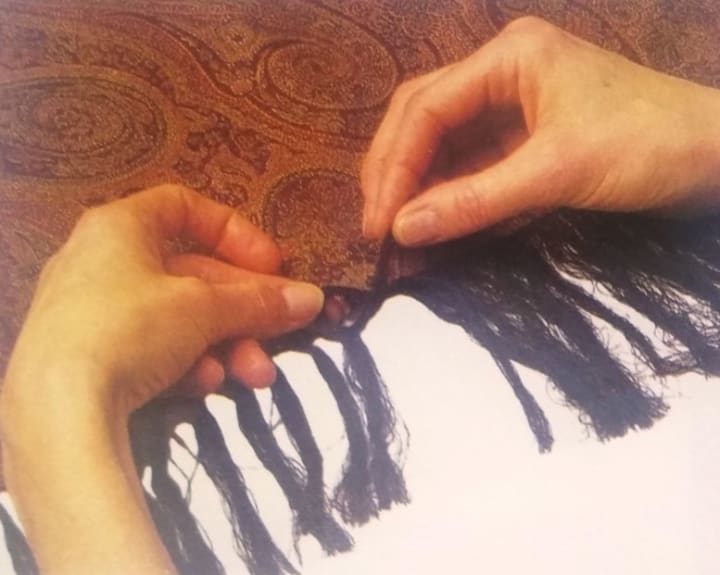
4. Knotting Fringe: Make a knot with each of the smaller group of fringe. Push it towards the edge of the cloth to prevent the fabric from unravelling. Repeat knotting all around the cloth.

Linen Tablecloth with Lace Edging
A linen tablecloth with a lace edging creates a traditional effect. If you have an old tablecloth with a lace edging, consider removing the edging and attaching it to a new fabric.
For this technique, you will need linen fabric, lace from an old tablecloth, and the basic sewing kit. Wash the old lace, cover it with a damp cloth, and press.
Cut the fabric so that it fits within the lace edging, adding 10 cm (4 in) all around for hems. Join widths with flat fell seams.
1. Aligning Corners: Lay the linen fabric on a flat surface and place the edging around it, aligning the corners. Use a set square to make sure that the corners of the edging are as square as possible. Measure the edges to ensure they are of equal length.
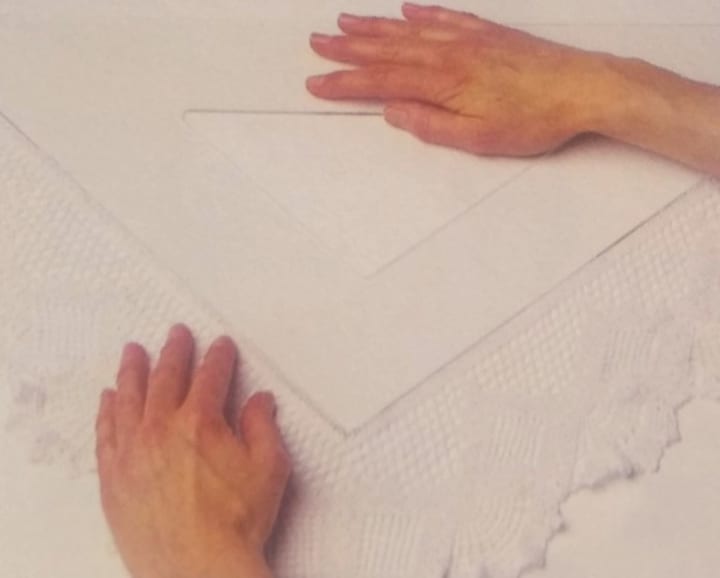
2. Positioning Edging: Use a vanishing-ink pen, tailor's chalk, or drawing pins to mark the inner edge of the lace on the linen fabric. Remove the edging.

3. Marking Fabric: You will need a large, double hem for antique lace to give it extra support. Here, a 5 cm (2 in) double hem is required. Mark a line 10 cm (4 in) twice the the double hem from the first line. Cut fabric around this outer line.

4. Turning Hem: Working along each of the four edges at a time, fold a 5 cm (2 in) double hem, and press.

Safety Notice
As there are people out there who are just beginning on their journey of complete home furnishing. I would advise taking great care when it comes to dealing with sharp knives, scissors and especially pins.
5. Trimming Corners: To form corners, unfold the two layers of fabric at each corner, then fold the first turning into a mitre , and press. Unfold the mitred corner and trim along the fold. Refold the double hem and mitre each corner.

6. Tacking Hem: Pin and tack 1 cm (3/8 in) from the inner edge of the hem. Use slipstitch or topstitch to secure the hem.

7. Stitching Corners: At the four mitred corners, neaten the mitres by slipstitching the folded edges together.

8. Attaching Edging: Lay the fabric on a flat surface and carefully position the edging around it. Tack the edging to the fabric, using large slipstitches. Do not use pins, which could damage the fragile lace.

9. Securing Lace: Secure the lace edging carefully to the fabric, using slipstitch or shallow zigzag stitch. Press the finished tablecloth.

About the Creator
Temoor Dar
💡Topic: Entrepreneur and Writer💡
♟️Hobbies: Traveling, Poems, Playing Chess and Solving Puzzles♟️
🎂Born: July 7, 1991🎂
📍Born in Stockholm, Sweden, and now a Londoner since 1996📍
📚Lifelong Learner📚
🌟Wisdom from Mentors🌟
Keep reading
More stories from Temoor Dar and writers in Lifehack and other communities.
Rejuvenate Your Space
In a world that frequently focuses on comfort and utilization, the idea of upcycling furniture has arisen as a reference point of imagination and supportability. Instead of disposing of old pieces, why not reinvigorate them and release their secret potential? Go along with us on an excursion of change as we investigate the specialty of upcycling furniture, share moving genuine models, and uncover how you can imbue your space with character and appeal while thinking about Search engine optimization and key viral words.
By Sharon Adhiambo4 days ago in Lifehack
Top 10 Essential Oils for Stress Relief and Relaxation
In our fast-paced and demanding world, stress has become an all-too-familiar companion. Fortunately, there are natural remedies that can help alleviate stress and promote relaxation. Essential oils, derived from plants and renowned for their therapeutic properties, can be valuable in your self-care routine. In this blog post, we'll explore the top 10 essential oils for stress relief and relaxation, along with their benefits and ways to incorporate them into your daily life.
By Jain Perfumers3 days ago in Lifehack
The Hour Long Minute
I’m finally off of work from my overnight shift and now comes the hard part. I do Ride-share driving for about two or three hours after I get off of work each morning, not only to make ends meet, but to put away a little extra money for my rapidly approaching wedding.
By Earl W. Pearl6 days ago in Fiction


Comments
There are no comments for this story
Be the first to respond and start the conversation.