


My nephew is nearing his 3rd birthday! Tragically, due to a lockdown in the greater Sydney area, I’m not going to be able to visit him. This extra time at home has, however, given me the opportunity to make him a gift!
I always feel that making a gift for someone is more heartfelt than buying one. Especially toys and the like for kids. So, ive decided to make him a stuffed bear which he will hopefully enjoy. Who knows, he may rip it to shreds. Really, it’s fine either way. At the end of the day, I’m making it for him, how he treats it is up to him.
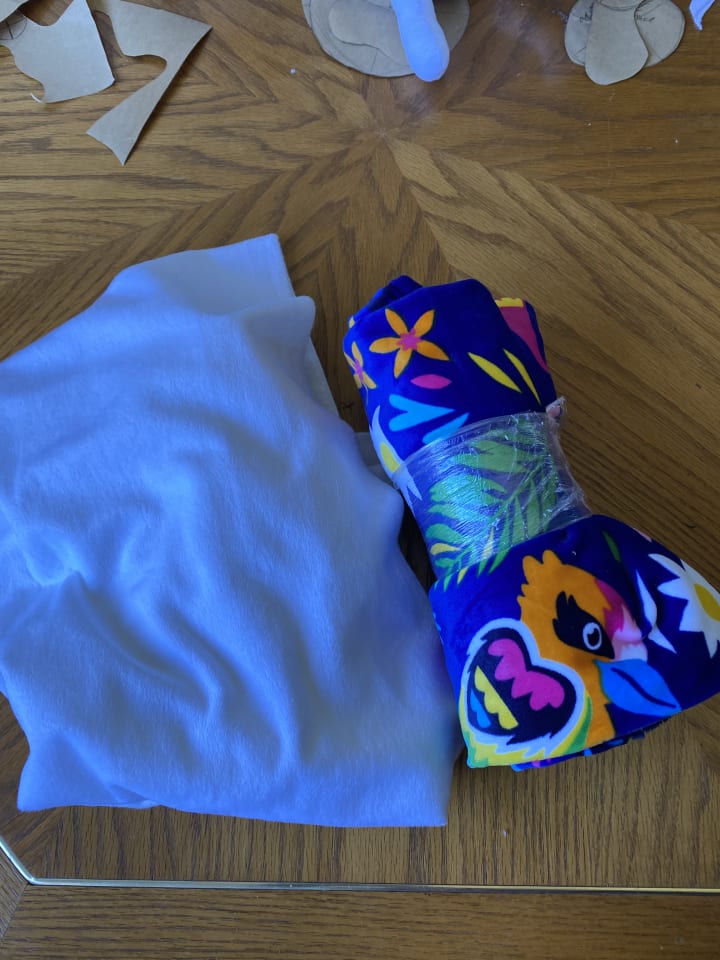
I decided to get some nice plush fabric for this bear. The ones I chose are white for the main body and a blue patterned fabric for his paws and on his stomach.
I tossed up some buttons for the eyes and nose, but decided against it. He’s only three, if he tears them off and swallows them, he could choke. I’ll embroider eyes and a nose on instead.
I made a pattern on some craft paper,

Then cut them out and traced them onto the main fabric.
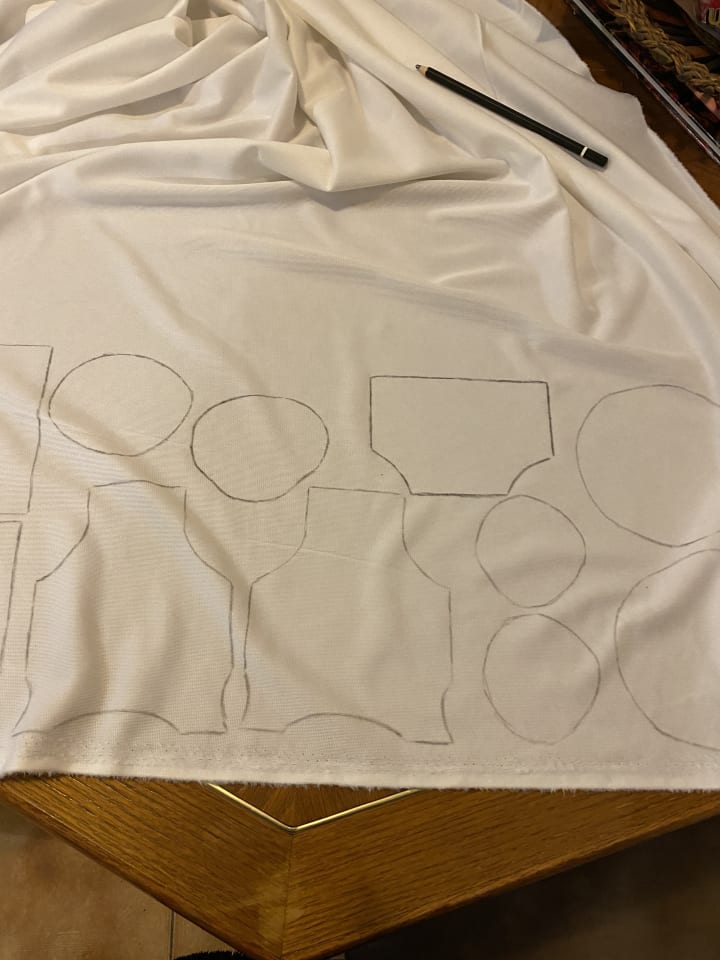
Then cut those out and pinned them together!

I embroidered the nose and eyes before sewing so it was on a single piece of fabric. It also made it easier to make them look even.

It can be a little hard to see, but for the nose I’ve embroidered half, stuffed it with cotton, and then finished. Then I sewed the nose piece to the face, stuffed and closed. The face changes slightly when the back of his head is put on. Remember to sew inside out! Pin the ears in place before you start and flip the face back around so you know it will look right when it’s done.

Next up, I followed the process of stitching, stuffing, and closing the rest of the pieces.

Then I sewed him all together!

Technically I should have finished him here, since the patch for his stomach should have been added earlier, before it was stuffed closed. I didn’t do that because I was worried the body might not work when I was making him. Instead I stitched it on afterwards. It’s a little wonky, but I’d like to tell you all what I told myself at this stage: “it is for a three year old who will likely call it a dog and play with it for exactly one day before forgetting it exists. It’s fine.” At this stage he was more of a project for me, anyway.

Here is one last photo with my hand for scale (although this was taken at the pinning stage for the stomach patch).

I was so grateful to have this little guy to work on! I can’t wait to see what my nephew thinks of him, and what he names him.
About the Creator
Blake Smith
Blake Smith is a student and aspiring author in Australia. Their work is influenced by their political leanings, trauma, and reading nonsense online. Who's isn't though? Did y'all see that orange with the limbs and the face? Terrifying :/
Keep reading
More stories from Blake Smith and writers in Lifehack and other communities.
How to prepare an amazing party jollof rice
Planning astonishing very smoky party jollof rice is a skill that requires accuracy, persistence, and a thoughtful understanding of flavors. In this complete help to prepare a smoky jollof rice, we will separate the cycle bit by bit to guarantee that you accomplish the ideal equilibrium of smokiness, flavor, and lavishness in your jollof rice.
By VOPNU, Adomale Monday5 days ago in Lifehack
Miniature Mind Musings #8:
Recently, I spoke with a family member who I struggled to catch up with for a longer timespan than I would’ve liked and what struck me was how societal templates filled in on successive days routinely suck our time into a vacuum of seemingly infernal deficiency.
By The Dani Writer6 days ago in Longevity


Comments
There are no comments for this story
Be the first to respond and start the conversation.