
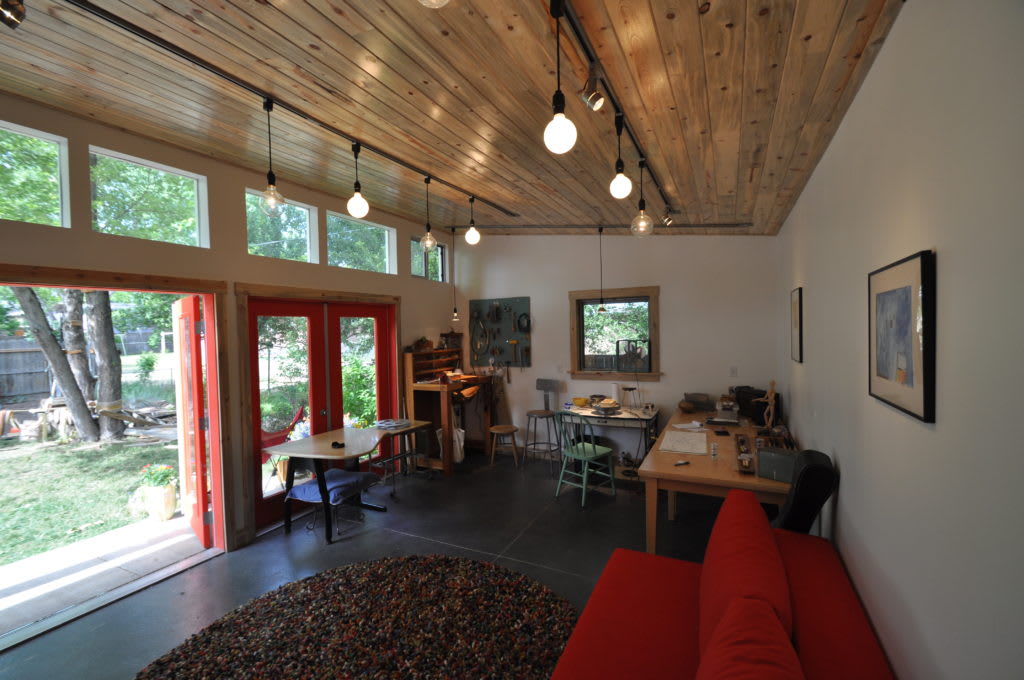
Eight Steps of Building a Pallet Studio
Calling all DIYers, handy-women, and handymen!

Calling all DIYers, handy-women, and handymen! Wooden pallets are not ugly contraction you see outside warehouses and turn down neighbourhoods. They are beautiful contraptions with so much potential. You can transform pallets into magical creations. One of these magical creations is an outdoor studio! It’s the perfect summer project for all creative types with the need for outdoor activity.
Pallets are shipping bases that are tossed aside when they have a broken slat or have been used for too long. Remember that this is a project that involves heavy lifting. No matter how much or little you go to the gym, always ask for help!
It’s a sustainable project, too! So you’re being a fellow mensch and helping out the environment, one leather tool pouch at a time!
1. Get started.
First of all, you need to collect pallets. This might take some time, but start well ahead of summer! Check out parks, outside businesses, and supply stores. Let your friends and family know that you are on the hunt to give them the opportunity to help you look!
Moreover, you will need to fill up your tool pouches with screws, insulation, two-by-four, 96 inch studs, roofing felt, plywood shims, flashing, roofing tiles, and painting supplies.
It’s an exciting DIY project to finally use those tool pouches and tool backpacks. Buy any doors and/or windows needed before you start the building process.
2. Flatten out flooring.
Choose your location.
- First and foremost, you should tamp it out. The location of your studio should be as flat and firm as possible. Use a level as you prepare the site and remove all disturbances such as rocks. Following this, use a soil tamper across the construction zone to make sure that the area is even. Use a plastic barrier to keep the mud splatter from the underside of the pallets.
- Next, get those muscles pumping! Lay out the cinder blocks for the foundation. They should be no more than two feet apart. It is optional to add cement, but it can help the building process. Use the level to make sure that everything is flat and firm. At last, give a finishing touch with the LED floor lamp to give it a completely different look.
Flat Flooring
- Let the games of construction begin! Place the pallets on the pavers and adjust them to fit the ten-by-eight base of the building. Next, use a one-inch sheet of plywood over the top and screw that onto the base pallets. Following this use two-to-three-inch wood screws at all the edges in the interior of the floor to create a strong base and solid adhesion.
3. Building the Walls
Move that truck! Oh, wait, not yet. Let’s begin building the walls of the studio, so get your leather tool pouches ready to play. Use about 12 pallets for the side and back walls. The lower pallets are put first. This wall is built with four pallets. The first lower two and other two are put on top of them.
Screw these together at the seam and mount them to the plywood and some three-inch screws which will be drilled at a certain angle. Do this to three walls. Make sure that the edges of the studio look firm. Don’t be scared if you think it’s a little wobbly, once you’ve secured a roof that will all change.
4. Shore the studio.
Once the walls are in place, add two-by-six wood on the interior sidewalls to temporarily brace it, this makes them sturdier. Use nails or screws to make it firm.
Add another brace to the front opening of the sidewalls. Keep the dimensioned of your purchased door and windows into consideration. Leave room for a door in the front opening. Measure the dimensions of your door. You can give a garage door style a try for the front opening of the studio.
5. Siding
Reach over for more of that plywood and grab your tools because we are siding next! Let’s begin covering up those walls.
Brim them on all sides to seal. Caulk the seams to prevent any water from entering. Seal the boards and at the edges. Side the front of the building later.
6. Adding a Roof
Roof Structure- Things are getting pretty hot now! The leather tool pouches have become warm and we're starting to build the actual roof. Ensure that the slope of the roof is 15 inches for every 12 feet of roof. Use an L-Square to measure the rise and run of the angle. Form a trapezoid on parallel sides and use a longboard to narrow these points.
- When the trusses are in place, add boards as the main material using a bird’s mouth cut. The angle cut depends on the slope of the roof. Once you have cuts on all boards, it’s game to install them. Set them within two inches of the board and cap the front and back of the roof overhang. Following this, place the surface of the roof over the rafters.
- Although the roof looks great, don’t put down your tools just yet! The roof needs more protection so you will need nails and sheets of roof tiles. Start at the lowest edge of the roof and work your way upward. The edges on the first line should overhand by one-eighths inch to keep water away from the building. Nail the successive layers.
7. Doors & Windows
You’re almost finished building your pallet studio! Now it’s time to install the windows and doors. Seat the window and nail it into the flange. As for the door, nail the sets into the frame. Try out the door to ensure that it swings evenly.
8. Finishing and Interior
The tools can be set aside for a moment, and leave room for the interior designers! Finish the walls with sheetrock or fiberboard, but before this, you can push pieces of insulation into the gaps of the pallet to keep the studio warm. If you intend to use the studio as more of a shed, this might not be necessary.
Use primer on the walls and paint your woes away—but only with primer. After this, check for nail holes, gaps, or any other issues. Get your tool pouches because the final finishing touches are going to be made. Fill all of the gaps unless you want a source of ventilation.
Choose a color that is perfect for your pallet studio, perhaps a blue or a red, and start painting away.
Congratulations! You made it all the way! Creating a pallet studio is a great DIY project for the summer. It’s very giving to see the results as you build and focus all of your energy on the studio. Sometimes you just need a break from reality, and a creative and physical project such as this can help take your mind off of things.
Author Bio:
Ross Geller
Ross Geller is a working designer and passionate writer. He enjoys writing about the latest home decor and lifestyle trends all around the globe. Through his writing, he hopes to influence as many people as possible to help build a beautiful home and space.
About the Creator
Keep reading
More stories from Ross Geller and writers in Lifehack and other communities.
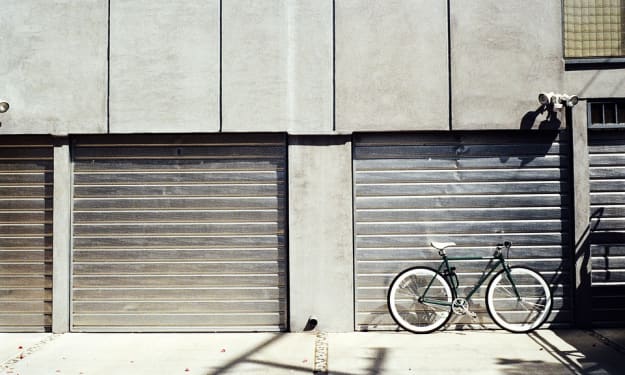
8 Ways to Keep Thieves Out of Your Garage
Home breaks are widespread. Thieves and burglars get into a home from either the front gate or the back gate, i.e., windows or garage. Most of the cases happen due to either the doors are kept unlocked or due to the low-quality locks. If you have an attached garage to your home, then it becomes even more important to see that it is secure. It is not just about the loss of valuable items but also the lives of your loved ones. It is essential to re-evaluate the locks in your home's entry points to protect from break-ins. Here are eight ways to keep thieves out of your garage.
By Ross Geller4 years ago in Lifehack
Principles of a Purposeful Life: Insights from Hadith and Civil Dialogue
In a ageless hadith, the Delivery person of Allah, peace be upon him, conferred important standards basic for driving a deliberate and fruitful life. These standards, established in intelligence and divine direction, offer a guide for exploring life's complexities with elegance and ideals. Let us dive into each guideline and investigate its noteworthiness in forming our lives:
By Ahsan Ahmad5 days ago in Lifehack
I AM
This is not who I thought I would be. Before my family was captured and forced into slavery, I had aspirations of becoming a wealthy business owner or possibly a scholar and philosopher. Becoming a warrior was the furthest thing from my mind. Unfortunately, our Roman conquerors had other plans.
By Mark Gagnon6 days ago in Fiction


Comments
There are no comments for this story
Be the first to respond and start the conversation.