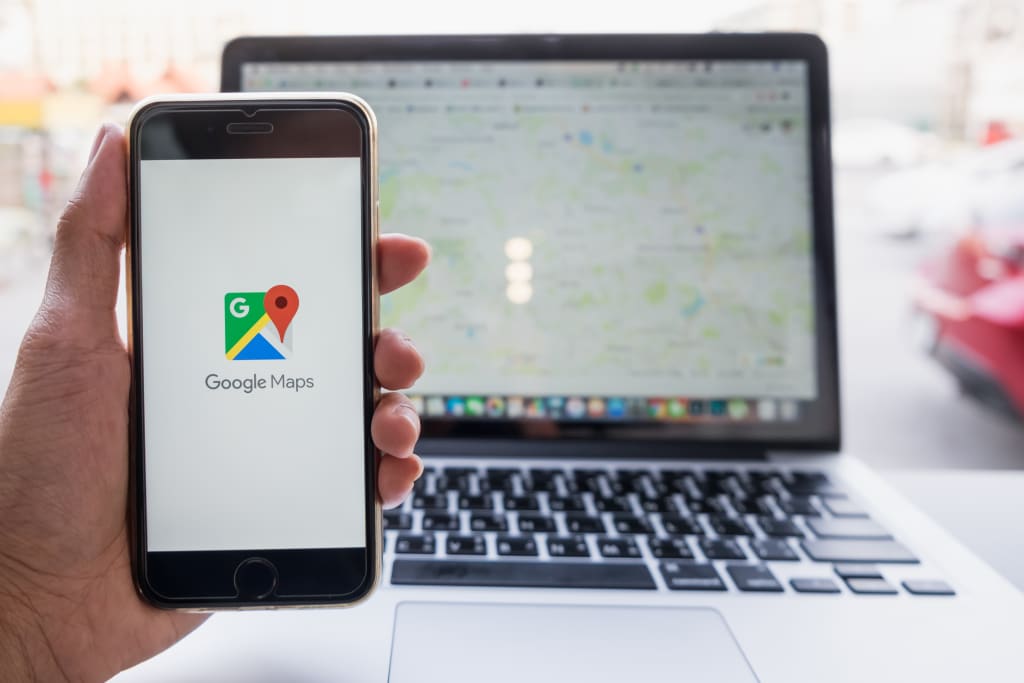
How to Add Google Maps on Your Shopify Website
Connecting Google Maps to Shopify can help users locate your physical store easily!

Let us walk you through in adding a Google Maps on your Shopify Website through Google Maps API. API stands for Application Programming Interface and Google Maps API allows you to display maps on your website. This is a good way to direct customers to your physical store. With the help of Google Maps Directions, your customers can easily find their way to your store because it calculates directions between locations.
While your store may function primarily as a e-commerce one, there is an uptick in brick-and-mortar flagships for companies that started online. If your store has the capital to expand, there are plenty of benefits to having both a digital and physical store. Some people may begin their journey online and end up coming into your store — so be sure to connect your Shopify account with Google Maps to reduce the friction your customers experience when looking to shop in-person!
Register a Google Maps API Key
1. The first thing that we need to do is to get a Google Maps API key. You can Visit this Link.
If you are not signed in to your google account, then you will be directed to the “Google Accounts Sign in” page.
2. On the “Get API Key” page, click the “Get A Key” button.
3. Read the terms of service and Select “Yes” then click the “Next” Button. And you’ll get this Prompt with the API Key.
4. Copy the API key either by clicking the copy button or highlighting it and pressing CTRL+C.
5. Next step is to Log into your account on Shopify. Visit http://www.shopify.com
6. Once you’re in, select the “Online Store” section located on the left side of the page and select “Themes.”
7. Click the “Customize” button located on the top right to access the “Theme Editor."
8. Click the “Add Section.”
9. Under store information, select “Map” and click the “Add” button.
You will notice that a white section with a caption will appear after clicking the “Add” button. That is actually the section on where the Map will be displayed.
10. In order for us to see the actual Map and how it appears in the layout, we need to fill out the Map Address Field with the address and Paste the “Google API key” in the Google Maps API key field. Then click the “Save” button at the top right.
Now that you can see how the map appears, it is much easier to do the adjustments.
11. Click the “Map Style” Drop-down to change the Map style. You can set it to default Style, Light, Dark, Pale Dawn, Apple Maps, or Midnight.
12. Set your Marker Color, Fill in the heading, and Make sure to change the Text Address and operating hours. It’s up to you if you want to show the “Get Directions” button or not.
13. Once you are all set, click the “Save” button at the top right of the page.
With that, you should be all connected to your Shopify website! As you continue to grow your business, it is important to consider the actions your customers are taking on the internet, and make it as easy as possible for them to find you — both digitally and in person.
Expand Your E-commerce Business
Seller’s Choice is a digital marketing solution provider dedicated to the interests, growth, and profitability of e-commerce brands. For more updates, industry news, and e-commerce expertise, visit our site or get in touch.
About the Creator
Seller's Choice
Seller’s Choice is a digital marketing solution provider dedicated to the interests, growth, and profitability of e-commerce brands.


Comments
There are no comments for this story
Be the first to respond and start the conversation.