

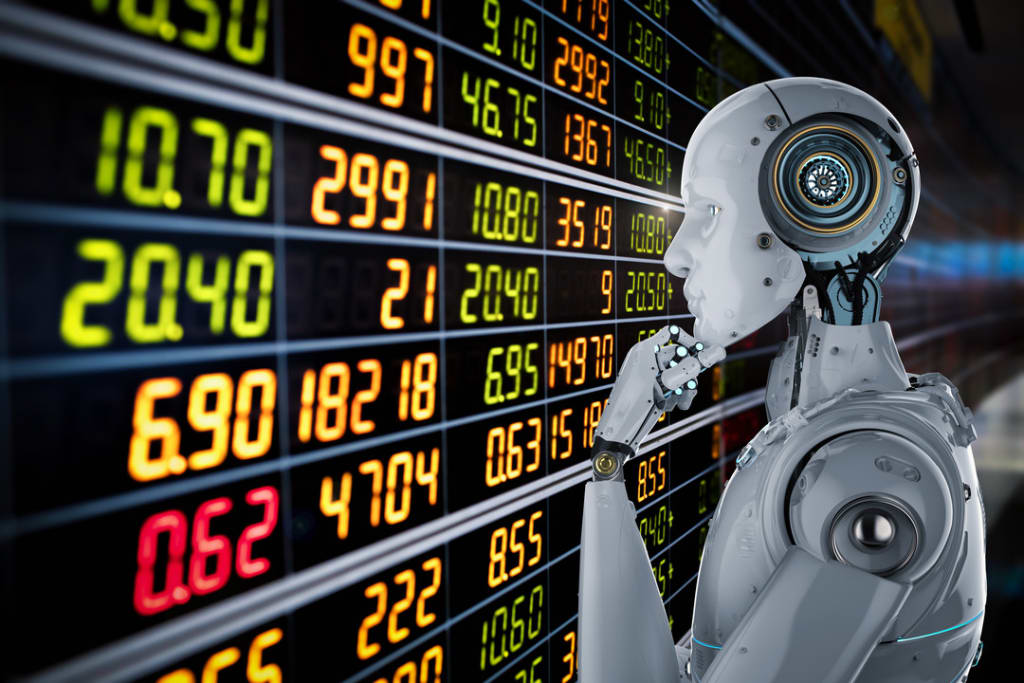
As someone with a background in both finance and technology, I've always been intrigued by the intersection of these fields. The concept of creating an AI-powered trading bot fascinated me. After months of research, coding, and testing, I finally built one that could autonomously analyze market data, predict trends, and execute trades. Here’s how I did it, step by step.
Step 1: Building the Baseline Bot
The first step in creating my AI trading bot was to establish a solid foundation. I started by setting up a Python script to gather historical market data. Using the Lumibot library, I could create a trading framework that allowed me to backtest various strategies.
python
Copy code
import requests
import pandas as pd
from datetime import datetime, timedelta
API_KEY = 'your_api_key'
BASE_URL = 'https://financialdataapi.com/api/v1/'
def get_historical_data(symbol, start_date, end_date):
url = f"{BASE_URL}historical/{symbol}"
params = {
'start_date': start_date.strftime('%Y-%m-%d'),
'end_date': end_date.strftime('%Y-%m-%d'),
'api_key': API_KEY
}
response = requests.get(url, params=params)
data = response.json()
return pd.DataFrame(data)
start_date = datetime.now() - timedelta(days=365)
end_date = datetime.now()
symbol = 'AAPL'
historical_data = get_historical_data(symbol, start_date, end_date)
historical_data.to_csv('historical_data.csv', index=False)
This initial setup allowed me to collect and store historical data, which was crucial for developing and testing my trading strategies.
Step 2: Position Sizing and Limits
Once I had the data, the next step was to implement a method for dynamically sizing my trading positions. Proper position sizing is essential to managing risk and ensuring that no single trade can significantly impact my portfolio.
python
Copy code
def position_sizing(cash, last_price, risk_percentage=0.5):
cash_at_risk = cash * risk_percentage
quantity = cash_at_risk // last_price
return int(quantity)
cash = 10000
last_price = 150
quantity = position_sizing(cash, last_price)
print(f'Quantity to trade: {quantity}')
By calculating position sizes based on my available cash and a predefined risk percentage, I could ensure that my trades were appropriately scaled.
Step 3: Integrating News Sentiment Analysis
Market sentiment often drives price movements, so incorporating news sentiment analysis into my bot was a logical next step. I used a machine learning model to gauge market sentiment from recent news articles and adjust my trading strategies accordingly.
python
Copy code
import requests
from transformers import pipeline
def get_news_sentiment(symbol):
url = f"https://newsapi.org/v2/everything?q={symbol}&apiKey=your_news_api_key"
response = requests.get(url)
articles = response.json()['articles']
sentiment_model = pipeline("sentiment-analysis")
sentiments = [sentiment_model(article['title'])[0] for article in articles]
return sentiments
symbol = 'AAPL'
sentiments = get_news_sentiment(symbol)
print(sentiments)
This function gathered news articles about my target stock and used a pre-trained sentiment analysis model to determine whether the news was positive or negative.
Step 4: Building the Trading Strategy
With the data and sentiment analysis in place, I built the core trading strategy. This involved setting rules for when to buy and sell based on the data and sentiment scores.
python
Copy code
def trading_strategy(cash, last_price, sentiment_score, threshold=0.8):
if sentiment_score > threshold:
action = "BUY"
elif sentiment_score < -threshold:
action = "SELL"
else:
action = "HOLD"
quantity = position_sizing(cash, last_price)
return action, quantity
sentiment_score = 0.9 # Example sentiment score
action, quantity = trading_strategy(cash, last_price, sentiment_score)
print(f'Action: {action}, Quantity: {quantity}')
The strategy ensured that trades were only executed when the sentiment score indicated a strong market movement, thus minimizing unnecessary trades.
Step 5: Execution and Backtesting
Finally, I integrated the bot with a brokerage API to execute trades and conducted thorough backtesting to evaluate its performance. I chose Alpaca, a commission-free brokerage, for this purpose.
python
Copy code
import alpaca_trade_api as tradeapi
API_KEY = 'your_alpaca_api_key'
API_SECRET = 'your_alpaca_api_secret'
BASE_URL = 'https://paper-api.alpaca.markets'
api = tradeapi.REST(API_KEY, API_SECRET, BASE_URL, api_version='v2')
def execute_trade(action, symbol, qty):
if action == "BUY":
api.submit_order(
symbol=symbol,
qty=qty,
side='buy',
type='market',
time_in_force='gtc'
)
elif action == "SELL":
api.submit_order(
symbol=symbol,
qty=qty,
side='sell',
type='market',
time_in_force='gtc'
)
action, quantity = trading_strategy(cash, last_price, sentiment_score)
execute_trade(action, symbol, quantity)
By running backtests, I could fine-tune my bot’s parameters and strategy to optimize its performance. This process allowed me to identify and correct any weaknesses before deploying the bot in a live trading environment.
Conclusion
Creating an AI trading bot was an enlightening experience that combined my interests in finance and technology. Through methodical planning, coding, and testing, I built a bot capable of autonomously analyzing market data, predicting trends, and executing trades. While the journey was challenging, the knowledge and skills I gained were invaluable. For anyone looking to explore the world of algorithmic trading, the rewards of perseverance and continuous learning are immense.
About the Creator
Dave Karpinsky
A world traveler, educator, consultant, entrepreneur, husband and a father sharing his experience and wisdom.
Enjoyed the story? Support the Creator.
Subscribe for free to receive all their stories in your feed. You could also pledge your support or give them a one-off tip, letting them know you appreciate their work.
Keep reading
More stories from Dave Karpinsky and writers in Futurism and other communities.
The Integration of Artificial Intelligence in the Daily Life of a Housewife
In today's rapidly advancing technological landscape, Artificial Intelligence (AI) has become a transformative force across various domains, including household management. The traditional role of a housewife, which encompasses a broad range of tasks such as cooking, cleaning, budgeting, and childcare, can be significantly enhanced through the integration of AI. This essay explores how a housewife can utilize AI in her daily work, highlighting the benefits, practical applications, and the broader implications for household management.
By Dave Karpinskya day ago in Futurism
OPINION: Creativity or Diminishing Originality?
In an era when technology pervades practically every area of our lives, academia has not been immune. The introduction of Artificial Intelligence (AI) has aroused both enthusiasm and fear, especially in the realm of academic writing. Proponents say that artificial intelligence may increase productivity, improve writing quality, and provide significant insights. Critics, on the other hand, are concerned about the decline in originality, the spread of plagiarism, and the monetization of education. As AI evolves and integrates into educational settings, it is vital to critically evaluate its influence on the writing process, as well as the larger implications for scholarship and intellectual integrity.
By Lorie Jean Toabout 4 hours ago in Futurism


Comments
There are no comments for this story
Be the first to respond and start the conversation.