
The Ultimate Guide to Water Heater Installation
Tips and Tricks for Water Heater Installation
If you’re in need of a new water heater or are looking to replace your existing one, you may be wondering how to go about installing it. While it’s always recommended to hire a professional plumber for any water heater installation, it’s still helpful to have a basic understanding of the process. In this article, we’ll cover everything you need to know about water heater installation, from choosing the right unit to the final steps of installation.
Choosing the Right Water Heater
Before you begin the installation process, you need to choose the right water heater for your home. There are three main types of water heaters: tankless, storage tank, and hybrid. Each type has its own pros and cons, so it’s important to do your research and choose the one that’s best for your needs.
Tankless water heaters are a popular choice for those who want a more energy-efficient option. They heat water on demand, so they only use energy when you’re using hot water. Storage tank water heaters are the most common type of water heater and are often the most affordable option. These units store hot water in a tank and are always ready to supply hot water when you need it. Hybrid water heaters are a combination of tankless and storage tank water heaters, offering the best of both worlds in terms of efficiency and convenience.
Once you’ve chosen the right type of water heater for your home, you’ll need to determine the size you need. The size of the water heater will depend on the size of your home and the number of people living in it. You can use online sizing calculators or consult with a plumber to determine the right size for your needs.
Gathering Tools and Materials
Once you have your water heater, it’s time to gather the necessary tools and materials for installation. You’ll need:
A pipe wrench
Teflon tape
Copper pipes and fittings
Gas connector (if you have a gas water heater)
Water shut-off valve
Drain valve
Temperature and pressure relief valve
Expansion tank (if required by local codes)
Vent pipes (if you have a gas water heater)
You may also need additional tools depending on the specific installation requirements of your water heater.
Preparing for Installation
Before you begin the installation, you’ll need to prepare the space where the water heater will be installed. Make sure the area is clear and free of any debris. If you’re replacing an existing water heater, you’ll need to turn off the gas or electricity supply and disconnect the old unit.
Installation Steps
Install the Water Shut-Off Valve
The first step of installation is to install the water shut-off valve. This valve will allow you to shut off the water supply to the water heater in case of an emergency. Install the valve on the cold water supply pipe that feeds the water heater. Make sure to install the valve in a place that’s easy to access in case of an emergency.
Install the Drain Valve
Next, install the drain valve at the bottom of the water heater. This valve will allow you to drain the tank if needed. Make sure to install the valve in a place where you can easily access it.
Install the Temperature and Pressure Relief Valve
The temperature and pressure relief valve is an important safety feature that releases excess pressure and prevents the tank from overheating. Install the valve on the side of the water heater and make sure to follow the manufacturer’s instructions.
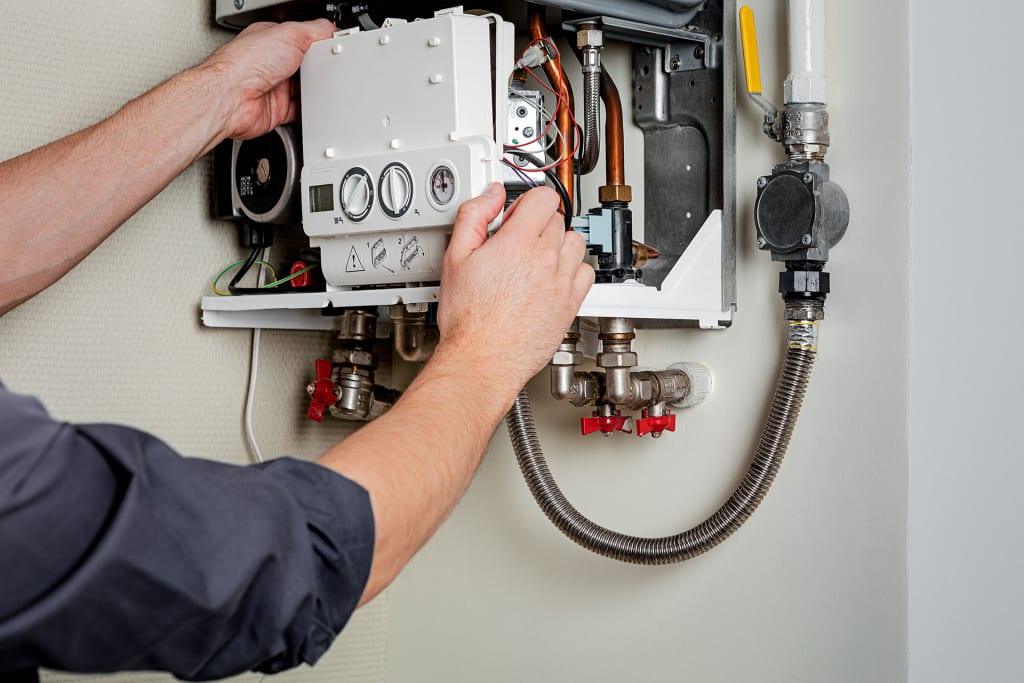
Connect the Pipes
Connect the hot and cold water supply pipes to the water heater. Use copper pipes and fittings and wrap them with Teflon tape to prevent leaks.
Install the Expansion Tank (if Required)
If required by local codes, install the expansion tank. This tank will help to regulate the pressure
About the Creator
Keep reading
More stories from Wilson David and writers in Families and other communities.
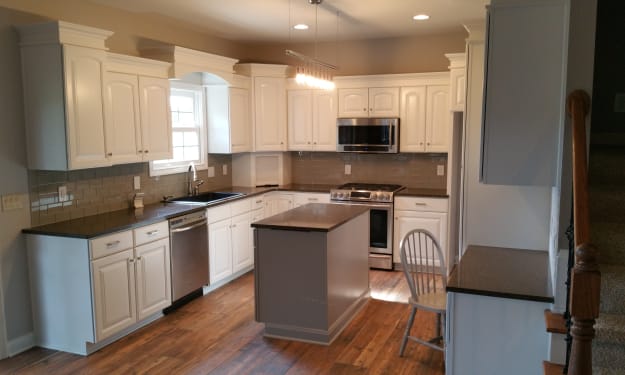
What is Cabinet Refinishing
Cabinet refinishing is a process in which existing kitchen cabinets or bathroom cabinets are repaired, revitalized, changing the color of the existing cabinet using eco-friendly, water-based and full-body finishes are done. Refinishing cabinets is not such an expensive makeover for your kitchen.
By Wilson David3 years ago in Families


Comments
There are no comments for this story
Be the first to respond and start the conversation.