
Top 5 Fishing Knots every Angler needs to know.
Learn how to tie these fishing knots.

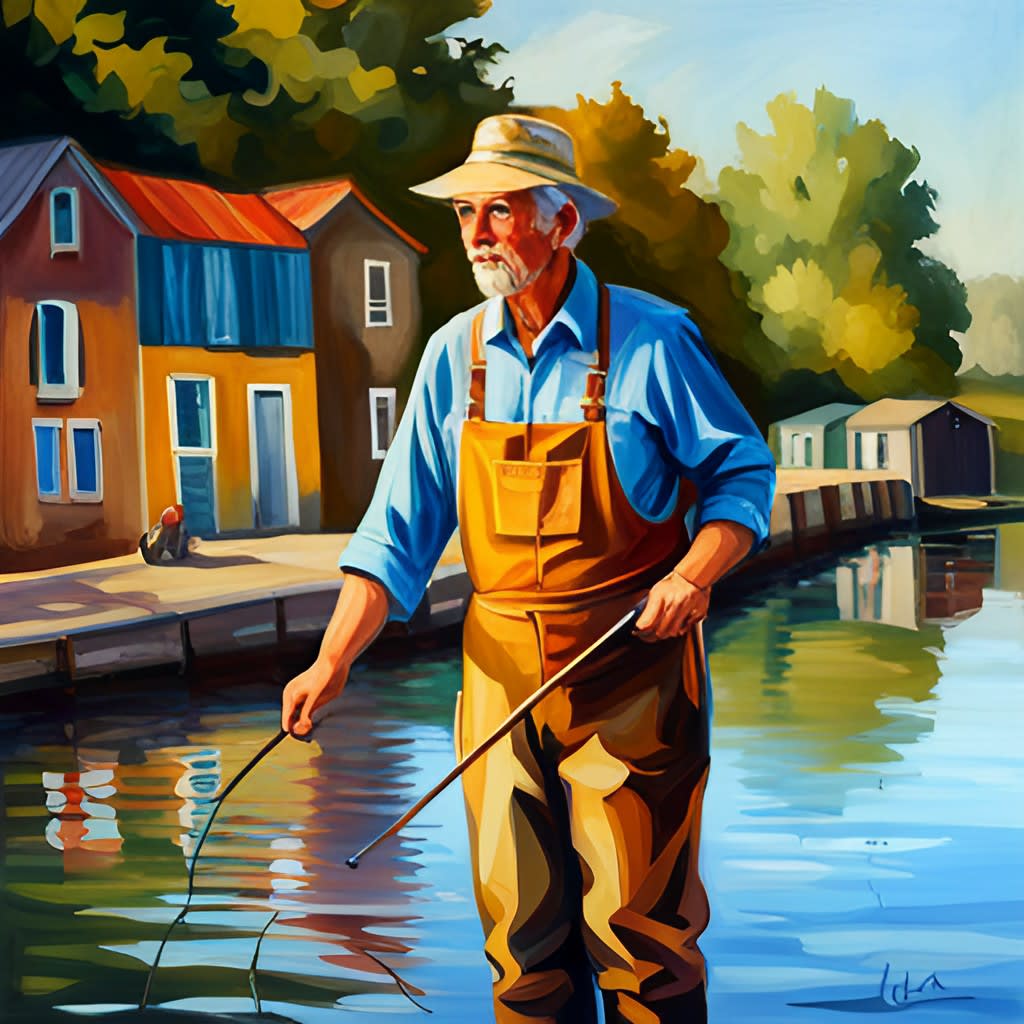
The Top 5 Fishing Knots Every Angler Should Know and How to Tie Them
Fishing knots are key to success on the water. If you're an angler, knowing the right knots makes all the difference. When it comes to fishing knots, there are hundreds to consider. Still, only a few stand out for their strength, reliability, and simplicity.
This guide narrows down the top 5 fishing knots every angler should know. It doesn't just list them; it also shows how to tie them. Whether you're a seasoned fisher or just starting, this guide is for you. These knots will boost your fishing skills, ensuring that the big one doesn't get away.
So, get your fishing gear ready. It's time to master the top fishing knots!
The Importance of Knowing Fishing Knots
Enhance Fishing Skills with Proper Knots
When it comes to fishing, knowing the right knots can make all the difference in the world. Properly tying fishing knots not only ensures that your gear stays secure, but it also enhances your fishing skills in more ways than one. In this section, we will explore the importance of knowing fishing knots and how they can take your angling experience to the next level.
1. Secure Your Tackle with Confidence
Imagine this: you've just cast your line into the water, hoping to reel in that big catch. Suddenly, you feel a tug on the line. Excitement rushes through your veins as you prepare to set the hook. But wait! Without a strong knot, your line may snap, and your opportunity to land the fish of a lifetime could slip away.
Knowing the right fishing knots allows you to secure your tackle with confidence. Whether you're attaching a hook, lure, or swivel, a strong knot will ensure that everything stays in place when you hook into a fish. By mastering the art of knot tying, you can fish with peace of mind, knowing that your gear is securely attached and ready to withstand the fight.
2. Maximize Sensitivity and Feel
Fishing is not just about luck; it's about finesse and technique. One key aspect of angling is being able to feel the slightest nibble or movement on your line. By using the proper knots, you can maximize your sensitivity and feel, enhancing your ability to detect even the most subtle bites.
A well-tied knot eliminates unnecessary slack, allowing you to maintain direct contact with your bait or lure. This direct connection enables you to feel the slightest twitch or hesitation, giving you the advantage of knowing when to set the hook. With practice, you'll become attuned to the nuances of your line, improving your overall fishing skills and increasing your chances of success.
3. Adapt to Different Situations
As an angler, you encounter a variety of fishing scenarios, each requiring a different approach. Knowing a range of fishing knots gives you the versatility to adapt to different situations. Whether you're fishing in freshwater or saltwater, targeting different species, or using various fishing techniques, having a repertoire of knots at your disposal allows you to tackle any challenge that comes your way.
Different knots excel in different situations. Some knots are ideal for attaching lines of different diameters, while others are specifically designed for securing heavy weights or facilitating quick lure changes. By expanding your knot tying skills, you can tailor your setup to suit the specific conditions you encounter, increasing your chances of success on the water.
4. Prevent Heartbreak and Lost Fish
We've all experienced that heart-wrenching moment when a fish breaks free, taking our line and hopes of a trophy catch with it. A weak or poorly tied knot often spells disaster in such situations. But fear not, for with knowledge and practice, you can minimize the risk of heartbreak and lost fish.
By learning and utilizing the most appropriate fishing knots for your specific needs, you'll greatly reduce the chances of equipment failure. A secure knot ensures that your line remains intact, even when faced with the strongest of fish. As a result, you'll have more successful hooksets, land more fish, and ultimately enjoy a more fulfilling angling experience.
Conclusion
Mastering the art of fishing knots is an essential skill for any angler. Not only does it secure your gear and increase your chances of success, but it also enhances your overall fishing skills. By investing time in learning and practicing different knots, you'll be well-prepared to tackle any fishing situation that comes your way. So, grab your line, tie those knots with confidence, and get ready to elevate your angling game to new heights.
The Palomar Knot: A Reliable and Versatile Fishing Knot
Step-by-Step Guide to Tying the Palomar Knot
If you're an angler looking to expand your fishing knot repertoire, the Palomar Knot is a must-know. Known for its reliability and versatility, this knot is suitable for a wide range of fishing situations. Whether you're a beginner or a seasoned angler, mastering the Palomar Knot will undoubtedly prove beneficial in your fishing endeavors.
Step 1: Double Over the Line
To start tying the Palomar Knot, double over the fishing line, creating a small loop.
Step 2: Insert the Loop
Next, take the loop and pass it through the eye of your hook or lure. Make sure to leave a significant length of the loop, allowing ample room for the subsequent steps.
Step 3: Tie an Overhand Knot
Now, take the loop and tie a simple overhand knot, ensuring that the hook or lure is still within the loop. Be cautious not to tighten the knot completely just yet.
Step 4: Pass the Hook Through the Loop
Gently pass the hook or lure through the loop created by the overhand knot. This step may require a bit of finesse, so take your time to ensure the loop is not tangled or twisted.
Step 5: Cinch and Tighten
With the hook or lure now through the loop, carefully tighten the knot by pulling both ends of the line. Apply even pressure on both sides to avoid any weak spots. Ensure the knot is snugly secured, but be cautious not to over-tighten, as this may weaken the line.
Congratulations! You have successfully tied the Palomar Knot. This knot is known for its strength and reliability, making it an excellent choice for various fishing scenarios. Whether you're targeting freshwater or saltwater species, this knot will hold up under pressure, providing you with the confidence you need to reel in your next big catch.
Remember, practice makes perfect. Spend some time mastering the Palomar Knot, and soon enough, you'll be tying it effortlessly, even in low-light or high-pressure situations. So, go out there, put your newfound knot-tying skills to the test, and enjoy the thrill of landing that trophy fish!
Note: The Palomar Knot can also be used for attaching lures, swivels, or snaps. Its versatility makes it an invaluable addition to any angler's arsenal.
The Improved Clinch Knot
The Improved Clinch Knot is one of the most popular and versatile fishing knots that every angler should know. This reliable knot is used to secure hooks, lures, and swivels to the fishing line. It is known for its strength and simplicity, making it a go-to choice for many anglers.
Step-by-Step Guide to Tying the Improved Clinch Knot
Start by threading the tag end of the fishing line through the eye of the hook or lure. Leave a few inches of tag end to work with.
Take the tag end and make five to six wraps around the main line. Keep the wraps tight and close together.
Insert the tag end through the small loop that has formed between the wraps and the eye of the hook or lure.
Pull the tag end gently to tighten the knot. Make sure the wraps are snug against the main line.
Trim the tag end close to the knot using a pair of scissors or nail clippers. Leave a small tag to avoid the knot slipping.
Give the knot a final pull to ensure it is secure. It should hold firm without any slippage.
The Improved Clinch Knot is reliable because the wraps provide multiple points of friction against the main line, preventing the knot from coming undone easily. This knot is suitable for monofilament, fluorocarbon, and braided fishing lines, making it versatile for various fishing conditions.
Remember, practice makes perfect when it comes to tying fishing knots. Take the time to familiarize yourself with the steps and practice tying the Improved Clinch Knot before heading out on your next fishing trip. With some repetition, you'll become proficient at tying this essential knot in no time.
So tie your knots with confidence, knowing that the Improved Clinch Knot will keep your hook, lure, or swivel securely attached to your fishing line. Happy fishing!
The Uni Knot: A Step-by-Step Guide to Tying the Essential Fishing Knot
Introduction
In the world of fishing, knowing how to tie the right knots is crucial for success. One particular knot that every angler should have in their repertoire is the Uni Knot. This versatile knot is not only easy to tie but also incredibly strong, making it suitable for a variety of fishing situations. In this section, we will provide you with a step-by-step guide on how to tie the Uni Knot, ensuring that you have the knowledge to secure your line and reel in the big catch.
Step 1: Passing the Line Through
To start tying the Uni Knot, begin by passing the line through the eye of the hook or lure. Make sure you have enough excess line to work with, as this will be used to form the knot itself.
Step 2: Creating the Loop
After passing the line through the eye, take the tag end and twist it around the standing line, creating a loop. Repeat this process by wrapping the tag end around the standing line a second time, creating a double loop.
Step 3: Wrapping the Tag End
Now, take the tag end and pass it through the double loop you just created. Ensure that the tag end goes through the loop from the side closest to the hook or lure.
Step 4: Tightening the Knot
Gently pull the tag end while holding the standing line to tighten the knot. Make sure to moisten the knot with water or saliva to reduce friction and allow for a smoother tightening process. Continue pulling until the knot is secure but not overly tight.
Step 5: Trimming the Excess
Once you have tightened the Uni Knot, trim the excess tag end close to the knot using a pair of fishing line cutters. Leaving a small amount of the tag end is recommended to provide additional security to the knot.
Why the Uni Knot?
The Uni Knot is a preferred choice among anglers for several reasons. Firstly, it has exceptional strength, ensuring that it won't slip or come undone easily. Secondly, it is versatile and can be used to attach hooks, lures, swivels, or even to join two lines together. Lastly, the Uni Knot is quick and easy to tie, saving you valuable time on the water.
Conclusion
Mastering the Uni Knot is a valuable skill for any angler, and with this step-by-step guide, you now have the knowledge to tie it confidently. Remember to practice tying the knot before heading out on your next fishing adventure. With the Uni Knot in your arsenal, you'll be well-prepared to handle various fishing scenarios and increase your chances of success.
The Blood Knot
Step-by-Step Guide to Tying the Blood Knot
The Blood Knot is a versatile fishing knot that every angler should have in their repertoire. It is commonly used to join two lines of similar diameter together, making it ideal for creating leaders or attaching tippet material. Despite its name, the Blood Knot is not as intimidating as it sounds and can be easily mastered with a little practice. In this guide, we will take you through the step-by-step process of tying the Blood Knot.
Gather your materials: To tie the Blood Knot, you will need two lines of similar diameter. Make sure they are clean and free of any tangles or twists, as this will affect the strength of the knot.
Overlap the lines: Take the two lines and overlap them, ensuring that they are parallel to each other. Leave a sufficient tag end on both lines to work with.
Create the first loop: Take the tag end of the first line and make a loop, passing it over and around the second line. Ensure that the loop is facing towards you, with the tag end pointing away.
Wrap the first line: Wrap the tag end of the first line around both lines, making a minimum of five turns. Keep the wraps tight and neat, without overlapping or crossing over each other.
Pass the tag end through the loop: Take the tag end of the first line and pass it through the loop you created in step 3. Make sure to insert it from the side facing away from you.
Repeat the process with the second line: Now, follow steps 3 to 5 with the second line. Create a loop with the tag end, wrap it around both lines, and pass it through the loop from the opposite side.
Moisten and tighten: Before tightening the knot, moisten it with saliva or water to reduce friction and ensure a secure hold. Hold the tag ends and pull both lines simultaneously, gradually tightening the knot.
Trim the tag ends: Once the Blood Knot is tightened, trim the tag ends close to the knot using a sharp pair of scissors. Be careful not to cut the main lines.
Congratulations! You have successfully tied the Blood Knot. Practice tying it a few more times to become comfortable with the process. Remember to maintain tension throughout the knot-tying process and ensure that the wraps are neat and uniform. With practice, you'll be able to tie the Blood Knot quickly and efficiently, making it an essential skill for any angler.
Now that you've mastered the Blood Knot, let's move on to our next fishing knot: the Palomar Knot. Stay tuned for our step-by-step guide on how to tie this popular and reliable knot.
The Surgeon's Knot
The Surgeon's Knot is one of the essential fishing knots that every angler should know. This knot is widely used to join two lines of equal or different diameters together. It is a reliable and straightforward knot that provides strength and durability, making it ideal for various fishing applications. In this section, we will provide a step-by-step guide on how to tie the Surgeon's Knot, ensuring that you can master this knot with ease.
Step-by-Step Guide to Tying the Surgeon's Knot
Step 1: Overlap the Lines
Take the ends of the two lines you want to join and overlap them by approximately six inches. Ensure that the lines are parallel and aligned.
Step 2: Create a Loop
Form a loop by doubling the overlapping portion of the lines. Make sure to leave a sufficient tag end to work with.
Step 3: Wrap the Loop
Hold the loop firmly between your thumb and index finger. Take the tag end and start wrapping it around both lines and through the loop. Repeat this process for a minimum of four to six wraps.
Step 4: Thread the Tag End
After completing the wraps, pass the tag end through the loop you created in Step 2. Make sure to insert it from the same side it emerged from.
Step 5: Moisten and Tighten
Before tightening the knot, moisten it with water or saliva to reduce friction. Hold the standing lines and tag end firmly, then pull them in opposite directions. Slowly tighten the knot by sliding it down to the desired position.
Step 6: Trim Excess
Once the knot is securely tightened, trim the tag end as close as possible to the knot without cutting into it. This prevents any interference while casting or reeling in your catch.
Remember to practice tying the Surgeon's Knot before heading out on your fishing trip. With time and repetition, you will become proficient in tying this knot quickly and efficiently.
Now that you have mastered the Surgeon's Knot, it's time to explore other essential fishing knots. Stay tuned for the upcoming sections, where we will cover more knots that every angler should have in their repertoire. Happy fishing!
Conclusion
In conclusion, knowing how to tie the top 5 fishing knots is essential for every angler. These knots not only ensure that your fishing line stays secure, but also increase your chances of landing that big catch. By mastering the Palomar, Improved Clinch, Uni, Blood, and Surgeon's Knot, you'll be well-prepared for a variety of fishing situations. Remember to practice tying these knots until you can do them confidently and efficiently. Additionally, regularly inspect your knots and re-tie them if necessary to prevent any potential line breakage. With these essential fishing knots in your repertoire, you'll be ready to tackle any fishing adventure with confidence and success
About the Creator
Jason Baril
Hello, everyone! My name is Jason Baril, and I'm excited to share my story with you all. attorney, I have a few passions that keep me busy - law, pickleball, technology, and writing.
Keep reading
More stories from Jason Baril and writers in Education and other communities.
Red Snapper Fishing Tips and Secrets.
Red Snapper Fishing Tips: Mastering the Art of a Successful Catch Red snapper fishing is quite the activity for many fishing enthusiasts. It's not just about the thrill of the catch; it's also about the masterful strategy that goes into it. If you're looking to up your game and reel in that big, beautiful red snapper, you're in the right place.
By Jason Baril11 months ago in Education
Explore Global Products from the USA Through International Shopping Apps
In today's interconnected world, accessing products from around the globe has never been easier, thanks to global shopping apps. These platforms have revolutionised how we shop, offering a vast array of products from various countries, including the United States. Let's delve into the world of global shopping apps and explore the benefits they offer to consumers worldwide.
By Lily James3 days ago in Education
Latest Advances in Growth Hormone Therapy in Jackson
For many years, therapy with growth hormone has been a vital therapy for those with growth hormone deficiencies. The safety and access to these treatments rise in line with advances in research and technology. This blog looks at the most recent advancements in Growth Hormone Therapy in Jackson, focusing on the benefits of methods of delivery, safety changes, and the potential for such therapies going forward.
By Farhan Mirzaabout 13 hours ago in Education


Comments
There are no comments for this story
Be the first to respond and start the conversation.