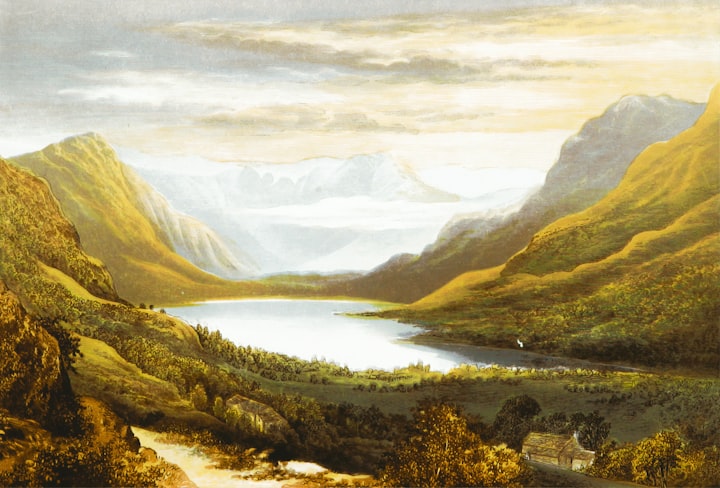
.Starting oil painting can be a fun and rewarding experience. If you're new to painting, it can also feel a bit intimidating. However, with the right tools, techniques, and approach, you can quickly learn the basics of oil painting and create beautiful works of art. In this blog, we will go over the basics of oil painting and provide tips and tricks to help you get started.
Step 1: Choose Your Tools
The first step in starting oil painting is to gather the right tools. You will need:
Oil paints
Brushes
Paint thinner or solvent
Canvas or painting surface
Palette
Easel (optional)
When choosing oil paints, look for high-quality paints with good pigmentation. This will ensure that your colors are bright and vibrant, and will make it easier to achieve the desired effect. Brushes are also an important tool for oil painting, and you will want to choose brushes that are specifically designed for oil painting. There are several different types of brushes available, including bristle brushes, synthetic brushes, and sable brushes, each with its own unique properties.
Step 2: Preparing Your Surface
Once you have your tools, the next step is to prepare your surface. Canvases are the most common painting surface for oil painting, but there are other options available, including panels and boards. If you are using a canvas, it's important to prime it with gesso before you start painting. This will prevent the oil paint from soaking into the canvas and ensure that your painting has a smooth surface.
Step 3: Understanding Color Mixing
Oil painting allows for a wide range of color mixing options, and it's important to understand the basics of color mixing before you start painting. There are three primary colors in oil painting: red, blue, and yellow. By mixing these colors in different proportions, you can create a wide range of other colors. It's also important to understand the role of white in color mixing. White can be used to lighten the color, while black can be used to darken it.
Step 4: Start Painting
Once you have your tools and surface prepared, it's time to start painting! Start with a simple sketch or composition, and then begin to add color. When adding color, it's important to start with thin, light layers and gradually build up to thicker, more intense layers. This will help to prevent the paint from becoming too thick and difficult to manipulate.
Step 5: Finishing Your Painting
Once you have finished your painting, it's important to let it dry completely before adding any finishing touches. This can take several days or even weeks, depending on the thickness of the paint. Once the paint is dry, you can varnish it to protect it and enhance the vibrancy of the colors.
Step 6: Experiment with Different Techniques
One of the great things about oil painting is that there are many different techniques and styles to explore. From traditional brushwork to more experimental techniques like palette knife painting, the possibilities are endless. Don’t be afraid to try out different techniques and see what works best for you. Experimenting with different techniques can also help you to find your own unique style.
Step 7: Study the Masters
Studying the works of famous oil painters can be a great way to learn new techniques and gain inspiration. Take the time to study the works of great artists like Rembrandt, Vermeer, Monet, and Degas, and see how they use color, light, and composition in their paintings. This can help you to develop your own skills and refine your own style.
Step 8: Paint Regularly
Practice makes perfect, and this is especially true for oil painting. The more you paint, the more you will improve your skills and develop your own style. Try to paint regularly, even if it’s just for a short time each day. This will help you to build your confidence and become more comfortable with the medium.
Step 9: Join a Painting Group
Joining a painting group can be a great way to meet other artists and learn from each other. Look for local art groups in your community, or consider joining an online painting group. This can be a great way to receive feedback on your work, share your own knowledge and skills, and get inspired by the work of other artists.
Step 10: Keep a Painting Journal
Keeping a painting journal can be a helpful tool for tracking your progress and reflecting on your work. Use your journal to record your thoughts and ideas, and to keep a record of the techniques and approaches you have tried. You can also use your journal to reflect on what you have learned and to set goals for your future paintings.
Step 11: Have Fun
Above all, remember to have fun! Oil painting should be an enjoyable and relaxing experience, so don’t get too caught up in the details. Focus on the process and enjoy the act of painting. And don’t be too hard on yourself – even the greatest artists have produced works that they’re not completely satisfied with. Embrace your mistakes and use them as opportunities to learn and grow as an artist.
In conclusion, oil painting is a wonderful hobby that can bring you a great deal of satisfaction and joy. Whether you’re just starting out or you’re an experienced painter, there’s always something new to learn and discover. Follow these tips and tricks, and you’ll be on your way to creating beautiful works of art in no time!


Comments
There are no comments for this story
Be the first to respond and start the conversation.