
How to Ensure Backward Compatibility in Legacy .NET Migration
A Practical Guide to Maintaining Backward Compatibility During Legacy .NET Migration

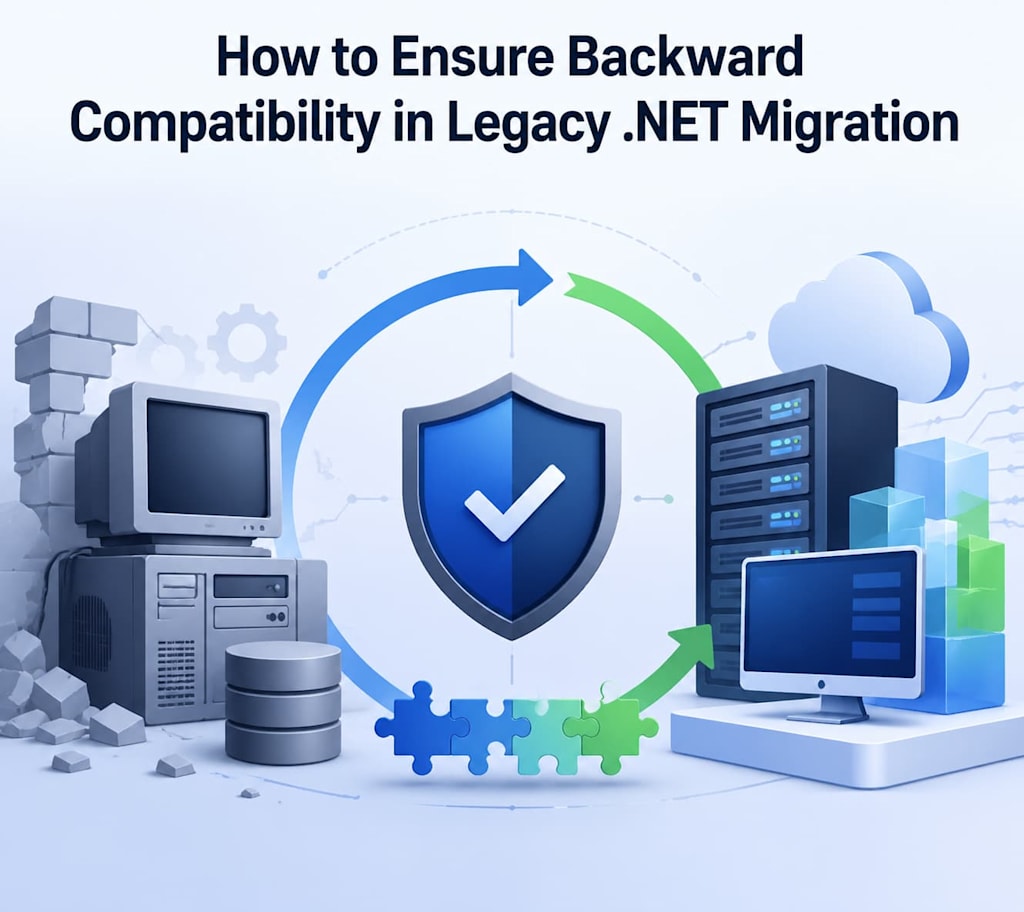
Migrating legacy .NET applications to a modern platform, such as .NET 10, is often essential for performance, security, and maintainability. However, one of the most critical challenges in this process is ensuring backward compatibility. Businesses rely on existing systems, and any disruption can affect operations, clients, and revenue. This guide outlines how to achieve a smooth migration while preserving backward compatibility in your legacy .NET applications.
Understanding Backward Compatibility in .NET
Backward compatibility means that your updated application continues to function correctly with existing data, integrations, and user expectations, even after migrating to a new framework. In the context of .NET migration, backward compatibility has several dimensions:
- API Compatibility: Existing APIs should continue to function or provide predictable alternatives.
- Data Compatibility: Databases, file formats, and serialized data should remain accessible.
- Integration Compatibility: External systems, services, or libraries interacting with your application should not break.
- Behavioral Compatibility: Core functionality, workflows, and business logic must behave consistently after migration.
In .NET 10, Microsoft has focused on performance improvements, cross-platform support, and enhanced cloud integration, while maintaining a high degree of backward compatibility. However, older .NET Framework applications, particularly those relying on Windows-only APIs or legacy libraries, often encounter challenges during migration.
Step 1: Evaluate Your Current Application
The first step is to assess your existing application to identify potential compatibility issues. A thorough evaluation includes:
Inventory of Dependencies
Document all third-party libraries, NuGet packages, and internal components. Some libraries may not yet support .NET 10 or may require updated versions.
Examine Framework Features
Identify APIs, namespaces, and platform-specific code used in your application. Legacy applications often use Windows-only features like System.Web or COM interop, which may require adaptation.
Review Data Access Patterns
Legacy applications often use older data access technologies such as ADO.NET or Entity Framework 6. Verify compatibility with modern Entity Framework Core or consider using bridging approaches.
Identify Platform-Specific Code
Check for dependencies on Windows APIs, file system paths, or registry access that may not work on cross-platform .NET 10.
This evaluation forms the foundation for a migration plan that prioritizes backward compatibility.
Step 2: Define Compatibility Goals
Not every part of your application may need to maintain backward compatibility. You should define clear goals:
- Full Backward Compatibility: Essential for mission-critical systems where any change could disrupt operations.
- Partial Compatibility: Acceptable for non-critical features or components where modernization is prioritized.
- Deprecation Strategy: Identify features that can be phased out gradually with clear migration paths for users.
Defining these goals allows you to make informed trade-offs between modernization and backward compatibility.
Step 3: Choose the Right Migration Strategy
Several migration strategies help preserve backward compatibility:
3.1. Incremental Migration
Also known as the strangler pattern, incremental migration involves replacing parts of the application step by step. For example:
- Start with non-critical modules or services.
- Expose modern APIs while keeping old endpoints functional.
- Gradually migrate core logic once supporting layers are stable.
Benefits: Reduced risk, easier testing, and controlled changes.
Consideration: Requires careful orchestration and may increase complexity in the short term.
3.2. Side-by-Side Deployment
This strategy runs legacy .NET Framework code alongside .NET 10 applications:
- Use containers or separate services for legacy modules.
- Implement a communication layer (e.g., gRPC, REST API) to bridge old and new components.
Benefits: Minimal disruption for existing users, allows gradual migration.
Consideration: Adds operational overhead and requires robust integration testing.
3.3. Automated Upgrade Tools
Microsoft provides tools such as the .NET Upgrade Assistant, which can help:
- Analyze project files and dependencies.
- Suggest necessary code changes.
- Automate repetitive tasks like package migration and project file conversion.
Benefits: Speeds up the initial migration.
Consideration: Tool-assisted migration may still require manual adjustments to ensure behavioral compatibility.
Step 4: Maintain API and Library Compatibility
APIs are the most visible aspect of backward compatibility. To ensure they continue to work:
4.1. Use Compatibility Shims
.NET 10 supports compatibility packs for older .NET Framework APIs. These shims allow your legacy code to function without major rewrites. For example:
- Microsoft.Windows.Compatibility provides access to Windows-only APIs in .NET 10.
- These packs help maintain integration with COM components, System.Drawing, or legacy file handling methods.
4.2. Preserve Public Interfaces
Avoid breaking public classes, methods, or properties that external consumers rely on. If changes are unavoidable:
- Use obsolete attributes to mark deprecated methods.
- Provide alternative APIs with clear migration instructions.
4.3. Monitor Third-Party Libraries
Ensure all NuGet packages and dependencies are compatible with .NET 10. For unsupported libraries:
- Check for forks or updated versions.
- Consider replacing them with modern equivalents.
- Wrap them in an adapter layer to prevent widespread code changes.
Step 5: Ensure Data Compatibility
Data compatibility is crucial for legacy applications:
5.1. Database Migration
- Verify that your ORM (Entity Framework Core in .NET 10) correctly maps tables, relationships, and data types.
- Maintain backward-compatible database schemas during incremental migration.
- Consider using feature toggles to support new schema features without breaking old queries.
5.2. Serialization and File Formats
- If your application persists data in serialized formats (JSON, XML, binary), ensure new versions can read old formats.
- Implement versioning in serialization to handle changes gracefully.
- Test file import/export functionality thoroughly.
5.3. Logging and Audit Data
- Preserve log formats and auditing mechanisms.
- Ensure that analytics or monitoring tools consuming this data continue to function post-migration.
Step 6: Test for Backward Compatibility
Testing is critical to ensure backward compatibility:
6.1. Unit and Integration Tests
- Update and extend existing unit tests to cover both legacy and new functionality.
- Integration tests should validate communication with external systems and legacy components.
6.2. Regression Testing
- Automated regression tests ensure that previously working features remain functional.
- Use data from production-like environments for realistic test coverage.
6.3. User Acceptance Testing (UAT)
- Engage end users to validate workflows and usability after migration.
- Collect feedback early to identify any subtle behavioral changes that automated tests may miss.
Step 7: Handle Platform-Specific Issues
Legacy .NET applications often rely on Windows-specific features. When migrating to .NET 10, consider:
- Cross-platform Alternatives: Replace Windows-only APIs with platform-agnostic solutions if possible.
- Conditional Compilation: Use compiler directives (#if WINDOWS) to maintain platform-specific behavior.
- Containerization: Run Windows-specific components in containers while migrating core logic to cross-platform .NET 10.
Step 8: Monitor and Maintain Post-Migration
Backward compatibility is not a one-time effort. After migration:
- Monitor application performance, errors, and logs for any anomalies.
- Provide support for users interacting with legacy and new features.
- Plan for incremental updates to reduce technical debt and eventually phase out legacy dependencies.
Step 9: Leverage Modern .NET 10 Features Carefully
.NET 10 offers enhancements such as:
- Improved performance and memory management
- Native cloud integration and microservices support
- Advanced C# 12 features and modern APIs
While these are tempting, introducing them too aggressively can break backward compatibility. Adopt a phased approach:
- Start with low-risk features that do not affect existing workflows.
- Gradually refactor modules to leverage modern improvements while maintaining backward compatibility.
Step 10: Document Everything
A well-documented migration ensures transparency and easier troubleshooting:
- Maintain a detailed migration plan, including compatibility goals, dependencies, and phased milestones.
- Document workarounds and shims used to maintain backward compatibility.
- Provide clear guidelines for developers on how to write backward-compatible code in .NET 10.
Conclusion
Ensuring backward compatibility during a legacy .NET migration to .NET 10 is challenging but entirely achievable with a structured approach. By evaluating your current application, defining compatibility goals, selecting the right migration strategy, preserving APIs and data formats, testing rigorously, and monitoring post-migration, organizations can modernize without disrupting existing operations.
The key is incremental, careful, and well-documented changes. While embracing the advantages of .NET 10, maintaining backward compatibility safeguards your investment, ensures business continuity, and builds confidence in the migration process.
By following these steps, teams can achieve the dual goals of legacy migration and stability, enabling outdated .NET applications to thrive in a modern, high-performance environment.
About the Creator
Chudovo
Chudovo is a custom software development company, focused on complex systems implementation.
Enjoyed the story? Support the Creator.
Subscribe for free to receive all their stories in your feed.
Comments
There are no comments for this story
Be the first to respond and start the conversation.