
How To Make A Angel For Christmas
Diy Glitter Paper Angel For Christmas | How To Make A Angel For Christmas

Angels are timeless symbols of peace, hope, and love, making them a perfect addition to your Christmas decor. Creating your own angel for Christmas is not only a delightful and rewarding craft project, but it also adds a personal touch to your holiday decorations. In this step-by-step guide, we'll walk you through the process of making a beautiful angel that will adorn your home with warmth and joy this festive season.
Materials You'll Need:
- White or cream-colored cardstock or construction paper
- Gold or silver paper or cardstock (for the wings and halo)
- Scissors
- Pencil
- Ruler
- Craft glue or glue stick
- Colored markers or pencils (for decorating the angel's face)
- Ribbon or yarn (for the angel's hair)
Optional: Decorative elements like glitter, sequins, or small beads
Step 1: Gather Your Supplies
Before diving into the craft, make sure you have all the necessary materials ready. You can find most of these items at your local craft store or even repurpose materials you have at home.
Step 2: Prepare the Angel Template
Using a pencil and ruler, draw an angel shape on a piece of cardstock or construction paper. The basic angel shape consists of a round head and a long dress-like body with arms spread out to the sides. Once you're satisfied with the design, cut it out to use it as your template.
Step 3: Trace the Template
Place the angel template on another piece of cardstock or construction paper, and carefully trace around it with a pencil. This will be the base of your angel.
Step 4: Cut Out the Angel Shape
With your scissors, cut out the angel shape along the pencil lines. Take your time to ensure clean and precise edges.
Step 5: Create the Wings and Halo
Using the gold or silver paper or cardstock, draw and cut out two angel wings and a small circle for the halo. The wings can be simple or have a more intricate design, depending on your preference.
Step 6: Decorate the Angel
Now comes the fun part - giving your angel its personality! Use colored markers or pencils to draw a sweet face on the angel. You can add rosy cheeks, bright eyes, and a gentle smile. Get creative with the hair by gluing a piece of ribbon or yarn onto the top of the angel's head. You can let the hair flow down or create a bun or ponytail.
Step 7: Attach Wings and Halo
Using craft glue or a glue stick, carefully attach the wings to the back of the angel, one on each side. Position them so they look like they are gracefully extending from the angel's shoulders. Next, attach the halo above the angel's head, slightly overlapping the hair.
Step 8: Add Embellishments (Optional)
To make your angel even more enchanting, you can add some extra embellishments. Use glitter, sequins, or small beads to decorate the angel's dress or wings. Be mindful not to overdo it; sometimes, simplicity can be just as charming.
Step 9: Let the Glue Dry
Allow your angel to dry completely before moving it or displaying it. This will ensure that all the elements are securely attached.
Step 10: Display Your Angel
Now that your handmade angel is ready, find the perfect spot to display it. You can place it on your Christmas tree, on a mantelpiece, or as a centerpiece on your dining table. Your angel will radiate warmth and add a touch of elegance to your holiday decor.
Conclusion
Making your own angel for Christmas is a delightful way to celebrate the season and embrace the spirit of giving. The joy of crafting something with your own hands and seeing it beautify your home is truly special. Whether you're crafting alone or involving your family and friends, this step-by-step guide will help you create a timeless and heartwarming symbol of Christmas. So, gather your supplies, let your creativity soar, and create a heavenly angel to bring peace and love to your festive celebrations!
About the Creator
Keep reading
More stories from MD Hashibur Rahaman and writers in Blush and other communities.
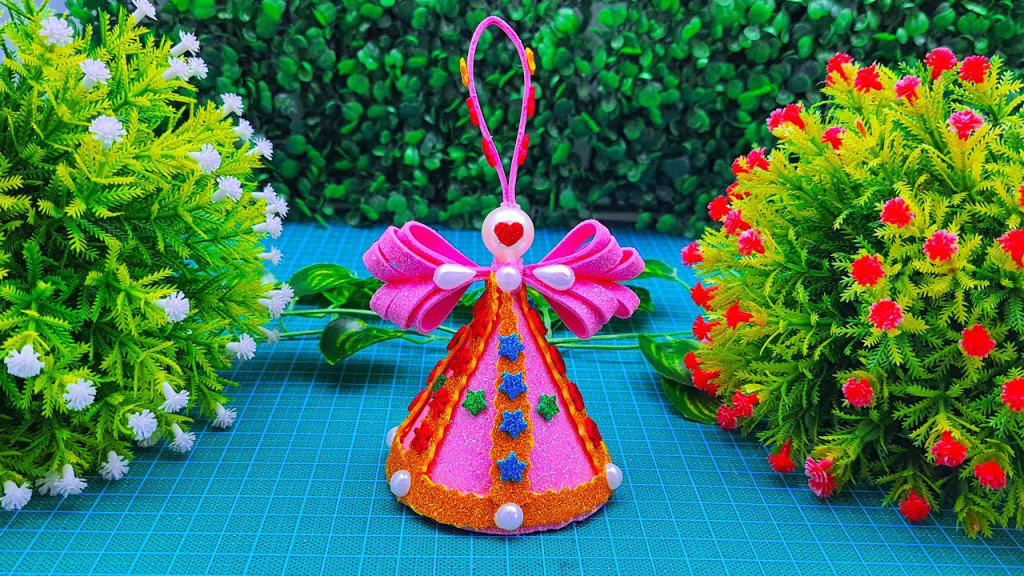
Diy Christmas Decorations With Glitter Foam Paper Angels
The holiday season is just around the corner, and what better way to get into the festive spirit than by making your own DIY Christmas decorations? In this step-by-step guide, we'll walk you through creating adorable glitter foam paper angels that will add a touch of sparkle and charm to your holiday decor. These angels are easy to make and can be a fun activity for both kids and adults. So, let's get started!
By MD Hashibur Rahaman9 months ago in Blush
The Hidden Dangers of Skin Lightening Creams on Kidney Health
On the heels of recent news reports on how keratin-based hair-straightening products containing glycolic acid derivatives led to severe kidney injury in women, researchers from Kerala have reported a series of cases wherein, the use of fairness creams has been linked to nephrotic syndrome.
By shanmuga priya6 days ago in Blush
Threads of Friendship: Weaving Bonds in a Confusing World
In the bustling city of Metropolis, where skyscrapers kissed the clouds and streets thrummed with the rhythm of life, lived two souls unaware of the connection fate held in store for them. Meet Alex and Maya—two strangers navigating the labyrinth of life, yearning for companionship amidst the chaos.
By WILLIAM DIAGO RODRIGUES7 days ago in Blush


Comments
There are no comments for this story
Be the first to respond and start the conversation.