
How to Program a Raspberry PI Using UC DAVIS C-STEMBIAN
Programming Raspberry PI

Have you ever wanted to have a pocket sized computer that you can take anywhere in the world? Do you not want to spend more than $35, but want a computer that has the speed and power? Then a good computer to buy is the Raspberry Pi 3 B+. Even though Raspberry Pi 4 recently came out in 2019, the Raspberry Pi 3 B+ is still good to use as an affordable/pocket sized computer that has unparalleled speed and power. The only issue is that in order to use this computer, you need to program and build this mini PC.
Note: These instructions are for programming the Raspberry Pi 3 B+ for normal use. If you want to load another image on an SD card for gaming, multi-media PC, etc. Then, you can follow a similar method of programming with a different SD card and program. Also, the Raspberry Pi could also be a great laptop too, but the Small Monitor Drivers take a long time to install and the monitors are low pixel, but I will still include these instructions. The URL'S will be at the end of the article.
Step #1: Download balenaEtcher. This program takes an image and programs it to an SD card. The SD card is used as the hard drive for any Raspberry Pi. If you want to have the Raspberry Pi for gaming, multi-media PC, etc; then get a big SD card with a lot of storage.
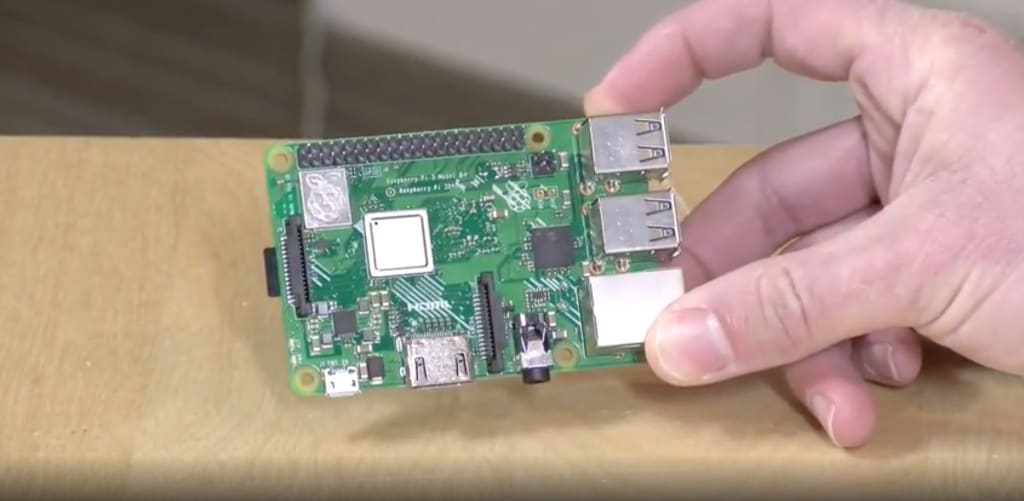
Step #2: Find an image to program. An example we will use is the C-STEMbian image provided by UC Davis. After the micro SD has been programmed successfully in balenaEtcher, insert it into the Raspberry PI laptop. By doing so, you will then need to plug the Raspberry Pi into a monitor, power source, keyboard and mouse.
Step #3: Go to the same website from step 2, where we downloaded the CSTEMBian Image from the SD card and follow the directions starting at Step #5 from the website. It will tell you to "Insert the micro SD card with the new image installed on the Raspberry Pi". Keep going on this website and follow all directions, including clicking on links to finish installing.
Step #4: Keep the HDMI to the Raspberry Pi connection on, but power down the Raspberry Pi. Put the Monitor Screen onto the Raspberry Pi while the power is off. Put the power back into the Raspberry Pi. Go to Easy Install, then click on Terminal at the top. Then Right click and Copy the CODE under Easy Install. Then Right click and Paste the CODE onto the Terminal Command Prompt black screen area. Please Pay attention, it will ask you questions, type Y for yes, then enter. This may take a few tries to set up so don't worry too much if there is no image being displayed on the mini monitor.
STEP #5: If you don't have the Raspberry 3.5 mini monitor, this won't necessarily apply, but it is good to learn for future use. After everything is completed and the 3.5 mini screen is working, Open up the terminal on the Raspberry Pi and type below to change from HDMI to small screen
1. cd UCTRONICS_LCD35_RPI
2. sudo ./UCTRONICS_LCD_hdmi
Or if changing from HDMI to small screen, type below and hit enter:
1. cd UCTRONICS_LCD35_RPI
2. sudo ./UCTRONICS_LCD35_install
If these 5 steps are followed correctly, your knowledge on programming and technology will grow and the money saved will be extraordinary. The website used were ( 1. https://www.balena.io/etcher/ ), (2. http://c-stembian.org/download/ ), and (3. https://github.com/UCTRONICS/ UCTRONICS_LCD35_RPI/). So, Good luck and have fun!
About the Creator
Rani Lozano
Follow my Instagram @writer_rl for more updates on stories I write!
Keep reading
More stories from Rani Lozano and writers in 01 and other communities.
Andrew Yang Wants to Put Money in Your Bank
Are you a kid that is gonna be turning or is already 18 years old? Do you young adults want 1,000 dollars to do anything you want! Well, Democratic Candidate/Entrepreneur Andrew Yang does. He wants you to become rich with the advocated policy “Universal Basic Income”. The Universal Basic Income policy wasn’t his idea in the first place. Explained in “Democratic Candidate Andrew Yang Wants To Make You $12,000 Richer” by Mike Prevatt, Universal Basic Income is a policy where everyone in a society gets a certain amount of money to do whatever you want to meet your basic needs,'' he explained, "And my plan—The Freedom Dividend—would put $1,000 a month into the hands of every American adult starting at age 18." As he is currently a democratic candidate, if he pulls through to becoming the nominated president, how would the Universal Basic Income policy thrive.
By Rani Lozano5 years ago in The Swamp
API Management 101: What It Is and Why Your Business Needs It
Technology drives efficiency, innovation, and development in today's corporate world. APIs are a crucial component of modern technology. APIs enable software programs to communicate and interact seamlessly. However, with the proliferation of APIs comes the need for effective management. Enter API management—a crucial component for businesses looking to leverage the full potential of APIs while ensuring security, scalability, and control.
By Pankaj Kumbhar3 days ago in 01


Comments
There are no comments for this story
Be the first to respond and start the conversation.