

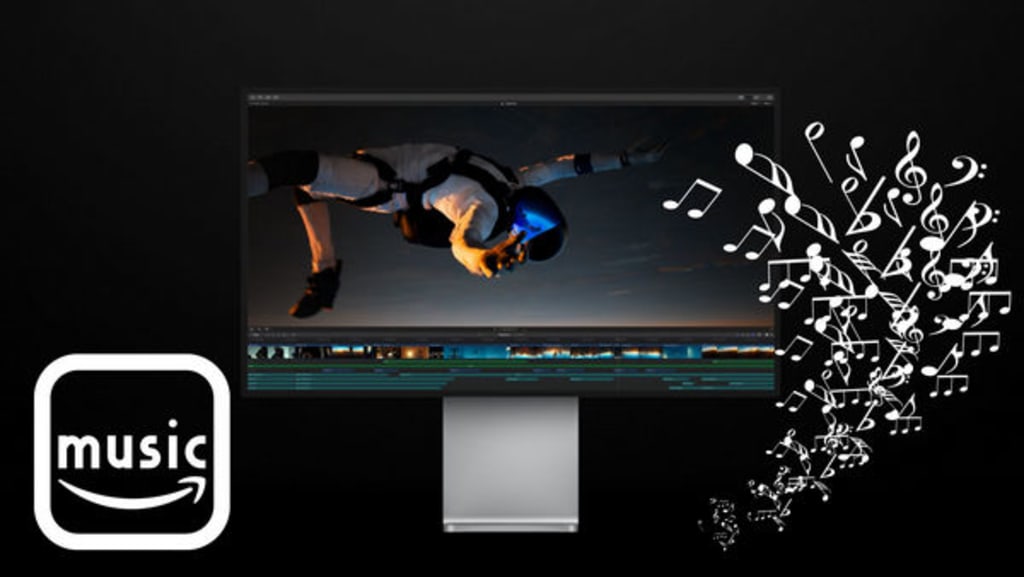
As any video editor knows, music can be a powerful tool for setting the tone and mood of a video. It can also help to engage viewers and keep them watching until the end. Adding music to your Final Cut Pro video editor is easy, even for beginners. You can add music directly from the online Apple Music store, import local audio files from your computer, or record your own voice using the built-in microphone.
However, adding Amazon Music to Final Cut Pro can be a tricky business, as the popular streaming music service is only available to media players. If we remove all DRM limitations, though, things will be much easier. With a DRM-free Amazon Music file, you can add it to Final Cut Pro as background music for your video project. This will give you more flexibility and control over the music in your video, and allow you to create a professional-quality video that you can be proud of.
Part 1. Download Songs from Amazon Music
Part 2. Add Amazon Music to Final Cut Pro
Part 1. Download Songs from Amazon Music
Since Amazon Music songs are encrypted in a unique encoded tech, you cannot download them to computer as local files. But currently, you can get MP3s from Amazon digital store, or, extract MP3s from Amazon Music by using TuneBoto Amazon Music Converter.
The latter solution is the best and most economical one to get Amazon Music offline and transfer to Final Cut Pro. As the flagship product on TuneBoto, this Amazon Music recorder allows converting any Amazon Music songs, playlists, or podcasts to MP3/AAC/FLAC/WAV/AIFF/ALAC plain music format with no need to install any extra apps.
Next, we will show you a simple way to download Amazon Music to Final Cut Pro for video editing. And here you will need: an Amazon Music Unlimited or Prime Music account, TuneBoto Amazon Music Converter, and a computer.
STEP 1 Launch TuneBoto on the Computer
Double-click to open the downloaded TuneBoto on the computer. After running, you will see two pages pop up, one is the operation page of TuneBoto, and the other is the Amazon music web player. Select the Amazon Music web player and follow the instructions to log in to your Amazon Music account.
STEP 2 Customize Output Settings
After logging in to your Amazon Music account, you don't need to close the web player. Go directly to the operation page of TuneBoto. Select the "Settings" section in the lower left corner, and you can see that there are many output parameters to choose from, including output format, bit rate, sample rate, output file name, output folder, etc. Adjust them to your needs.
*Tips: If you choose "AUTO" as the output format, TuneBoto Amazon Music Converter will convert music into its original format.
STEP 3 Select Amazon Songs/Playlists/Albums/Podcasts
Once setup is complete, you can go back to the Amazon Music web player and start selecting the song or album you want to download. Open an Amazon album, artist, or podcast, and tap the blue "Click to add" button suspended on the right side, and the program will list all songs immediately. Now all you need is to select the songs you want to convert and then click "Add" button. If you want to avoid downloading songs repeatedly, you can turn on the "Filter Converted" button.
STEP 4 Start Conversion
If you need to convert multiple playlists at once, click the "Add" button or select the Amazon Music web player on the screen. Then browse other songs or playlists you want to add. Click on the "Click to add" button and pick more songs as you do in the previous step. After adding all your target songs, click the "Convert" button to start downloading songs. You can see the progress bar on the interface.
STEP 5 Check Downloaded Songs
After the download is complete, you can see the downloaded songs in the "Converted" section. You can also open the output folder by clicking the Folder icon behind the song or just double-click the item to play within the TuneBoto program.
Part 2. Add Downloaded Amazon Music to Final Cut Pro
In this part, we will show you how to add Amazon Music to Final Cut Pro.
STEP 1 Navigate to and click on "File" in the toolbar at the top of your Final Cut Pro session.
STEP 2 Point to "Import" and select "Media" option.
STEP 3 Locate the downloaded Amazon music file and click on the "Import Selected" button.
STEP 4 Move your music file by clicking and dragging it to a blank area in your Sequence within the Timeline where you want the music to play during your video.
In this tutorial, we’ve showed you the best method to import Amazon Music to Final Cut Pro as background music. Once you have downloaded the Amazon Music to local computer, you can not only add them to your Final Cut Pro, but also trnasfer Amazon music to MP3 player, Smart Watch or DJ software for offline listening without any limits. TuneBoto Amazon Music Converter will provide the best solution for downloading Amazon music. Now, give it a shot!
About the Creator
Manchester City vs Liverpool: A Premier League Clash for the Ages
Manchester City vs Liverpool: A Premier League Clash for the Ages The Premier League is a breeding ground for fierce rivalries, but none quite capture the imagination like the battle between Manchester City and Liverpool. These two titans of English football met in the 2023-24 season in a match that lived up to its billing, brimming with tactical brilliance, individual moments of magic, and heart-stopping tension.
By Anthony Moriyam 5 days ago in 01
The Life Cycle of Hybrid App Development
In the ever-evolving world of mobile applications, hybrid app development has carved out a significant niche. It combines the best of both native and web technologies, providing a flexible and efficient approach to app development. This blog post will walk you through the life cycle of hybrid app development, offering insights into each phase and highlighting the importance of Hybrid Mobile App Development Frameworks.
By Liara Jonny2 days ago in 01


Comments
There are no comments for this story
Be the first to respond and start the conversation.