
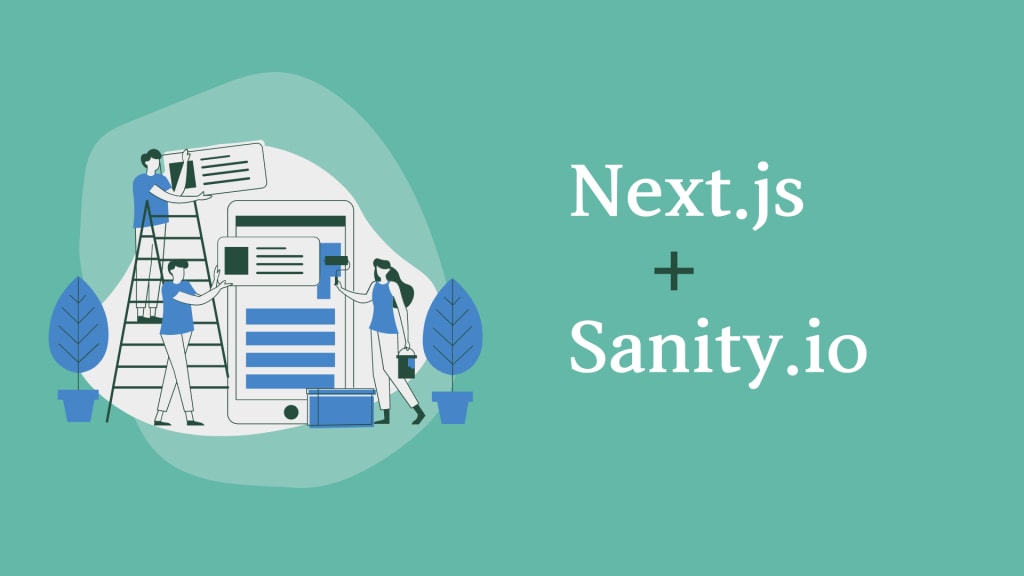
Build A Blog With Sanity.io And Next.js
Learn to create a blog with Sanity.io and Next.js in an effortless way

Introduction
Next.js is a react framework for making front-end applications, and Sanity.io is a headless CMS. This article aims to provide basic information to create a blog with these two technologies as simple as possible. We won't make a fully-fledged blog here; we only walk through the required configuration to create blog posts with Sanity.io and render those blogs in the front-end applications created using Next.js.
Create account
The first thing to do is if you don't have an account at Sanity.io, then create one. Sanity.io provides different plans for starting a project on its platform. For this demo, we go with a free program. After making the account, the next step is to create a project. To creating a new project, we must set up the Sanity studio locally. Using the terminal, navigate to the folder where you want to have the project copy the below command and run it.
npm install -g @sanity/cli && sanity init
This command is doing two things: first, installs the sanity command-line tool globally, and second, initializing a new sanity project. During initializing the project, you would be asked to provide a project name, choose schema and dataset. While asking schema choose blog schema since we are creating a blog. After completing the installation, another command sanity start will work locally up the sanity studio on the URL http://localhost:3333.
Create Post
Login to sanity studio using the credentials used for creating an account at Sanity.io. Since we have chosen blog schema during installation, we would have options to create a post, author, and category on the top left-most in sanity studio. There would be a button for making a new post. Click that button, and a new tab will pop over and ask you to fill in the title, slug( for identifying your blog uniquely), main image, and body likewise, fill all the required information and then publish the blog.
Create Next application
npx create-next-app
While executing the above command, we would produce the next app boilerplate. In that boilerplate, you could see a folder named pages inside that create another folder name it as post and create a file called [slug].js inside the newly created post folder. The folder structure would be like pages > post > [slug].js
By copying the above snippet of code into [slug].js, we have completed the configuration to render the Sanity.io post in a Next.js application. The async function getServerSideProps retrieves the page path and fetches the corresponding data from the Sanity.io dataset. The page path should be the same as the slug value we have given while creating the post at sanity studio, so if the slug for a given post is "first-post" then its path would http://localhost:3000/post/first-post. You have to replace [YOUR-PROJECTID] and [YOUR-DATASET-NAME] with your corresponding project-id and dataset on fetching API URL.
Conclusion
Thank you for reading. I hope you have found this helpful and feel a bit better about creating a blog using Next.js and Sanity.io.
About the Creator
Krishnanunny H
Software Developer & Blogger
Keep reading
More stories from Krishnanunny H and writers in 01 and other communities.
Dynamic Routing & Dynamic Import
Dynamic Routing Dynamic Routing means we don’t want to specify static routes for the pages; it would be dynamically generated using data from API or other means. Consider you build a portfolio site it might have pages like about, contact, and home page we required to define routes for each page statically. Still, in the case of a blog, there would be a home page, category page, and detailed page for each post; this detailed page cannot be defined with a static router because there could find hundreds of blogs post, and it is not possible to define separate router for each post. We use a dynamic router for each post in this situation, and then a router is generated on run time for each post.
By Krishnanunny H3 years ago in 01
Pioneering Digital Solutions: Transforming The Future
Pioneering digital solutions refer to innovative approaches, technologies, or strategies aimed at addressing various challenges or opportunities in the digital realm. These solutions often involve making or using new technologies. They use creative ideas or new methods. They solve problems or improve processes in fields like business, healthcare, and education.
By Bit Code Solutionabout 6 hours ago in 01
Generative AI Revolution – Unleashing The Future Of Artificial Intelligence
Generative AI is a key part of the “Generative AI Revolution.” It refers to AI systems that can create new content, images, or even complete stories on their own. This differs from traditional AI. Its primary focus is on tasks like sorting or predicting from existing data. Generative AI introduces a big change. It lets machines create original content. This has led to advances in fields like content creation, art, and drug discovery.
By Bit Code Solution3 days ago in 01


Comments
There are no comments for this story
Be the first to respond and start the conversation.