
Be Pro in Netgear Extender Setup in Minutes
Netgear Extender Setup

Netgear Wireless Extender is a well-wisher for the person who is facing network connectivity issues in some corners for their house or workplace. With the Netgear extender setup, a user can almost cover every corner of their house with a reliable and strong wireless network.
It fixes the problems people face due to network blind spots and poor connectivity areas. It keeps your smartphones and computers connected to a stable network system.
How to Set Up Netgear WiFi Extender?
There are three handy methods to set up the Netgear wireless range extender. They are:
- Ethernet cable setup method
- Wireless protected setup (WPS) method
- Manual method
Netgear Extender Setup: Ethernet Cable
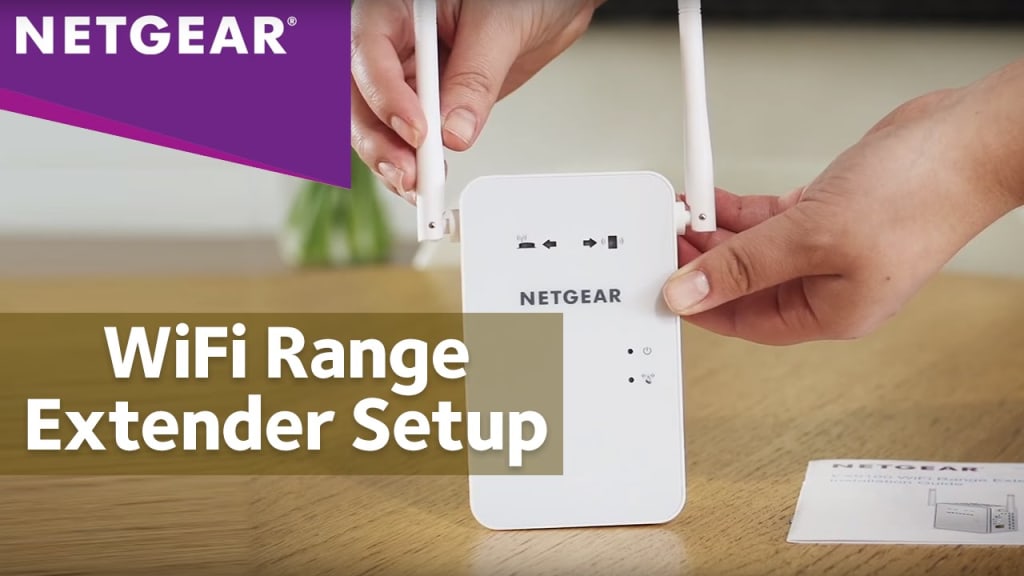
- Carefully unbox the Netgear WiFi range extender from the box.
- Place the Netgear WiFi range extender near to your home WiFi router.
- Plug it into a power outlet and wait for 2-3 minutes, let the power LED turns into solid green.
- Now, try to connect your WiFi extender to your home WiFi router.
- Turn on your home WiFi router.
- The router is to be connected to your computer via an Ethernet cable.
- Turn on your computer and try to connect it to your home WiFi router.
- Run any web browser on your computer.
- Visit mywifiext local or mywifiext.net web page.
- You will be automatically redirected to the Netgear extender setup page.
- Enter the default Netgear extender login credentials, and then click on the ‘Log In’ button.
- Follow the on-screen instructions to set up your Netgear extender.
- Once the Netgear WiFi extender setup gets completed, hit on the ‘Save’ button to apply the changes.
- Now, unplug your WiFi extender and place it to a new location.
- Connect your computer to the extended network to test Internet connectivity.
- For that press Windows+ R.
- Next, type the ‘CMD’.
- Click on the ‘OK’ button.
- Type 'Ping Google.com'.
- Press the ‘Enter’ key.
- If Google server responds you back, congrats you have successfully set up your WiFi range extender.
Netgear Extender Setup: WPS Method
- Place the Netgear WiFi range extender near to your home WiFi router.
- Plug it into a power outlet and wait for 2-3 minutes, let the power LED turns into solid green.
- Turn on your home WiFi router.
- Press the WPS button present either the side or back panel of the device.
- You have to wait till your router and Wifi extender is in sync with each other.
- Once synced, the WPS LED on your extender device emits a green LED.
- Try to connect your computer to the Netgear WiFi extender network to verify the Internet connection.
Netgear Extender Setup: Manual Method
- The Netgear WiFi range extender must be turned on.
- Your router to the computer must be connected to your computer.
- Both of your WiFi router and computer must be turned on.
- Open any web browser and visit ‘mywifiext net’ or ‘mywifiext local’ web page.
- You are directed to the WiFi extender login page.
- Enter Netgear extender credentials, and then hit on the ‘Log In’ button.
- Follow the on-screen instructions.
- After that, click on the Save button to apply the changes.
- Try connecting your computer to your WiFi range extender's network in order to test the Internet connection.
We hope that now you come to know about how to setup Netgear WiFi extender. If you still a few queries in mind, get in touch with us.
About the Creator
Keep reading
More stories from writers in 01 and other communities.
Magento Payment Gateway Integration
Presentation: Within the endless scene of e-commerce stages, Magento stands tall as one of the foremost flexible and customizable arrangements. One pivotal angle of running a effective online store is consistent installment preparing. Among the plenty of installment door integration arrangements accessible, Milople offers a one of a kind approach custom fitted to Magento dealers. In this web journal, we'll dig into the complexities of Magento Payment Gateway Integration by Milople, investigating its special highlights and benefits.
By James Brooksabout 7 hours ago in 01
The Unsung Hero of Road Safety: Traffic Management Attenuators (TMA)
However, there is another unsung hero in the realm of traffic safety—the Traffic Management Attenuator (TMA). These unassuming devices play a critical role in protecting road workers and motorists from severe accidents and injuries, especially in construction zones and emergency response areas. In this blog, we explore what TMAs are, how they work, and why they're so vital for road safety.
By barleys Traffic3 days ago in 01


Comments
There are no comments for this story
Be the first to respond and start the conversation.