
How I Made the Midsommar Dress
Becoming Ari Aster's Infamous May Queen


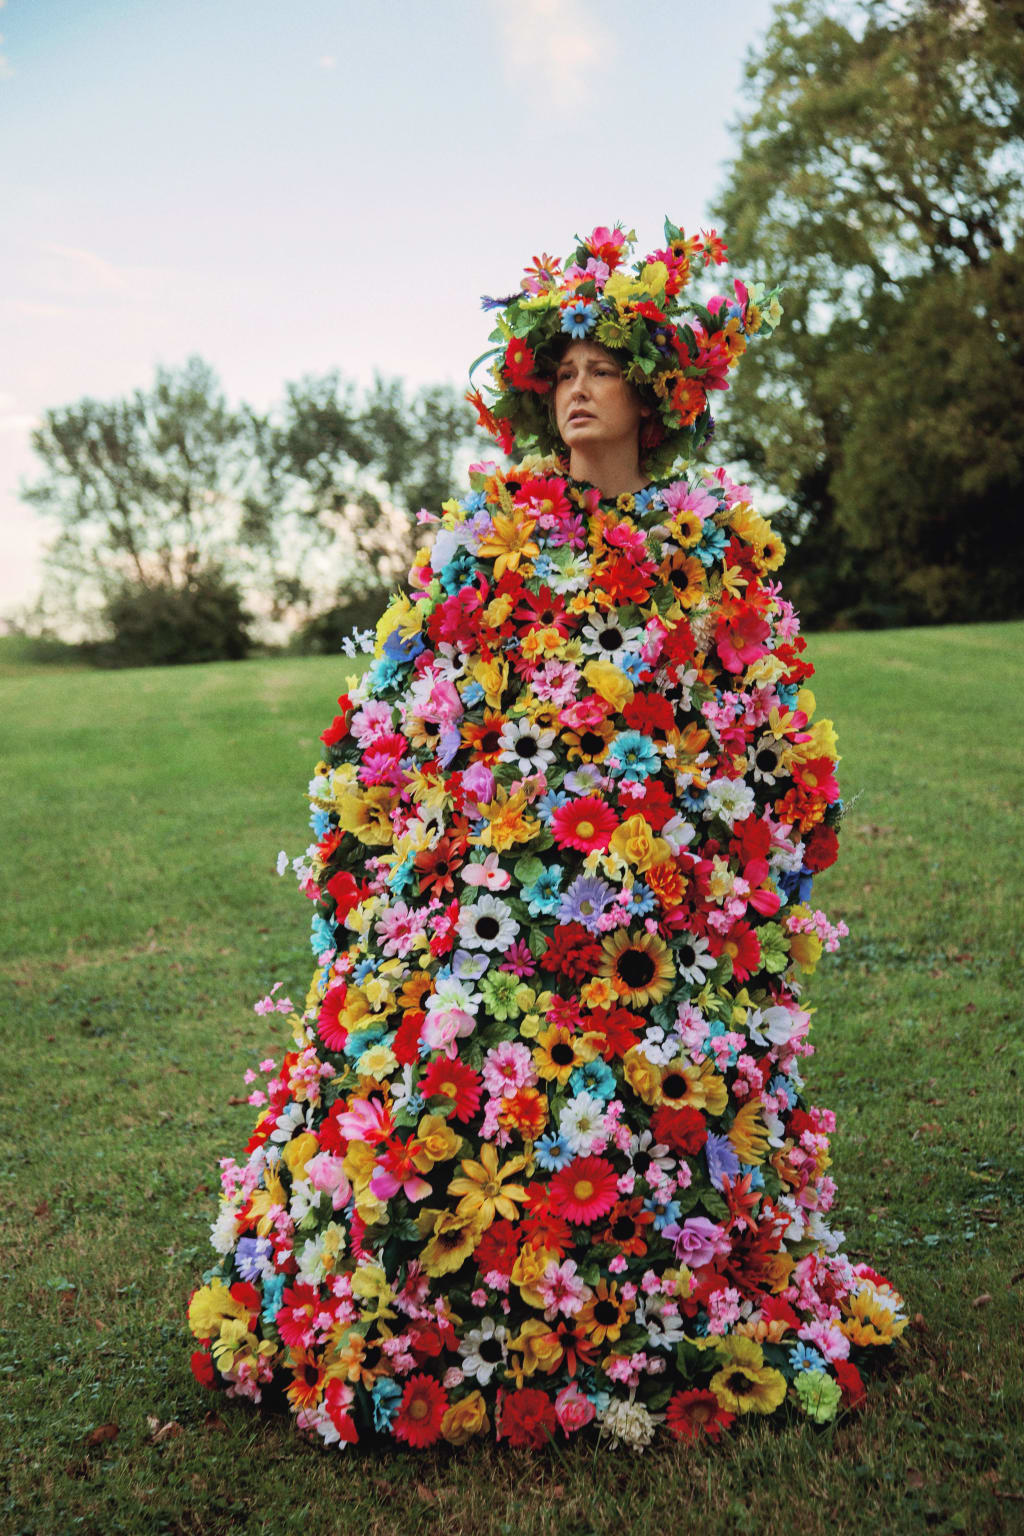
For Halloween, I love to go ALL OUT. This costume was no exception.
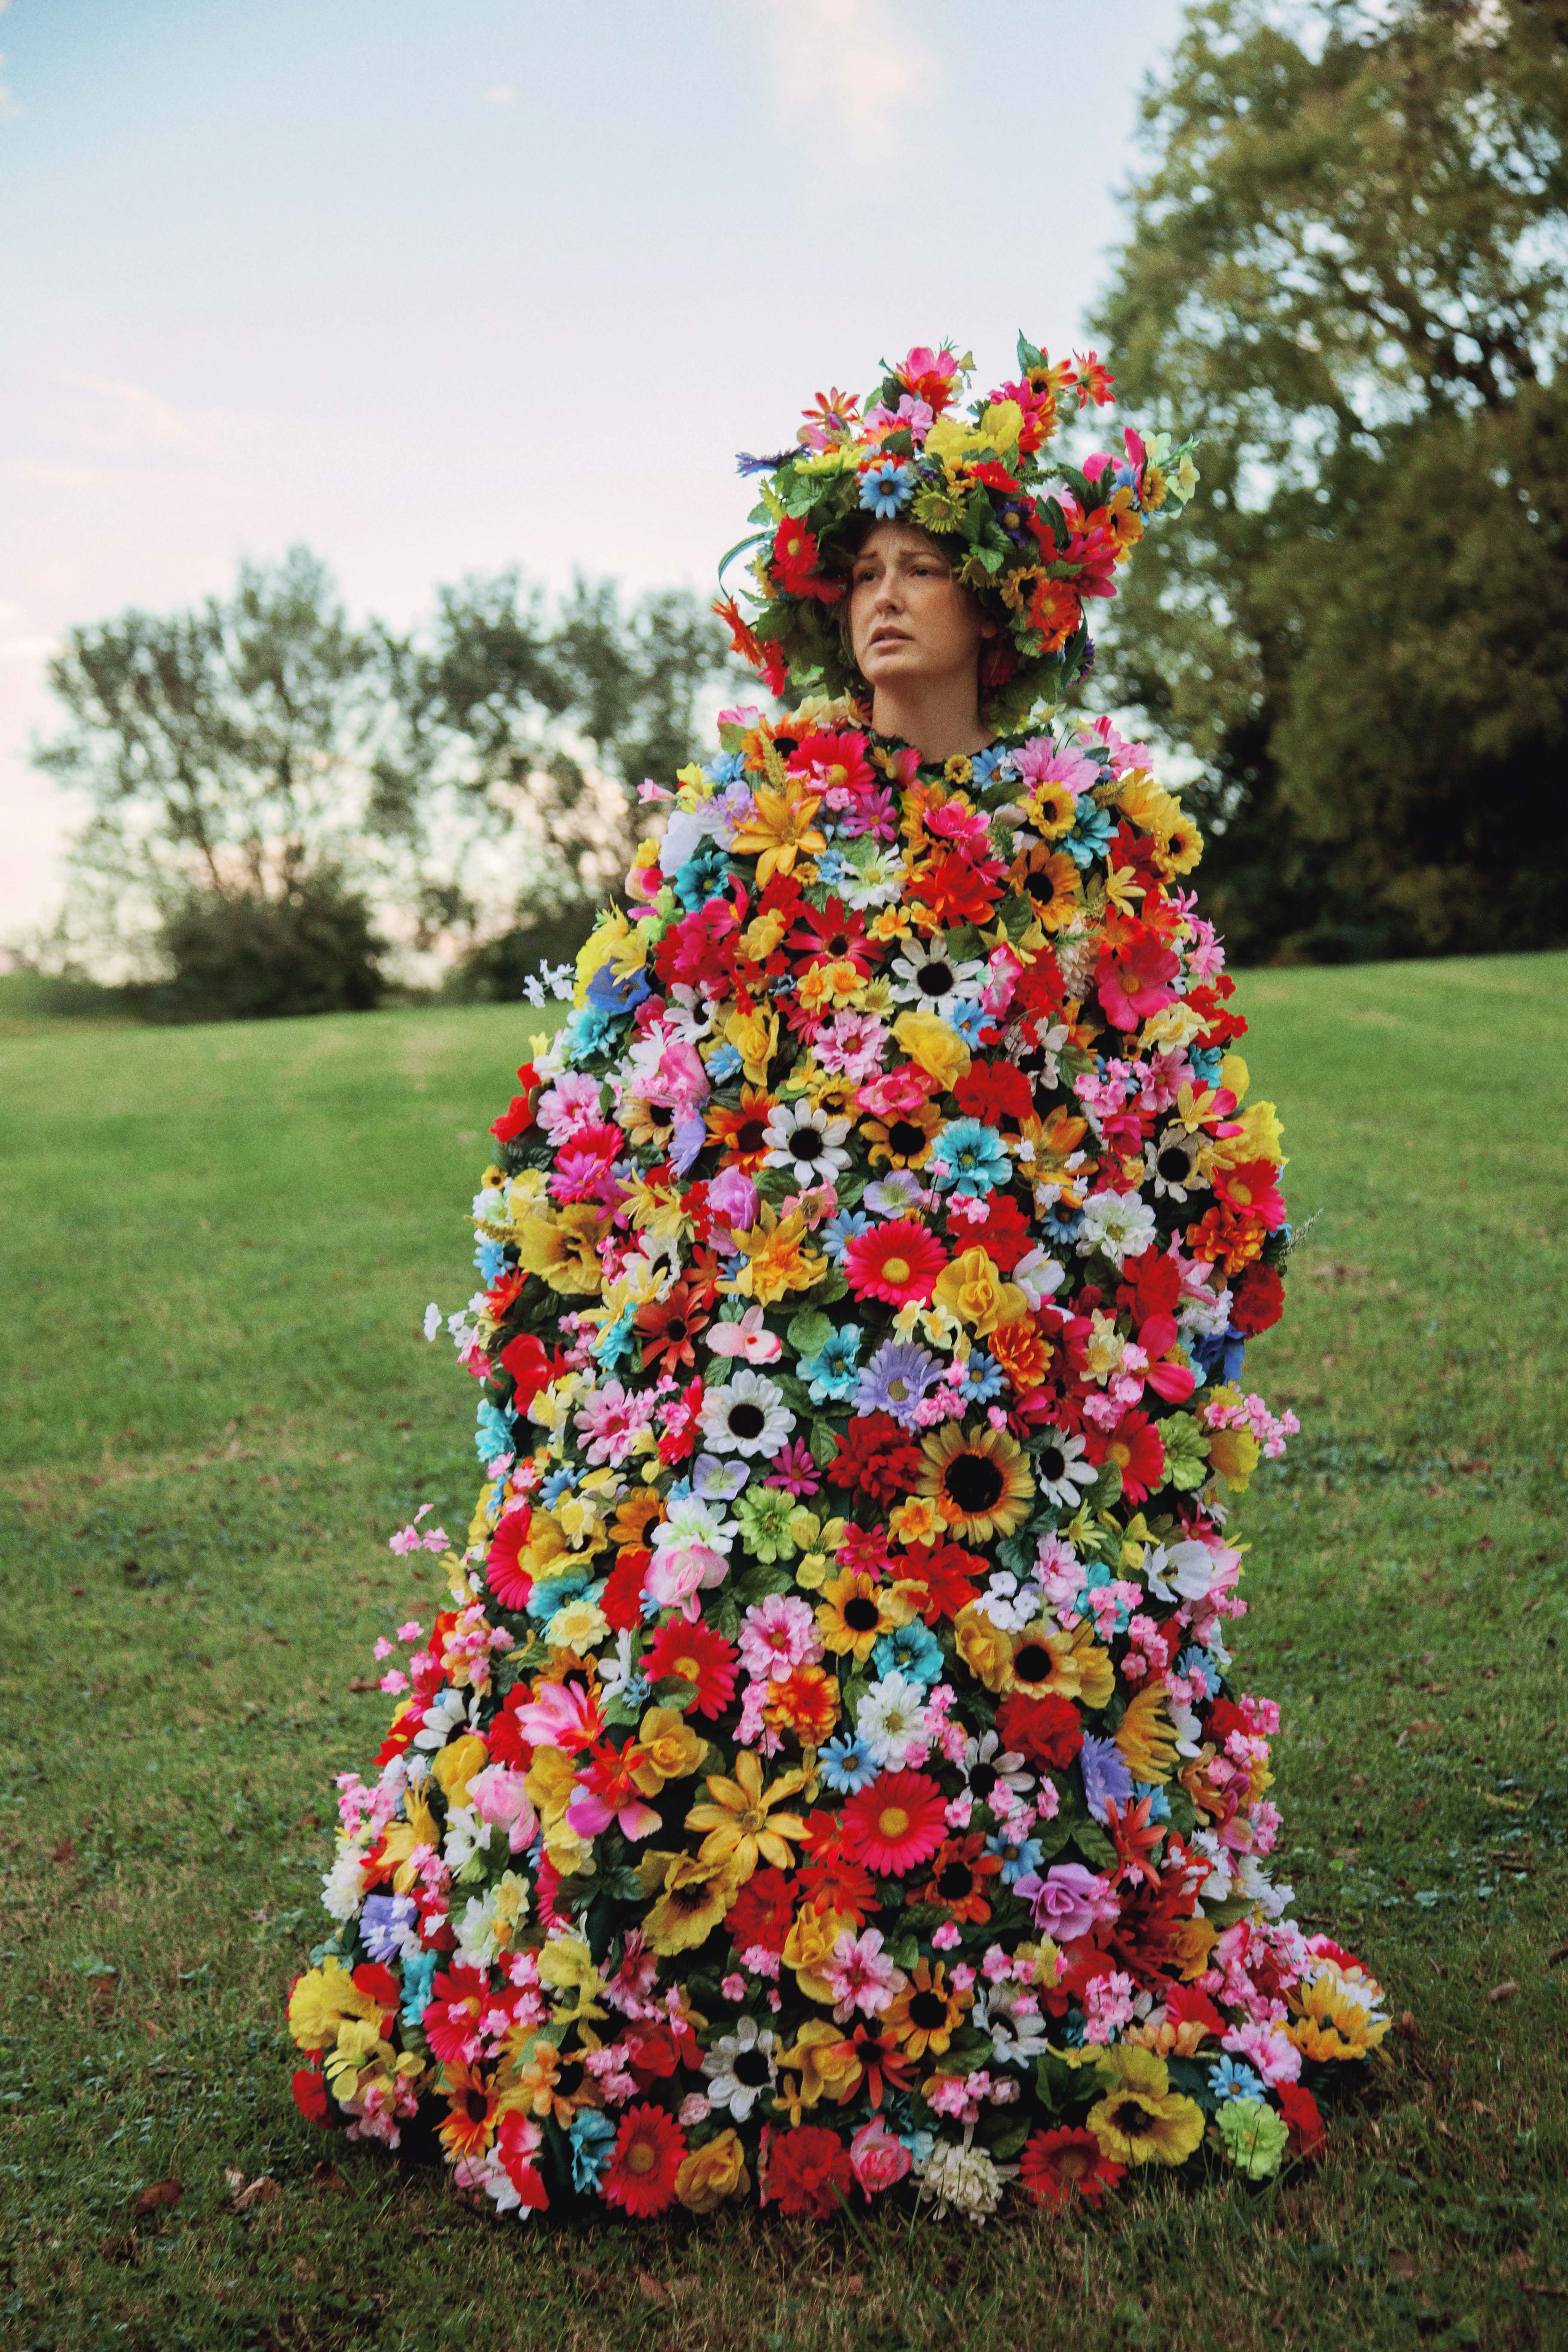
I wanted to make the Midsommar May Queen dress from the moment I saw Ari Aster's film in all of it's psychedelic, horrific glory. I'm no stranger to making costumes and playing dress-up, but I knew this would be a serious undertaking. Most of my costume skills involve hot glue, and seeing as I sewed through my finger in Home Ec class during high school, I had to call on my mom for help to get started.
We began with the base - around 4 yards of sturdy, dark green duck canvas. I wanted it to fit sort of like a cape with arm holes, so we cut two slices on either side and fastened the front with Velcro for an easy open and close. My mom helped me sew this part up with her trusty Singer machine, so I really can't take credit for the structure. She made sure it was wider on the bottom with enough room for a hoop skirt to really get that blooming, expansive effect from the movie.
Once the base was completed, it was time to gather the rest of the supplies. I needed a crown, so I went to JoAnn Fabric for a small, styrofoam wreath form. I also got some long, skinny wooden sticks while I was there to complete the headpiece. I knew I'd need a LOT of fake flowers, so instead of forking out several thousand for them at JoAnn or Michael's, I went to the Dollar Tree and got about a hundred bunches for $1 each. I ended up having to go back for a second, third and even fourth round, but it was still less expensive than getting them from a bigger chain store. I also grabbed a bunch of hot glue sticks, which I ended up having to go back several times for as well. I think I went through like 500 glue sticks.
The most tedious part? The fake flowers. Fake flowers and their leaves have these little plastic pieces on the bottom that have to individually be taken off one by one, and so before I even put hot glue gun to fabric, I was spending hours and hours just removing these little pieces so my greenery would be flat enough to glue a leaflike base. This took SO LONG and my fingers were sore every single day of making this. Worth it? Yes. But wow.
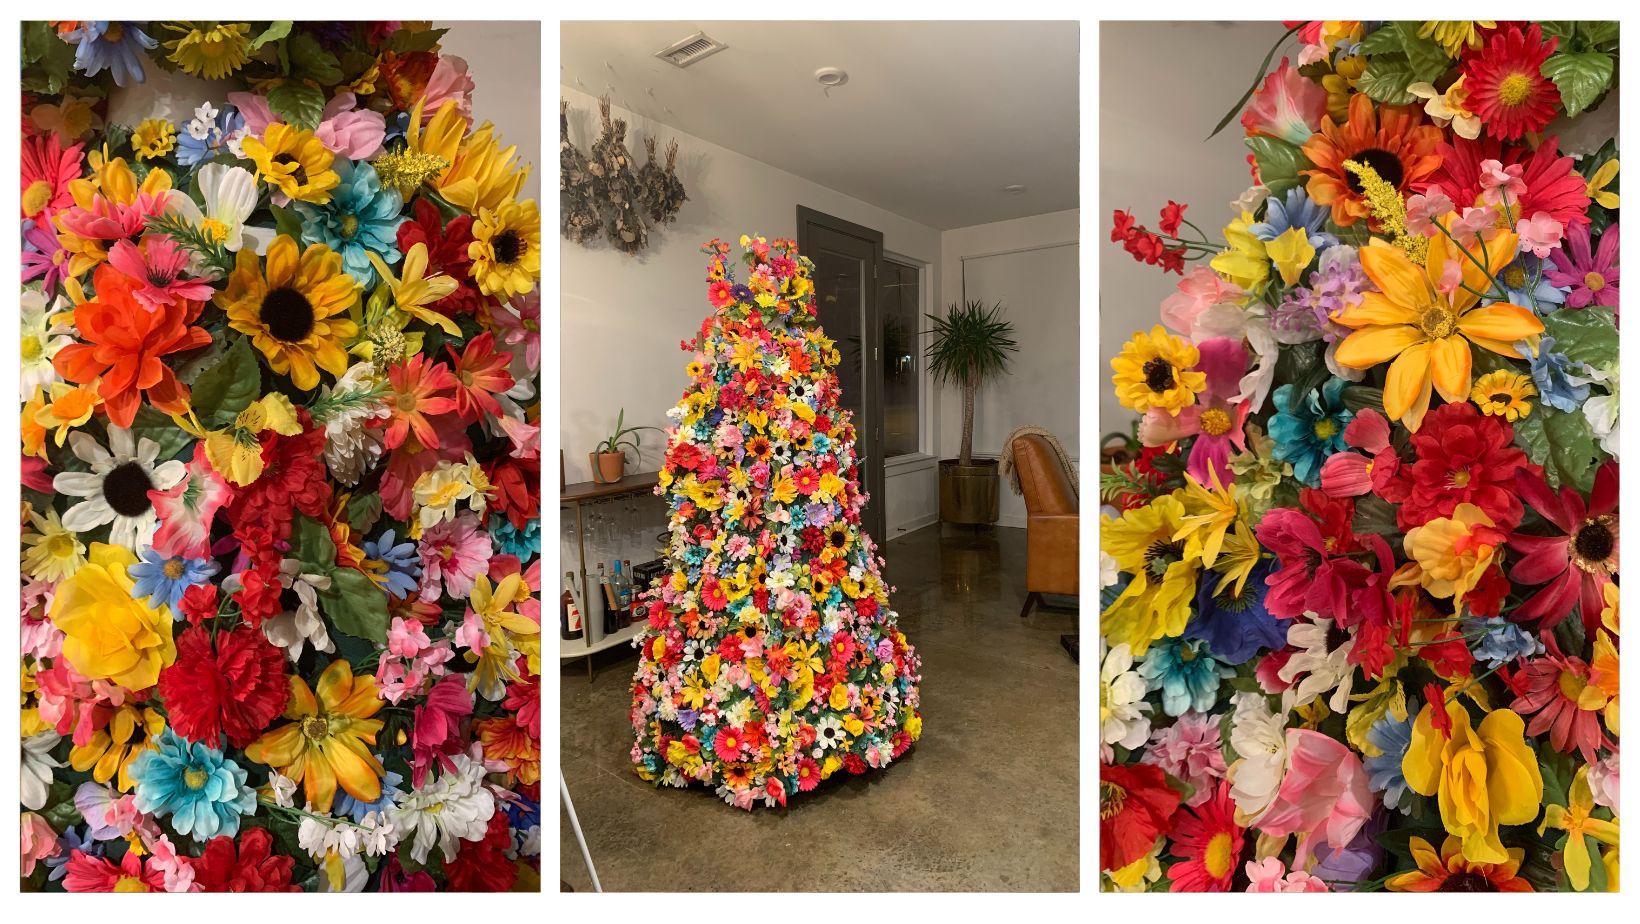
I set it up on a mannequin to create for the whole process. It was much easier this way than trying to lay it down flat. Once I started gluing the greenery and had a solid base covering, I realized I could begin to add more flourish. This is when I started to keep some of the plastic pieces on the flowers, because there was enough on the first layer to hold the shape. Hours and hours and lots of hot glue burns later, the dress was really coming along! I had finished my crown first, and gluing the flowers to the long sticks was honestly really painful. I was basically holding hot glue together with my fingers to get the flowers stay in place on the crown. The dress came along in a similar fashion, pinching the flowers to the duck canvas through the other side so that it would hold and stay. My biggest worry was that the flowers would fall off but, surprisingly, hot glue really works. Since it's creation I've had maybe 10 flowers fall off which is not bad at all!
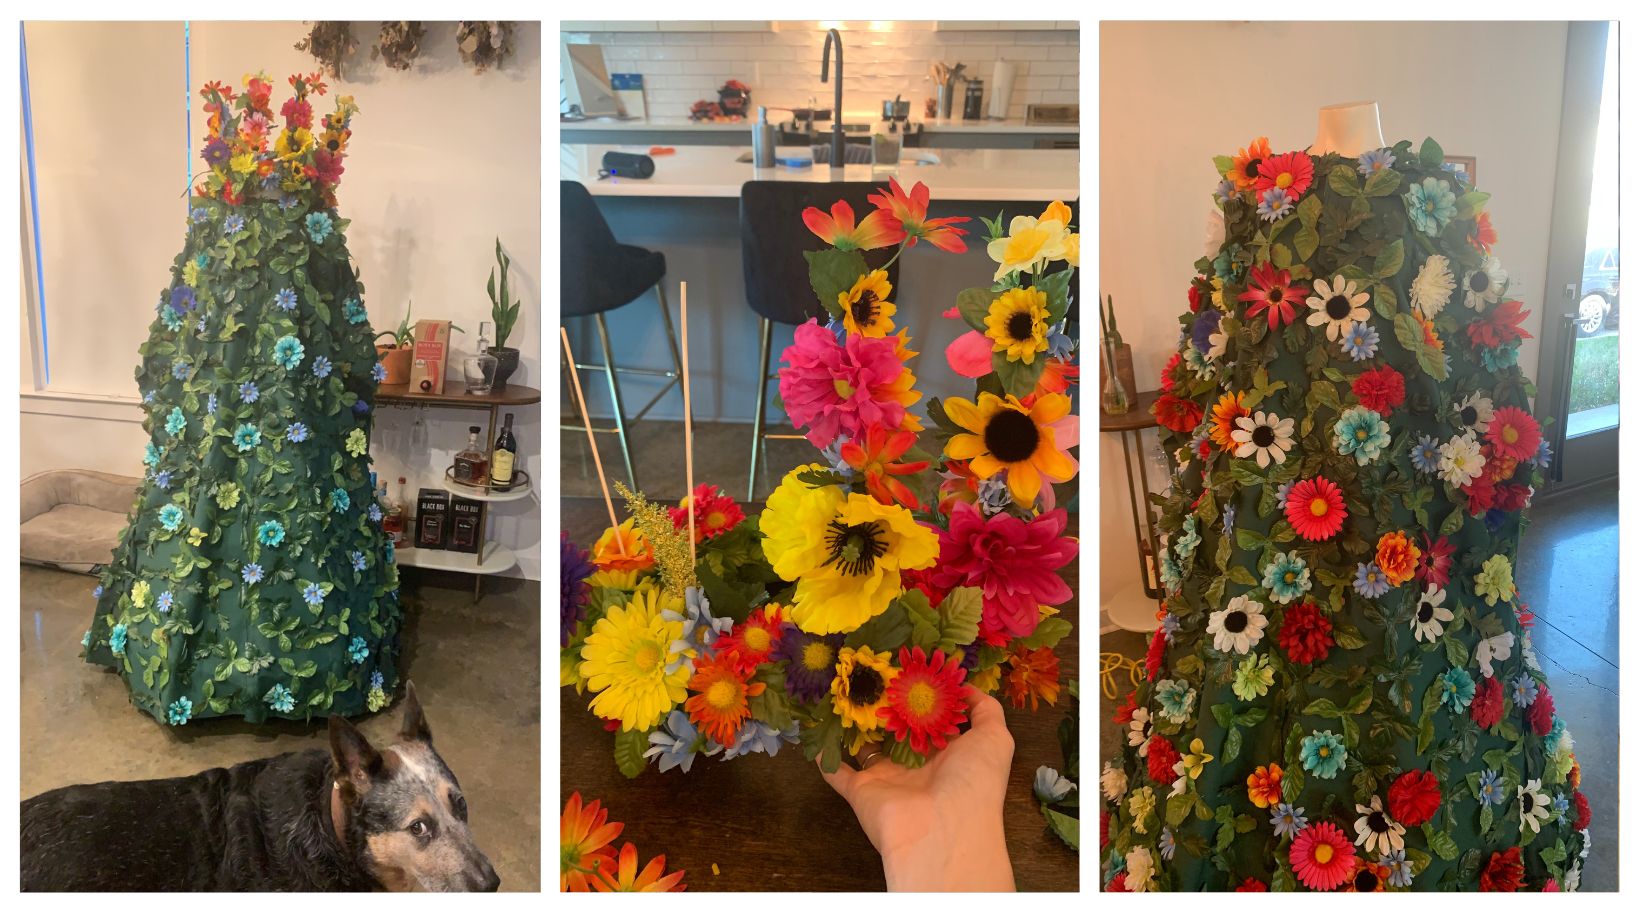
It was truly a labor of love, and it took me a solid 30 days of working on it every day and/or night to get it done. All in all, I would say I spent about 200 hours creating this dress, and my total expenses were around $1,000 for fabric, flowers, and glue. My back hurt, my fingers were burned and my brain wanted to explode sometimes, but I am so proud of this costume! I now rent it out for photoshoots and it's definitely such a fun piece to have in my collection.
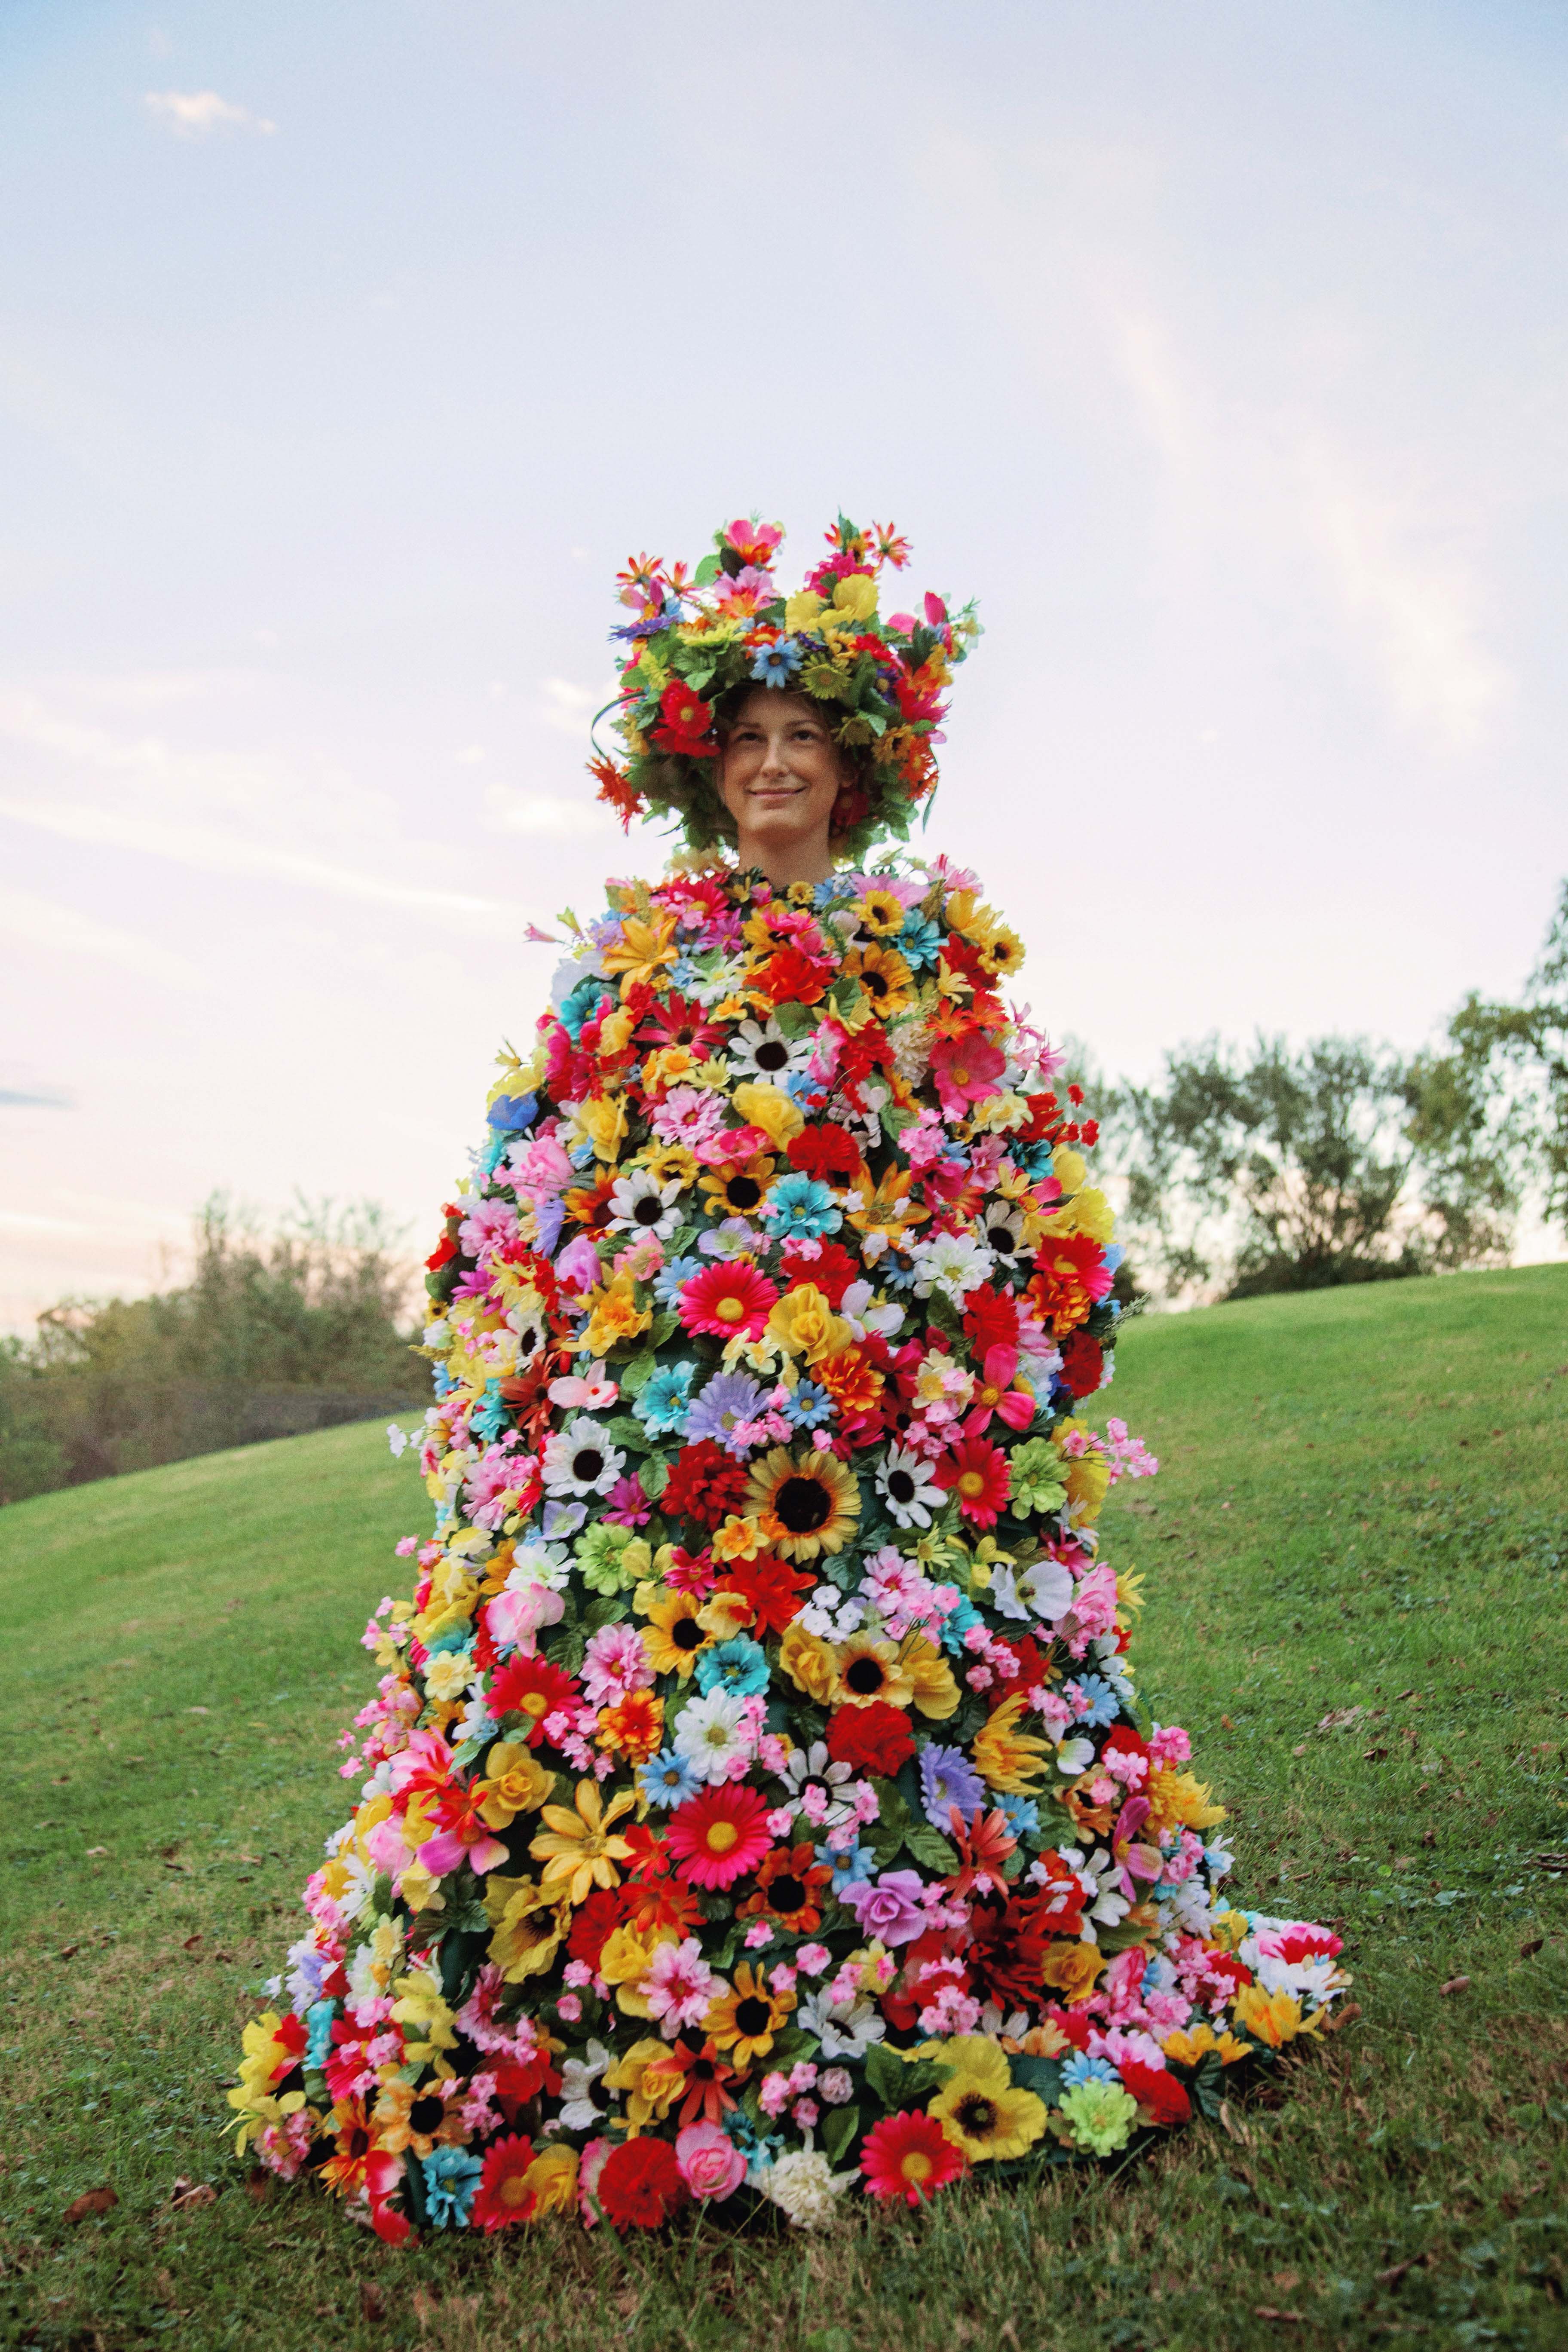
What's the most elaborate Halloween costume you've made? I'd love to hear about it in the comments! In the meantime, here are how a few of the official photos turned out for this one :)

About the Creator
Samantha Hearn
Hi! I'm Sammy Hearn, a photographer and artist based in Nashville, Tennessee. I like to write all sorts of things - DIY how-to costume stuff, photo series, short poems, fiction, you name it. My work can be found at www.samanthahearn.com.
Enjoyed the story? Support the Creator.
Subscribe for free to receive all their stories in your feed.
Comments
There are no comments for this story
Be the first to respond and start the conversation.