
What is the best option for hair system installation tools needed? I'm comparing brands before buying.
Best Hair System Installation Tools & Brand Guide 2026

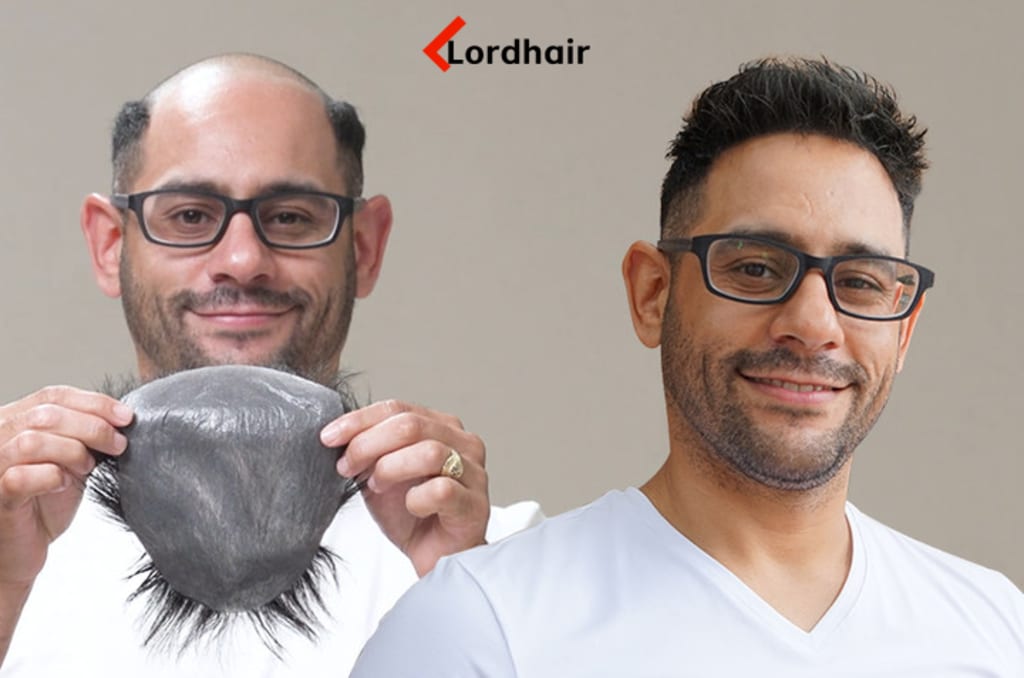
What is the best option for hair system installation tools needed? I'm comparing brands before buying.
Wondering what tools you need to install a DIY hair system at home? Start with clean, easy-to-handle installation tools: a mirror, scalp-cleaning supplies, adhesive or tape, an applicator, and a comb.
Make sure to keep every tool clean and dry after you use it. This quick guide will help beginners put together a practical kit and get ready for a secure home installation.
Key Takeaways
A clean, oil-free scalp gives adhesives their most secure hold.
Double-sided tape is the easiest bonding option for first-time installers.
Base-specific tools protect delicate hair-system materials during each installation.
Understanding the Essential Hair System Installation Hardware
Using specialized tools makes your first DIY hair-system install much easier to handle than just grabbing random things from around the house. A solid DIY hair system installation tools list includes a mirror, a comb, an applicator, scalp-cleaning supplies, and whatever tape or adhesive you pick for your setup.
Every single tool has a specific job. They help new wearers work carefully, keep everything clean, and stop you from touching the base more than you really need to.
Why Using Purpose-Built Tools Ensures a Natural-Looking Hairline
Purpose-built tools give you way better control right at the front hairline. That's where scalp visibility can make even a tiny placement mistake super obvious. A hand mirror lets you check the angle, and a fine comb separates the hair without yanking or folding the system base.
A clean applicator keeps your tape or glue far away from the actual hair strands, and it limits contact with your scalp. Just remember to store your combs, mirrors, and applicators clean and completely dry after you finish. Simple.
The Cost vs. Quality Balance: Are Professional Tools Worth the Investment?
Professional tools are usually worth the extra cash if they give you better control and can be washed and reused. Household alternatives are often tough to grip, hard to clean, or tricky to position right around a fragile base.
For your first kit, stick to easy-to-handle tools made specifically for hair systems instead of buying every single accessory out there. Just make sure each tool fits your attachment style and stays dry between installs.
The Scalp Preparation Toolkit: Setting Up for Maximum Adhesion
A clean, oil-free scalp gives a Lordhair system its best shot at staying secure and sitting flat. Skin oils, sweat, and leftover product can weaken the bond. This makes the scalp much more visible right at the hairline.
Stick to simple prep supplies that clean the skin without leaving any residue behind. Once your scalp is clean and protected, just pick the bonding agent that fits your lifestyle. Simple as that.
Scalp Protectors and Barrier Sprays
A scalp protector or barrier spray builds a thin layer between your skin and the base. It helps block out sweat and natural oils, keeping your adhesive going strong the whole time you wear it.
Only apply it to clean, dry skin, and let it completely dry before moving on. Make sure to keep the spray nozzle clean and capped between installs. You don't want dried product blocking the mist or causing patchy coverage around your hairline.
Medical-Grade Alcohol Cleaners and Exfoliating Scrubs
People usually go with a 99% isopropyl alcohol cleaner. It evaporates fast and leaves way less water behind than normal rubbing alcohol. This strips away oil and leftover gunk before you attach the unit, making it a huge part of your DIY hair care maintenance.
A gentle exfoliating scrub lifts dead skin and buildup before cleaning. Just make sure you rinse it all off. Keep your alcohol wipes sealed until you actually need them. Also, wash your scrub applicators after every install so your DIY hair system installation tools list stays spotless and ready to go.
The Bonding Toolkit: Evaluating Adhesives, Tapes, and Solvents
The bonding agent holds your hair system in place after scalp prep, so the right choice needs to match your comfort level with the application process. Attachment methods include double-sided tapes, liquid adhesives, and adhesive removers for maintenance.
Adhesive strength is just one piece of the puzzle. Beginners also need a bond they can apply evenly, check at the hairline, and clean up with tools they can easily keep organized. Simple.
Double-Sided Tapes vs. Liquid Adhesives for First-Time Installers
For most first-time installers, double-sided tape is much easier to handle. It comes in ready-to-place strips or contours. This limits the mess and makes it simple to see exactly where the bond will sit before you press the hair system down.
Liquid adhesive offers great security, but you'll need a steadier hand. You have to spread a thin, even layer and wait as directed on the label. So, go with tape when convenience matters most. But pick liquid adhesive if you're comfortable controlling the application.
Liquid Bond Enhancers and Application Spatulas
A silicone application spatula helps spread liquid adhesive in a controlled, even layer. Its flexible edge reaches close to the hairline without soaking your fingers or leaving thick patches that might stop the base from sitting flat.
If you use a liquid bond enhancer, just follow the product directions. Treat it as an add-on, not a shortcut for clean scalp prep. Wipe the spatula clean right after you use it, then store it dry so old adhesive doesn't harden on the edge.
Citrus vs. Alcohol-Based Adhesive Solvents
Adhesive removers make maintenance a breeze by loosening residue on the hair system base before cleaning. People often pick citrus-based solvents when the adhesive needs more time to soften. On the flip side, alcohol-based options work better if you prefer a faster-drying cleanup.
Always use the remover recommended for your specific adhesive and base material. Then, wipe away all remaining residue before your next install. Keep those solvent caps tightly closed between uses, and don't forget to wipe the bottle nozzle after each maintenance session.
The Precision Placement Toolkit: Hardware for Perfect Alignment
Good placement starts way before the hair system even touches your scalp. A few simple alignment tools help beginners check the base size, mark a consistent front point, and keep the unit steady while customizing it.
These tools make doing it yourself way more controlled and repeatable. Plus, the mirror, marker, clips, and shears you pick should actually suit the hairpiece base material.
Multi-Angle and 360-Degree Self-Cut Mirrors
A three-way or 360-degree self-cut mirror lets you check the sides and back of the hair system without just guessing. You can compare both temple areas and make sure the unit sits perfectly even before locking it down. Simple.
Put the mirror somewhere with strong, even lighting, then check the alignment from a few different angles. Always clean fingerprints and product buildup off the glass after each use so your view stays crystal clear.
Eyebrow Pencils and Grease Markers for Hairline Mapping
An eyebrow pencil or grease marker gives you a quick, removable guide for finding your natural front hairline. Just mark small reference points at the center and near each temple. Then, use those marks to line up the base consistently every time.
Keep your marks light and visible instead of drawing one heavy, solid line. This makes measuring the base size way easier and helps create a seamless blend. Just remember to cap the marker when you're done so it doesn't dry out.
Curved Shears and Duckbill Hair Clips
Duckbill clips keep the unit's hair out of the way of the perimeter tape while you work. This stops loose strands from sticking right to the adhesive. A detangling brush can smooth the hair first, which makes sectioning much faster and easier to handle.
Curved shears help with careful trimming around the hairline and perimeter. But always keep the blades far away from the base material itself. Wipe any adhesive gunk off the clips and shears after your session, and make sure to store them completely dry.
Matching Installation Tools to Your Hair System Base Type
The base type changes exactly how you handle a Hair Topper or Hair System during attachment. Thin skin bases need gentle tools that won't pull or crease the material. Lace bases, on the other hand, need controlled adhesive application to keep glue away from the hair.
Using the right tools makes installation way easier for beginners. It also helps keep the base clean and comfortable.
Essential Application Tools for Poly and Ultra-Thin Skin Bases
Poly bases work great with a fine-tooth comb, duckbill clips, and small scissors for cutting tape strips before you apply them. Just keep the hair clipped back. Then, place the tape with tweezers or your fingertips instead of dragging it right across the base. Simple.
Ultra-thin skin at 0.02mm needs a much lighter touch. Use blunt-tip tweezers to lift an edge without piercing the material, and keep sharp tools away from the perimeter. Make sure to clean adhesive residue off your tweezers and scissors after every use so that sticky buildup doesn't transfer onto the base.
Essential Tools for French and Swiss Lace Base Attachment
French and Swiss lace bases need tools that give you strict control over glue placement. A small brush or precision applicator helps you put down a thin, even layer right on the scalp area, rather than loading adhesive directly onto the mesh.
Grab some duckbill clips to hold hair away from the attachment zone. Then, gently press the lace down with clean fingertips or a soft applicator. Don't force glue through the lace. It can bond to the hair fibers and make cleanup a nightmare. Wash your brushes right after using them, and store them dry to keep the bristles in good shape.
Tool Maintenance: How to Keep Your Installation Gear Clean and Durable
Clean installation tools give you better control and stop old adhesive from getting onto the hair system base. Your scissors, spatulas, and mirrors need some attention right after you use them, not just when the buildup gets obvious.
For simple Hair Care Maintenance, just wipe your tools clean, let them dry completely, and put each item away where it won't collect dust or take a beating. That's it.
Removing Residue from Scissors and Application Spatulas
Clean the adhesive off your scissors and application spatulas right after your installation. Fresh residue comes off much easier than hardened glue. Plus, dried glue messes up your precision when cutting and spreading.
Grab a clean cloth and wipe off any extra material. If the residue won't budge, use a remover that's safe for your tool's metal or plastic surface and follow the label. Just make sure to dry your scissors completely—especially the hinge—before putting them away.
Proper Storage for Liquid Adhesives, Tapes, and Solvents
Liquid adhesives, tapes, and solvents hold onto their grip a lot longer if you keep their containers tightly sealed. Snap those caps shut right after you use them. Also, wipe the opening clean so dried gunk doesn't keep the lid from closing tight.
Keep your bottles upright in a cool, dry spot away from heat and direct sunlight. As for your tape, leave it in the original packaging or a sealed container. This keeps dust from ruining the sticky side. Simple.
Pre-Installation Checklist: Measuring and Workspace Prep
Clean, dry tools won't help much unless your topper and workspace are actually ready to go. Before cracking open any adhesive, clear off a flat, well-lit surface. Wash and dry your hands. Make sure you've got a mirror, flexible tape measure, clips, and clean scissors right within reach.
Always measure first, then pick your density second. Doing this helps keep you from trimming the base too small. It also stops the perimeter from sticking out against your natural hair.
How to Measure Base Dimensions for a Seamless Blend
Figuring out the right size for a seamless blend means parting your hair exactly where the topper will sit. Only measure the specific area that needs coverage. Grab a flexible tape measure. Check the front to back, then go side to side at the widest point. Jot both numbers down before you even touch the base.
Compare your notes with the actual topper base size. If you need to trim, just mark a tiny bit at a time and double-check before cutting. Take off too much, and you'll leave the coverage area totally exposed.
Selecting the Right Hair Density to Match Natural Hair
Pick your density by checking your natural hair right at the roots, rather than just looking at the ends. Try to do this in natural daylight if you can. Fine or thinning hair usually blends much better with a lighter-density piece. But if you have naturally full hair, it can handle more density without showing a harsh edge.
Comb the topper over your own hair before you install it just to check the perimeter. The new hair needs to melt into your natural strands instead of leaving a thick, heavy line around the base.
Exploring Hair Systems and Compatible Tools at Lordhair
Lordhair gives beginners a great place to start when picking out a Hair Topper or Hair System, along with the right Installation Tools. Buying your hair piece and hardware from the exact same spot just makes the whole process way easier.
Pick tools that are actually comfortable to hold, and make sure to keep them clean and dry between uses. Always store your adhesive supplies tightly sealed. If a tool stops doing its job right, it's time to replace it. Simple.
Frequently Asked Questions About Hair System Installation Tools
Which hair systems are considered the best?
The best is the one matching your lifestyle, base preference, and attachment method.
Which hair system adhesive is the strongest?
Liquid adhesive generally gives the strongest hold. Clean, oil-free scalp first.
What are people saying about EasyMane?
No reliable brand-specific verdict here. Check verified wearer reviews, not ads.
How to choose the right hair system?
Match base type, hair density, durability needs, and your installation skill.
What are the different types of hair systems available?
Lace, poly/thin skin, mono, and hybrid bases. Each handles differently.
How do I choose between a lace and poly hair system?
Lace looks natural; poly is easier to tape and clean. Simple trade-off.
How long does the strongest hair system glue last?
No fixed duration. Sweat, oils, scalp prep, and activity control the hold.
Is tape or liquid adhesive better for hair system security?
Liquid is stronger. Tape is cleaner and far easier for first-time installers.
About the Creator
Leo
Passionate men's hairstylist with a keen eye for detail and a knack for creating on-trend looks. Dedicated to delivering hair restoration education that enhances individual style.
Enjoyed the story? Support the Creator.
Subscribe for free to receive all their stories in your feed.
Comments
There are no comments for this story
Be the first to respond and start the conversation.