

TOP PHONE photography tricks that everyone needs to know!!📸
Being a young photography student myself I love to capture photos when I’m out and about to document a special moment or a pretty sunset. However, most of the time I don’t have my chunky canon DSLR with me but that doesn’t mean you can’t take amazing photos on your phone!!
NUMBER 1: cleaning your camera lens.
The first tip might seem simple and unnecessary but it’s key in taking crystal clear photos. Your phone spends a lot of time in your pocket or bag and in your hands which in turn can make your lens dirty with dust and fingerprints.
A dirty lens will result in your photo being blurred or smudges on the image.
You can use a cloth or even your T-shirt anything that you can get your hands on.
NUMBER 2: Adjust the exposure (brightness) level.
When your taking photos do they often turn out too dark (under exposed) or too light (over exposed) ? You can change that pretty easily which will make a huge difference in your image quality. Here’s how:
On an I phone camera you do this by tapping on the camera screen to set the focus. Then swipe up or down to adjust exposure as high or low that you want it.
Once you adjust it the colours and detail should be a lot sharper and look a lot better.
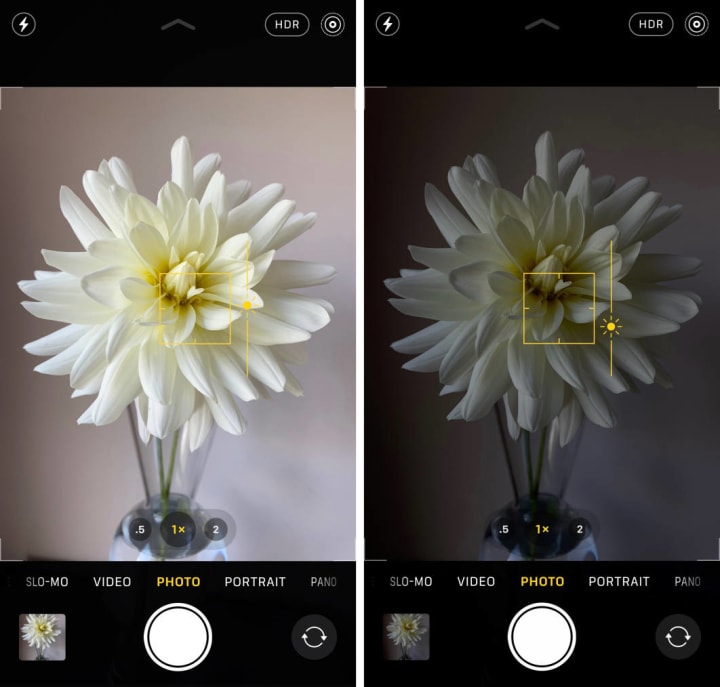
NUMBER 3: 4. Use HDR For Evenly-Lit Photos With Amazing Detail.
Taking photos of high-contrast scenes can be a problem when it comes to exposure.
A high-contrast scene has both dark and bright areas – such as a landscape with a bright sky and dark foreground. This can often be difficult to focus on a phone camera. But there is a way of getting past this and taking a great photo.
HDR stands for High Dynamic Range. And it allows you to capture detail in both the shadows and the highlights.

This is what it looks like on an iPhone camera ^^^
With HDR on, you can shoot beautiful photos with perfect exposure throughout the entire scene
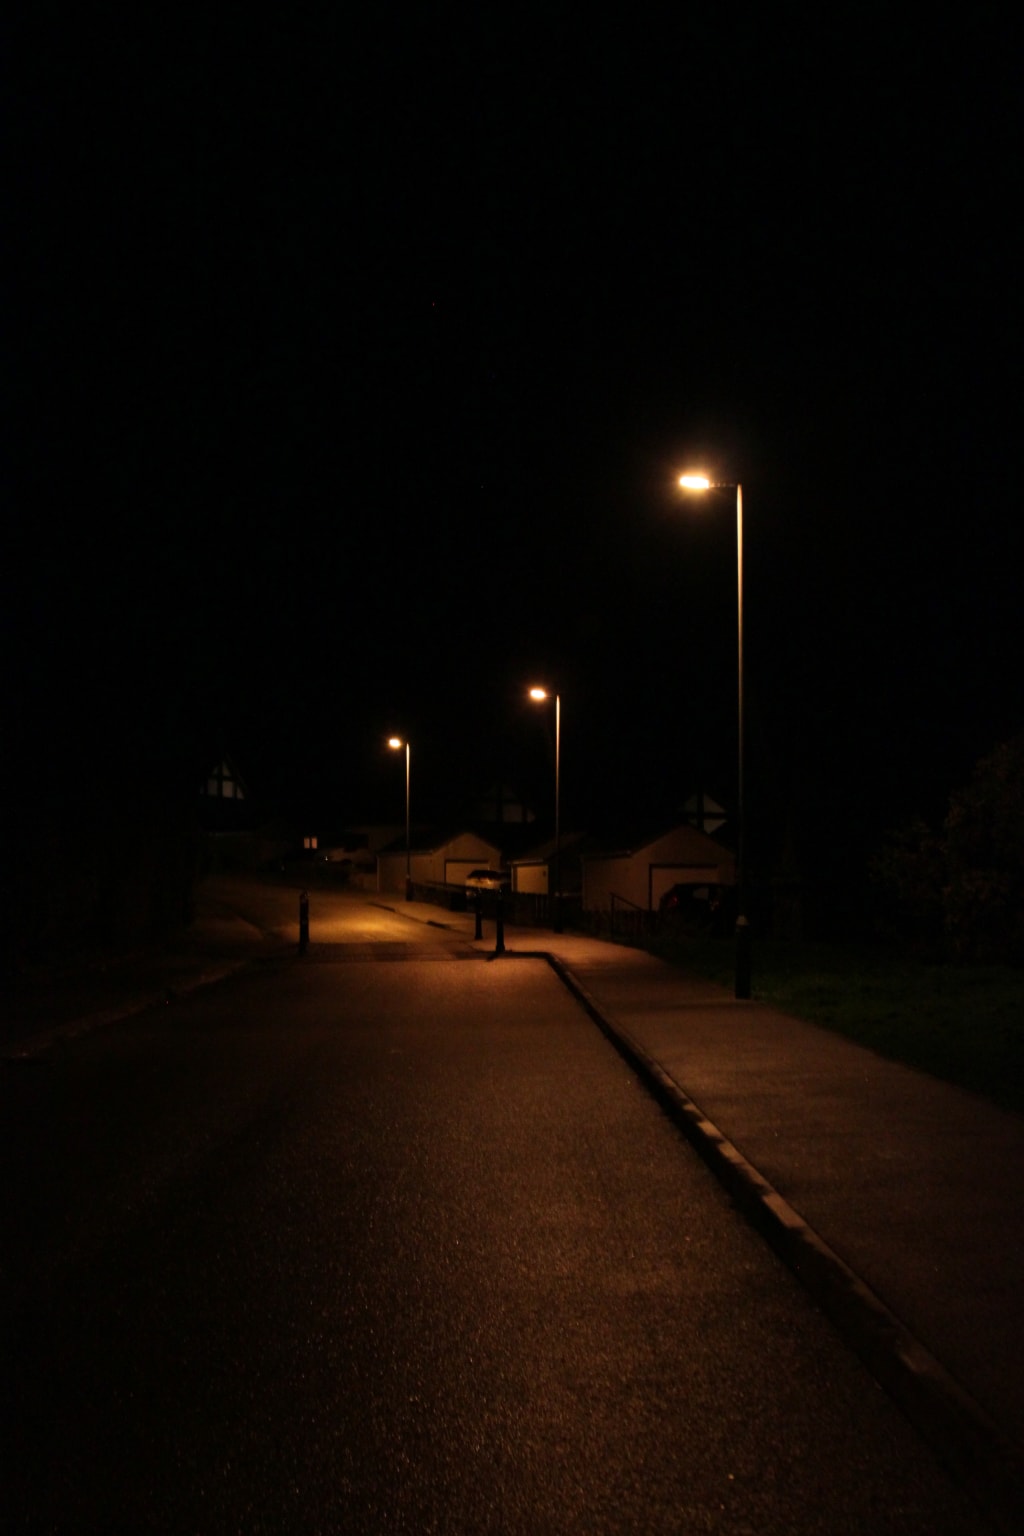
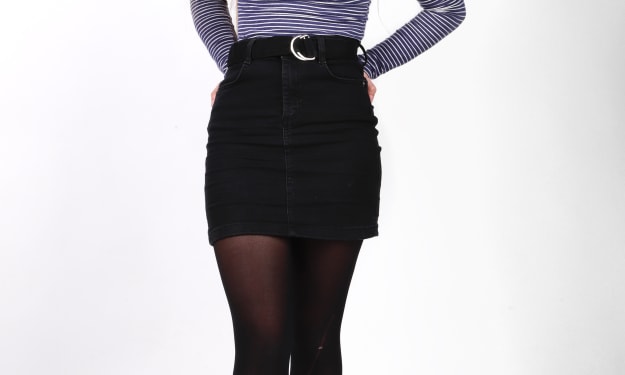
NUMBER 5: Find different perspectives.
Taking photos from a unique, unexpected angle can make them more memorable -- it tends to create an illusion of depth or height with the subjects. It also makes the image stand out, since most mobile photos are taken either straight -on or from a bird's eye view.
Something Like this will capture someone’s attention a lot quicker ⬇️

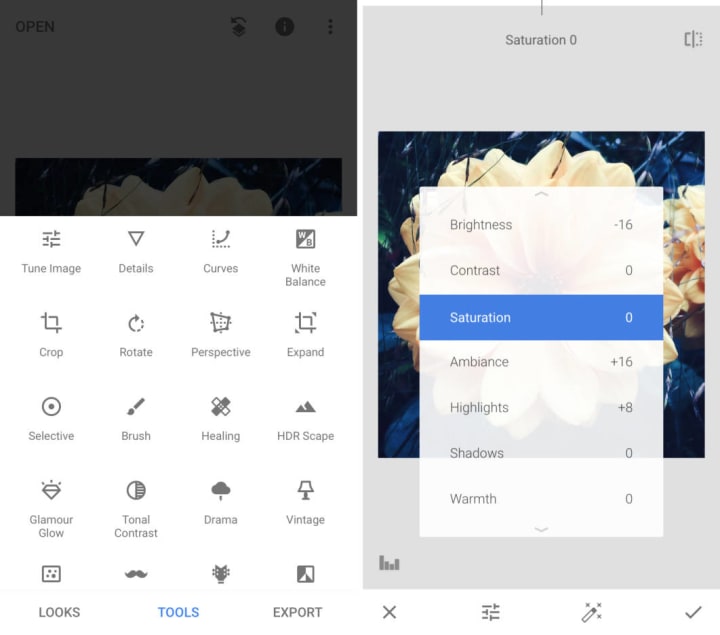
NUMBER 6: Editing software.
Top 2 editing apps that I use:
1. Snapseed
Best For: All-purpose photo editing with precise control over color and exposure
Huge range of editing tools, yet very easy to use
- Exposure, color, and sharpening adjustments
- Crop, rotate, straighten, and perspective correction
- Selective adjustments, brushes, and healing tool
- Black & white, vintage, and texture filters
- Portrait enhancement, lens blur, and vignette
- Double exposure, frames, and text
Price: FREE
———————————————————————
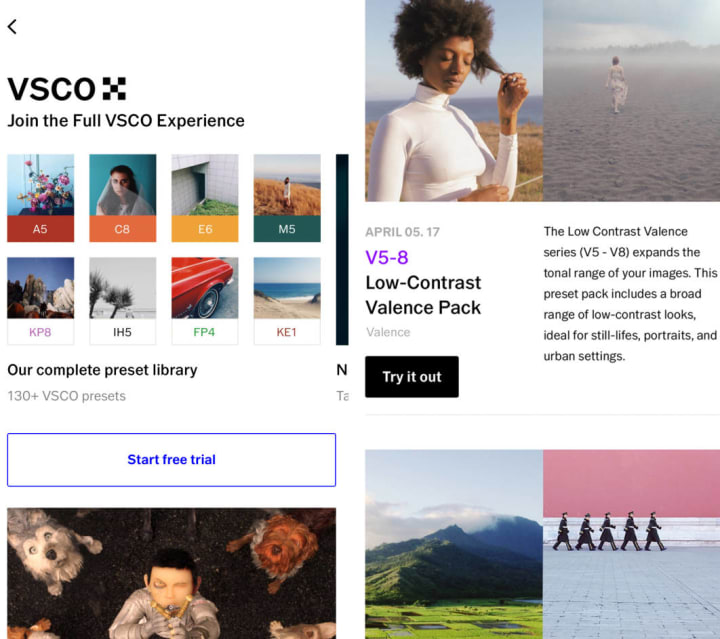
2. VSCO
Best For: Creating beautiful edits with elegant film-like filters
- Subtle one-tap filter presets that create the look of classic film
- Adjustable filter strength
- Full set of 130+ filters available via an annual subscription
- Editing tools for cropping, exposure, color, and sharpness
- Built-in camera app with advanced manual controls
Price: FREE (with a subscription fee for additional filters and tools)
So there are a few tips and tricks that I’ve picked up over my time using my phone as a camera I hope this helps!!
About the Creator
Keep reading
More stories from Amelia and writers in Photography and other communities.
Artistic Grace
Within the domain of photography, how you show your work is as imperative as the work itself. "Creative Beauty" is around finding the sensitive adjust between displaying your photography with pride and lowliness, guaranteeing that your creative expression resounds with authenticity.
By Thomas Vasas4 days ago in Photography
Crafting Humble Brilliance
In a world dominated by social media and constant self-promotion, the art of sharing one's photography without appearing boastful has become a delicate balancing act. Crafting Humble Brilliance isn't just about showcasing your work; it's about doing so with grace, humility, and authenticity.
By Thomas Vasas6 days ago in Photography
Vocal Weekly Leaderboard: 04/17/2024
Welcome to the weekly update of the Leaderboard! We're thrilled to showcase Vocal's most discussed stories, popular picks, and rising stars. Let's dive into this past week's standout contributors and their remarkable achievements.
By Vocal Team2 days ago in Resources


Comments
There are no comments for this story
Be the first to respond and start the conversation.