
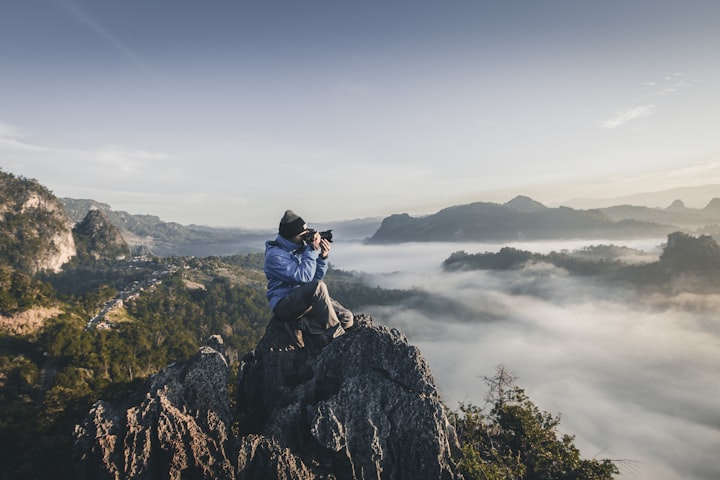
Photography Basics
Understanding exposure time, ISO, and aperture.


Oh no, why is my picture shaking? And why is it all black? And where does that grain come from? If you already wondered about one of the things above, you’re completely right here. Questions like these arise when the exposure time, the ISO, or the aperture are not set correctly. These components are the most important, and you should know what they are doing and how to set them up correctly. Keep reading if you want to know how you can avoid doing mistakes that lead to underexposure or overexposure, image noise, or image shake.
Let’s start with the exposure. The exposure is the time where the sensor records the incident light. Given in seconds, the exposure time can be displayed either as a whole or as a fraction. If you choose a short exposure time, you have the possibility to represent fast movements without blur. However, if you decide to take a long exposure time, you can bring movement and dynamic to your picture (those are called long-exposure images and you’ve probably seen this before when a photographer pictures the light trails of bypassing cars for example).
If you’re using a long exposure, it is really important that the camera stands stable. For this reason, it is beneficial to place the camera on level ground or to get a tripod. On average, images up to 1/100 of a second are still sharp when shot out of hand. If the exposure time is longer than 1/100 second, you should probably get a tripod if you want your images to be not totally blurry. Basically, you can choose the exposure time from 1/4000 of a second to 30 seconds.
Now let’s talk about ISO. What influence does the ISO value have and how do you set it up correctly?
Basically, the ISO (International Standard Organization) is the photosensitivity of the sensor.
The higher the photosensitivity, the more light gets absorbed. A high ISO is rarely beneficial. Have you ever wondered where the grain in your pictures came from? Well, a high ISO is to blame in this case. A lot of photographers recommend that the ISO should never be more than 400. If the image is too dark, then you should increase the exposure time and get a tripod. As a result, the quality of the image is retained and the exposure then fits.
Basically, you can say, the lower the photosensitivity, the higher the image quality—and the other way around.
Last but not least, let’s take a look at the aperture. This is the “opening” of a lens and regulates the incident light. In most cases, it is given with a number and the prefix “f/” or only an “f.”
It is good to know that a wide-open/large aperture has a small “f”-number, and a closed/small aperture has a large “f”-number.
The smaller the number, the less depth of field you have. This shallow depth of field is also often known by the term “bokeh.” Since the aperture is now more open, and thus more light is incident, you can take a photo with the exposure time of 1/4000 of a second for example. If you would take the same photo with a closed aperture and the same shutter speed, the photo will be completely black. The reason for this is that with a closed aperture, less light falls on the sensor—and for this, a longer exposure time is needed.
About the Creator
Keep reading
More stories from Sarah Trmmr and writers in Photography and other communities.
The Ultimate Photography Tips For The Travel Photographer.
You may think that all you need to take quality travel photos is your camera, your smartphone, or even your digital SLR; and while that’s true, there are still many more things to consider before you press the shutter button, no matter what type of camera you’re using. The following photography tips will ensure that you get quality photos every time – regardless of whether you’re traveling across the globe, or just to the next town over.
By Vijay Mistry5 days ago in Photography
Good Picture
This comprehensive guide to photography focuses on capturing moments, emotions, and stories, not just clicking a button. It covers key principles and techniques such as composition, lighting, and camera settings, aiming to elevate photography to the next level.
By Praveen Pkabout 13 hours ago in Photography


Comments
There are no comments for this story
Be the first to respond and start the conversation.